


LATEST RECIPES


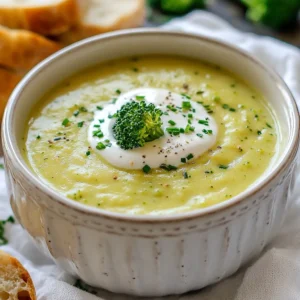
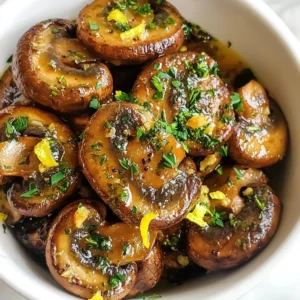
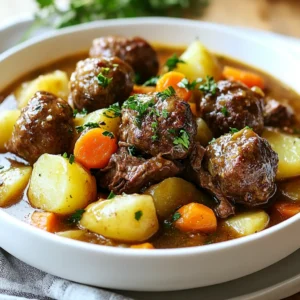

LET'S GET COOKING!
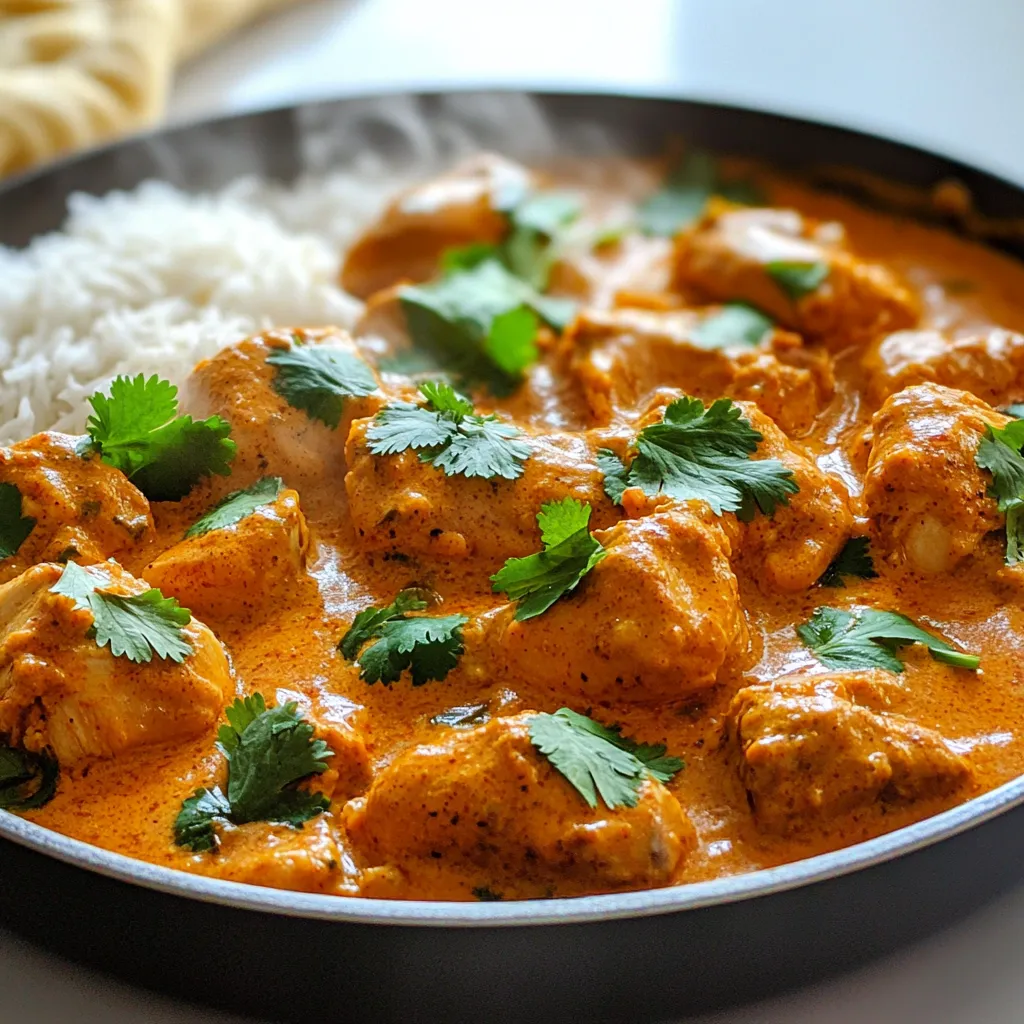
Butter Chicken Skillet Flavorful and Quick Dinner
Are you craving a quick, flavorful dinner that’s sure to impress? This Butter Chicken Skillet recipe combines tender chicken and rich, creamy sauce all in...
Read Full Recipe →