-min.png)
-min.png)
-min.png)
-min.png)
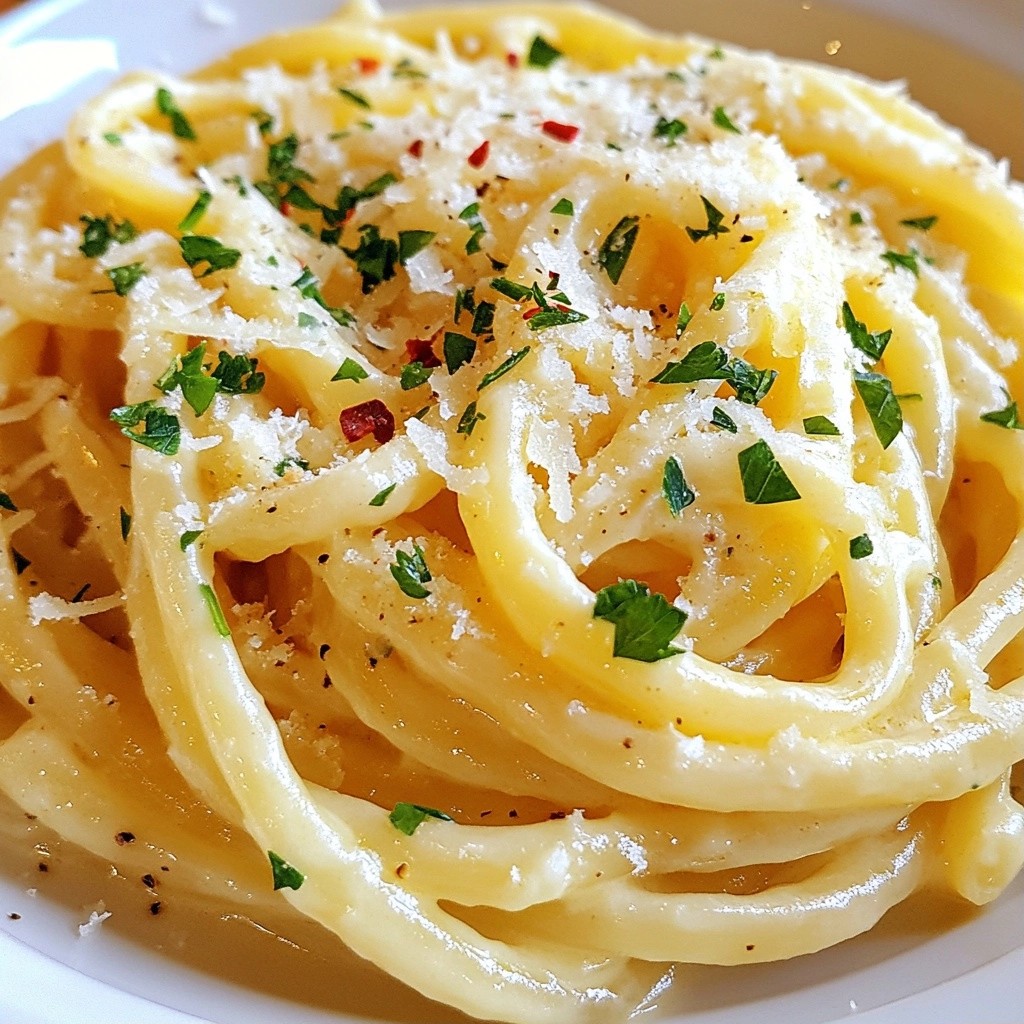
Creamy 15-Minute Garlic Parmesan Pasta Delight Recipe
A quick and delicious pasta dish with a creamy garlic Parmesan sauce.
Today's Special
A quick and delicious pasta dish with a creamy garlic Parmesan sauce.
Indulge in our collection of irresistible dessert recipes! From decadent chocolate treats to light and fruity delights, discover sweet creations that will satisfy every craving and make every occasion special!
More Desserts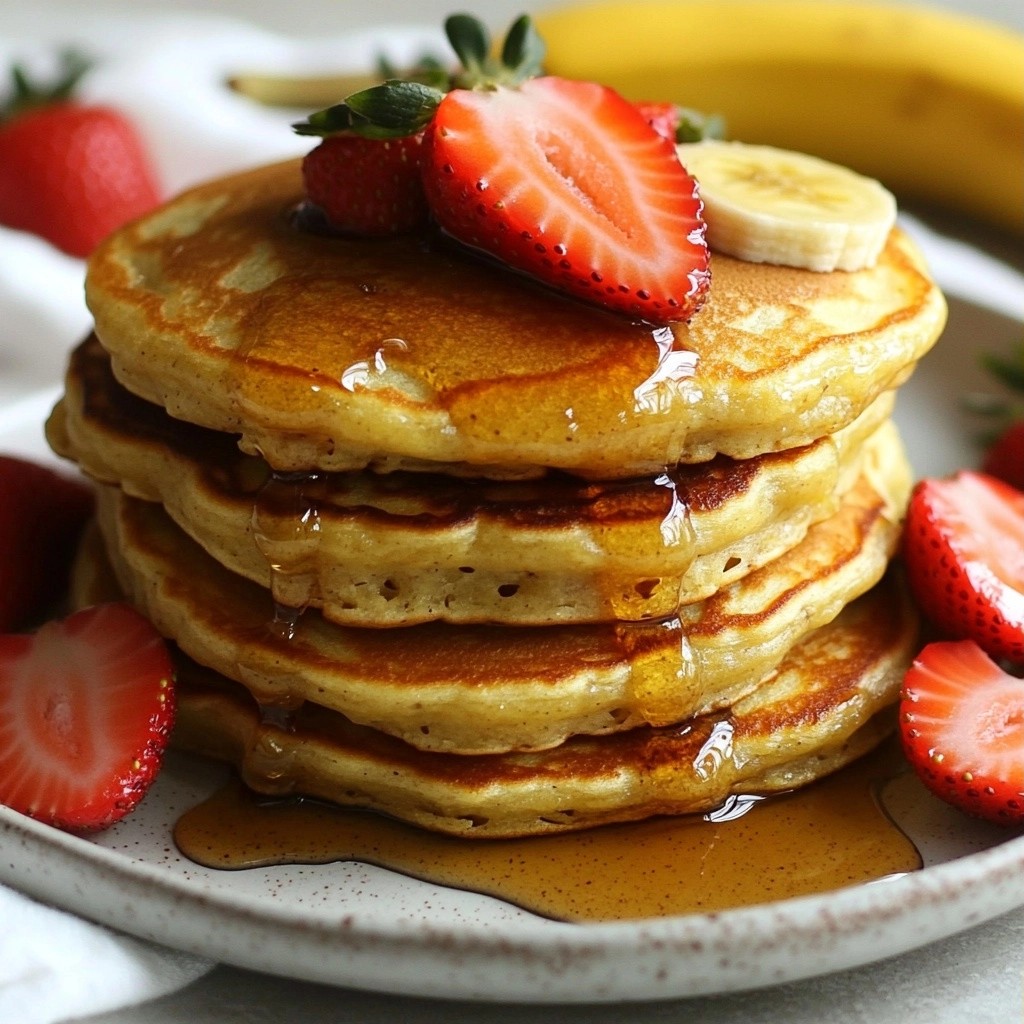
What are you craving?
Explore our delicious collection of recipes organized by category
Discover delicious dinner recipes that bring joy to your table! From quick weeknight meals to impressive family feasts, explore our collection of savory dishes that make every dinner time memorable!
More Dinners
Nice to meet you!
Abigail Stewart, Founder of gokitchennow, blends creativity and expertise as a Recipe Developer.
Learn More About MeLooking for something?
Fresh from the kitchen
Check out our newest additions - tried, tested, and absolutely delicious!
A quick and delicious pasta dish with a creamy garlic Parmesan sauce.

A quick and flavorful tilapia dish with a crunchy herb crust.
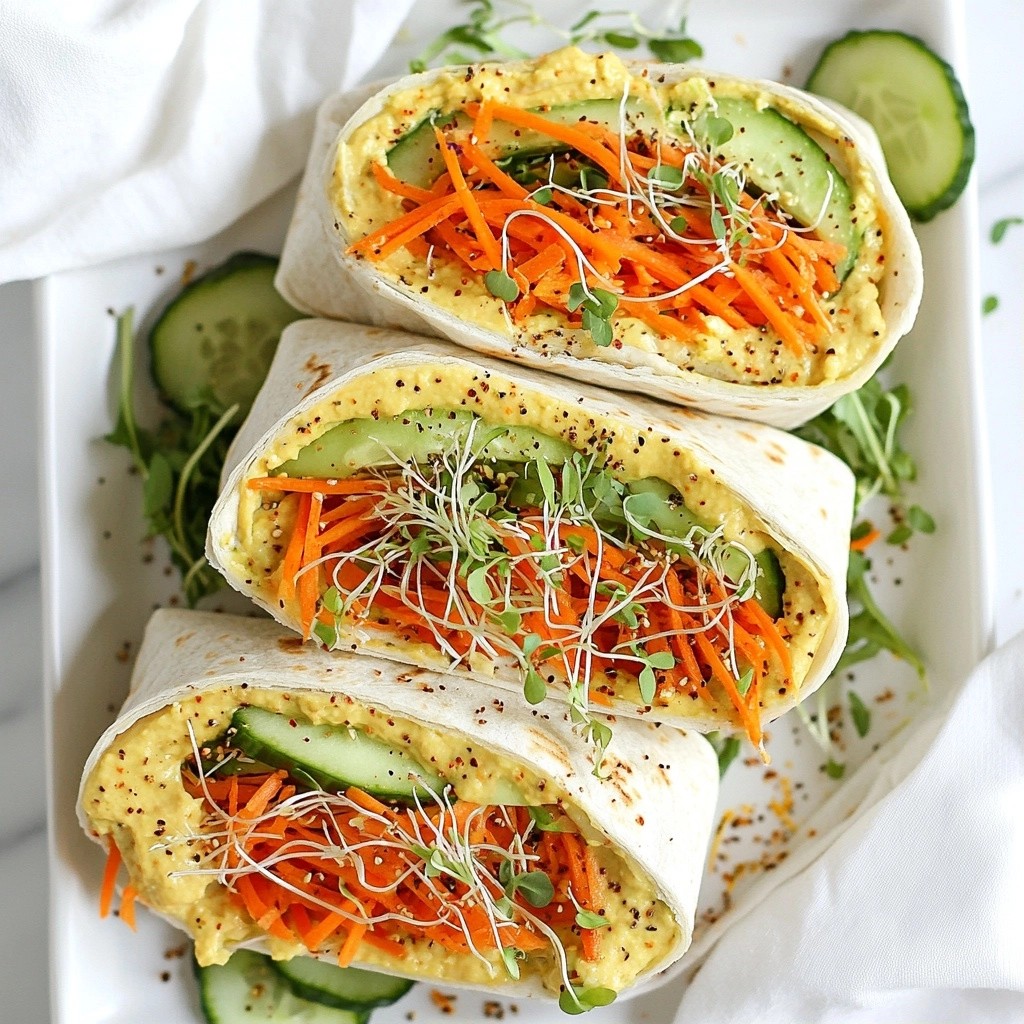
A quick and easy wrap filled with fresh veggies and hummus, perfect for a light meal.
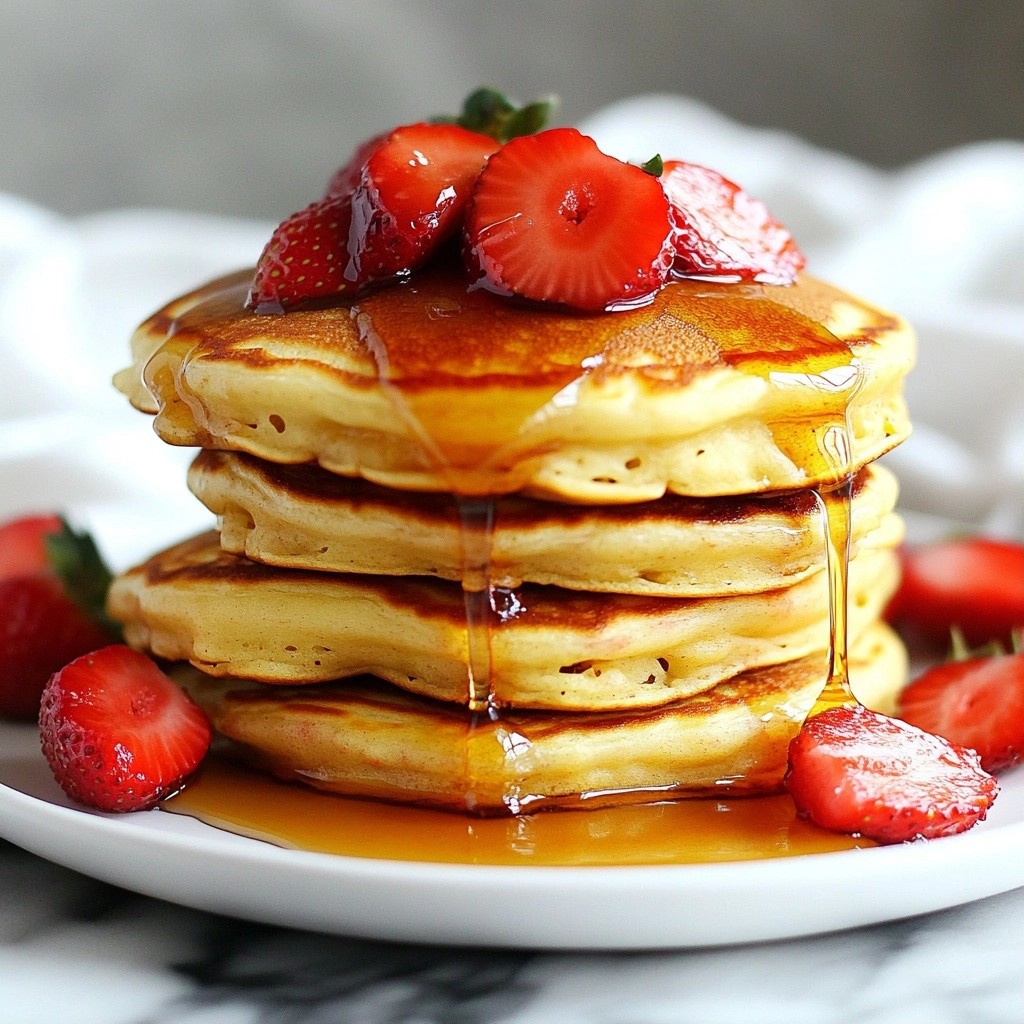
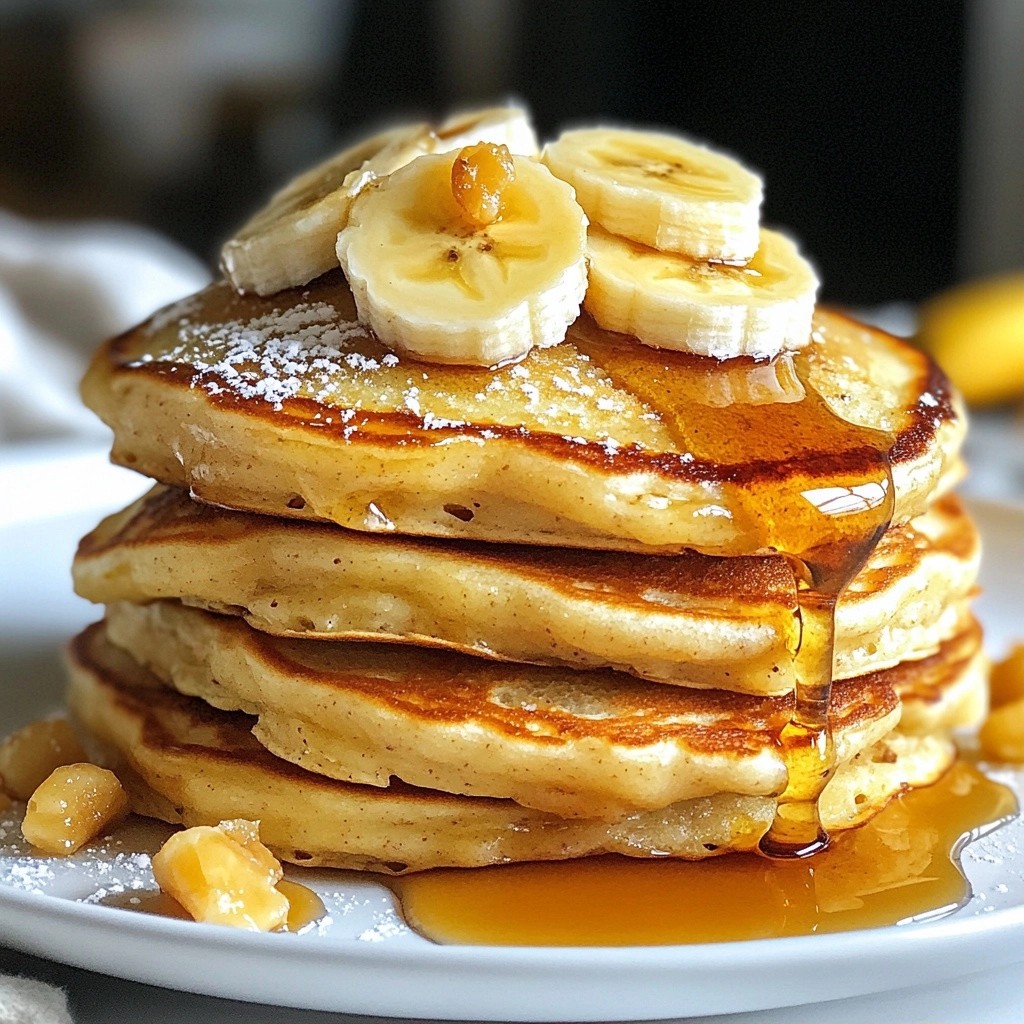
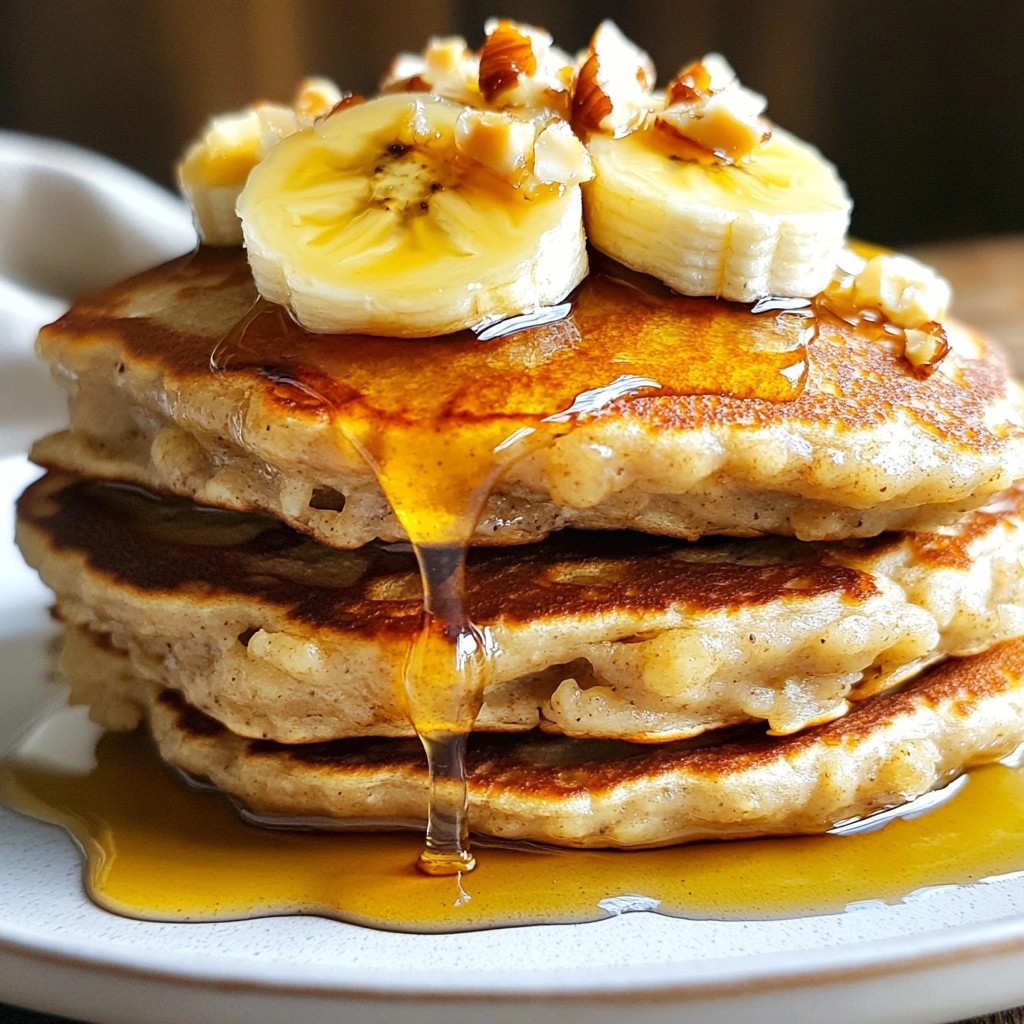
Delicious pancakes made with fresh strawberries and ripe bananas, perfect for a quick breakfast.
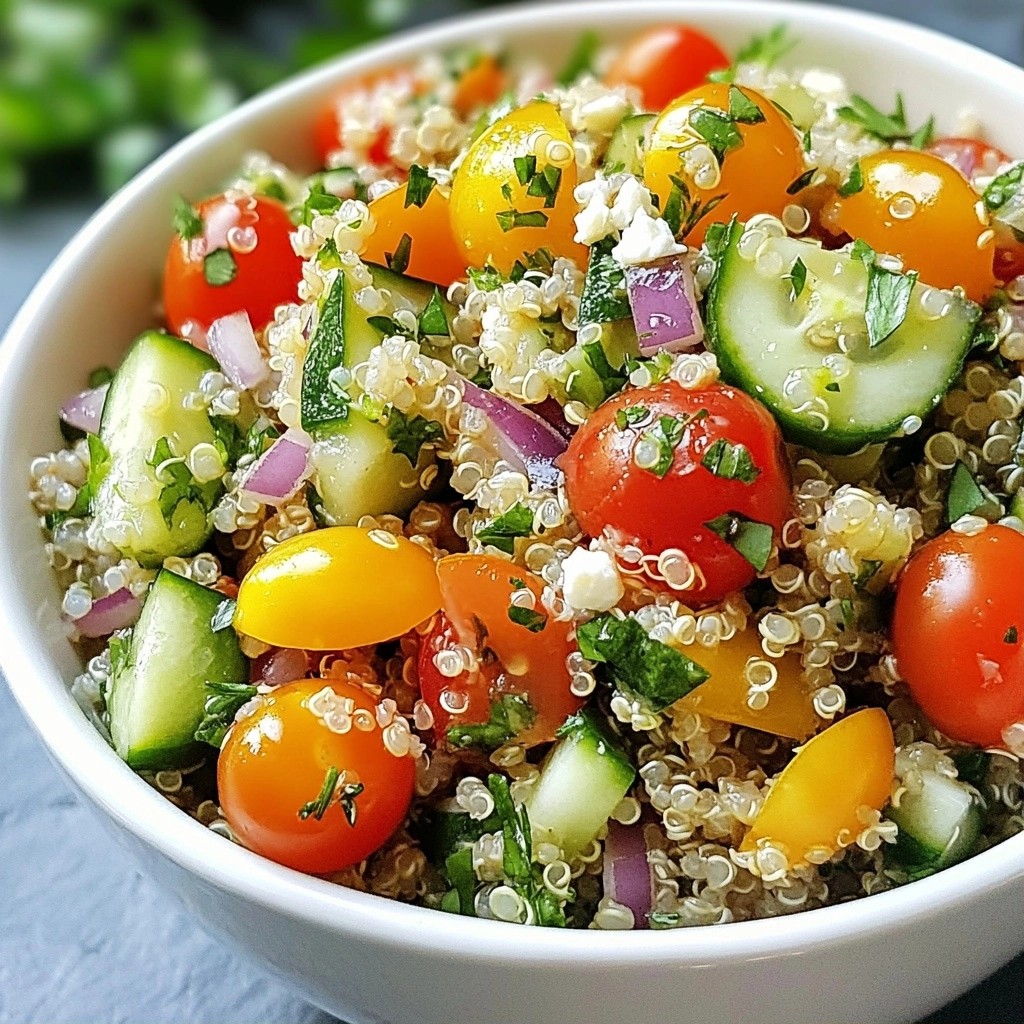
A refreshing and nutritious quinoa bowl with fresh herbs and lemon.
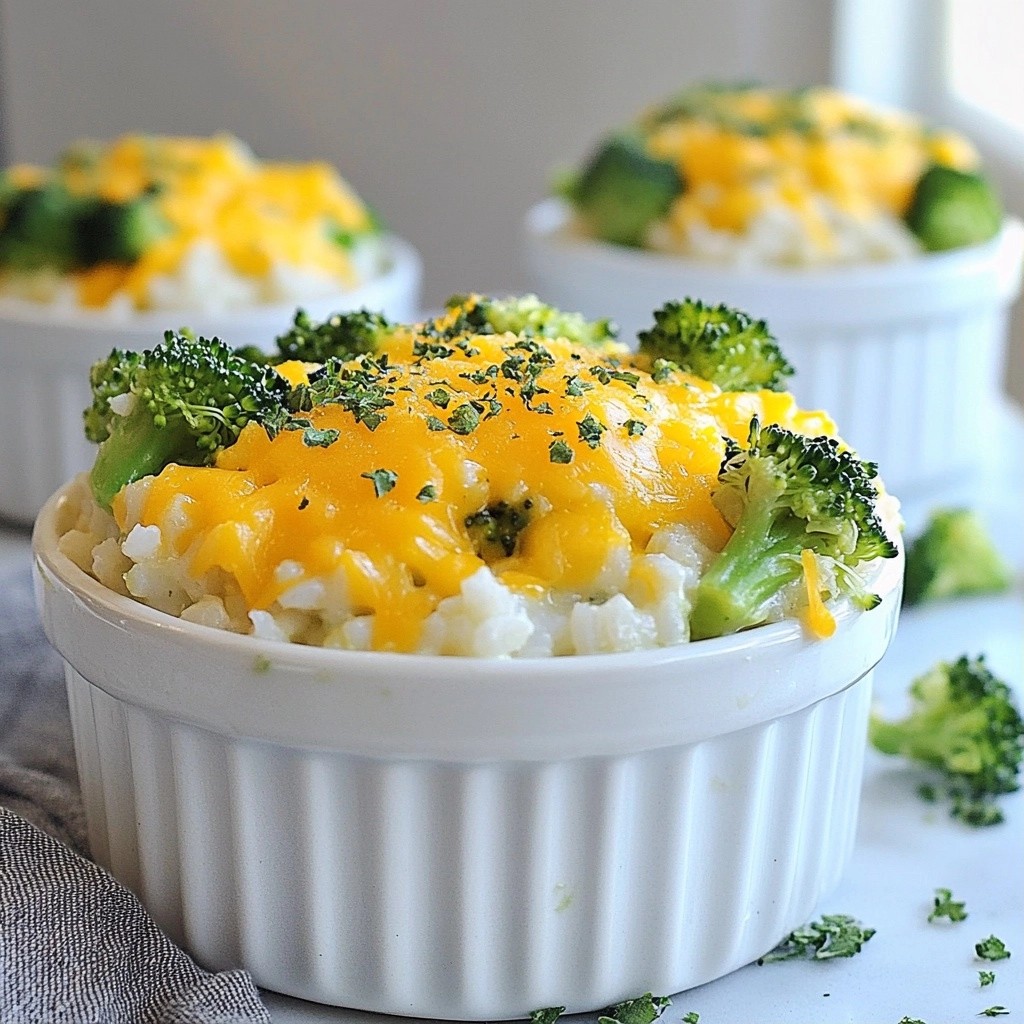
A creamy and cheesy baked dish featuring rice, broccoli, and cheddar cheese.