FREE DINNER EBOOK!
Get your copy!
Cookie Policy
GDPR Policy
Disclaimer
Terms Of Use
Visit my other site:
Fun Cookie Recipes
Home
Dinner
Desserts
Drinks
Appetizers
Contact
About
Privacy Policy
Home
Dinner
Desserts
Drinks
Appetizers
Contact
About
Privacy Policy
Cookie Policy
GDPR Policy
Disclaimer
Terms Of Use
Visit my other site:
Fun Cookie Recipes
HOME / CATEGORIES /
Latest
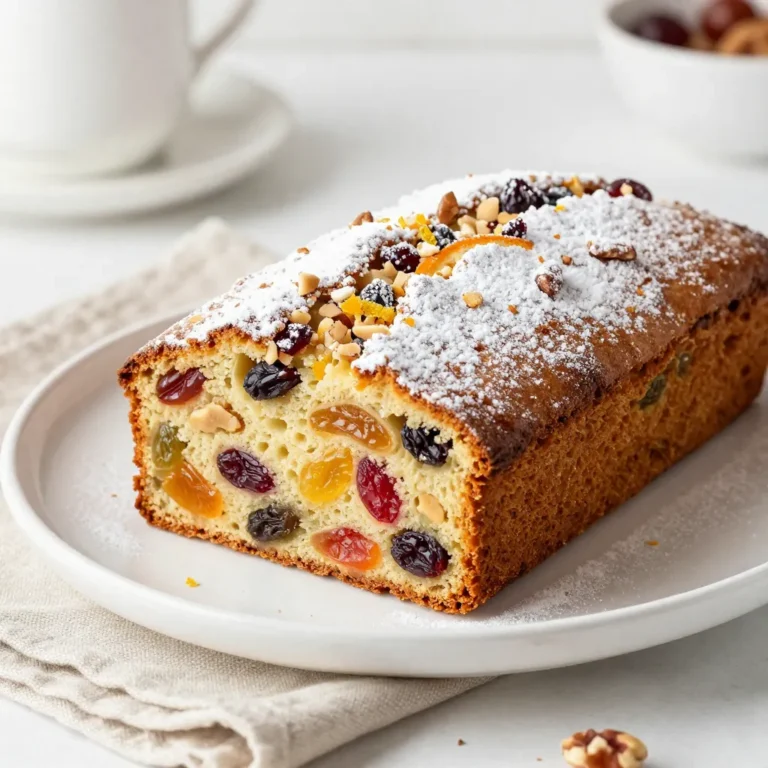
Old-Fashioned German Fruitcake Delightful and Festive
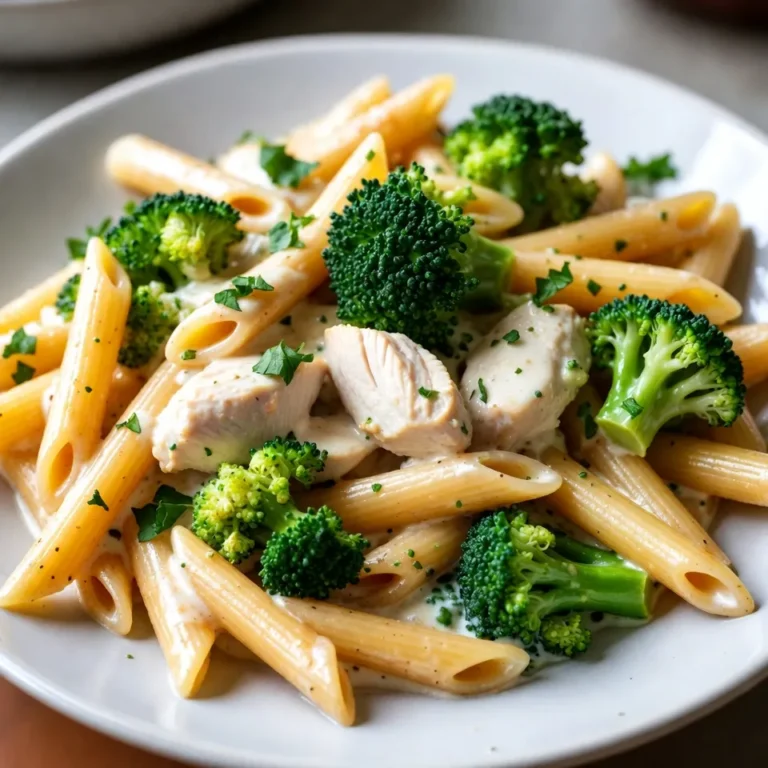
Chicken Broccoli Pasta Delightful and Creamy Meal
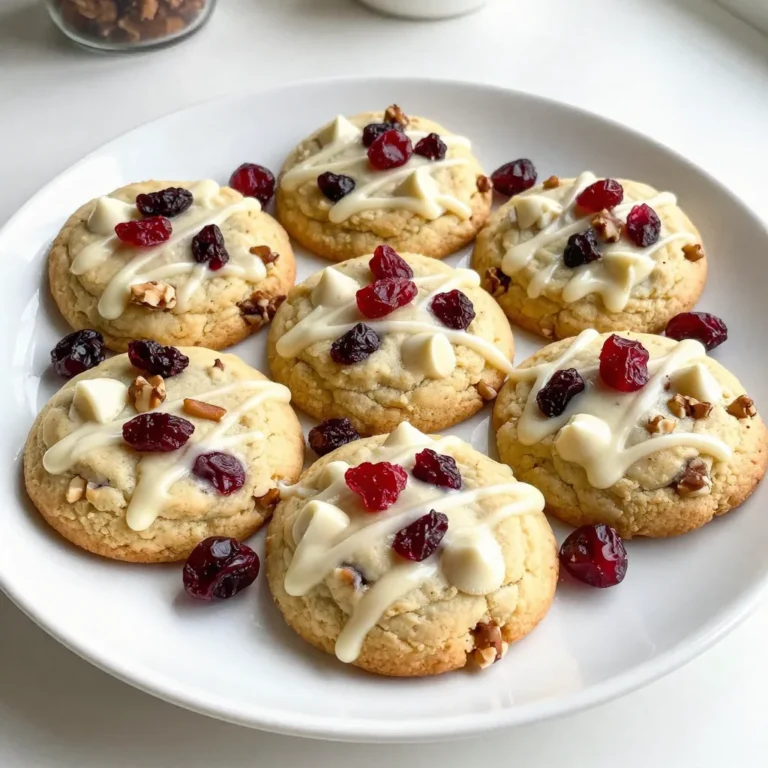
White Chocolate Cranberry Cookies Tasty Treat Recipe
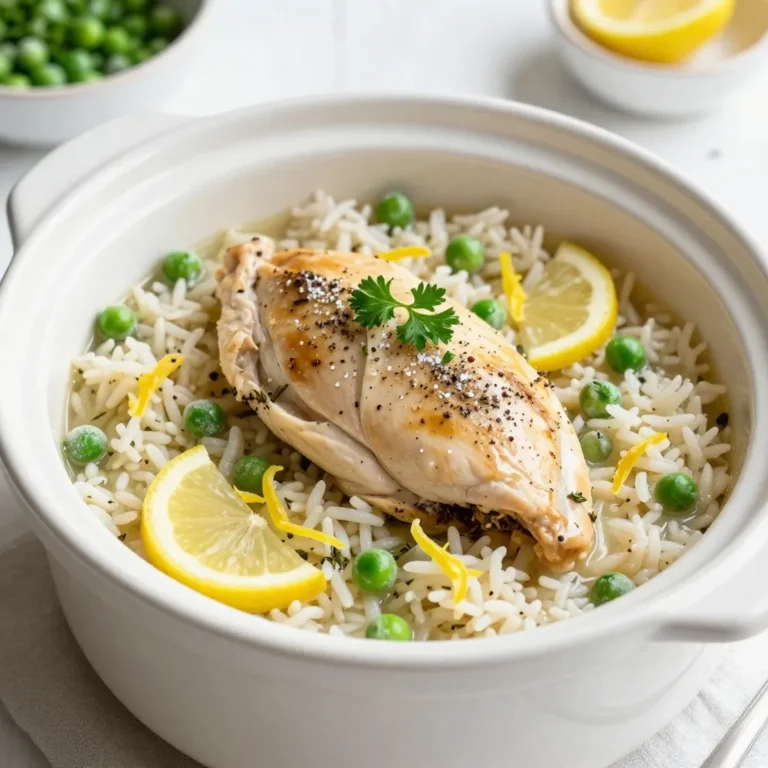
Slow Cooker Lemon Herb Chicken and Rice Delight
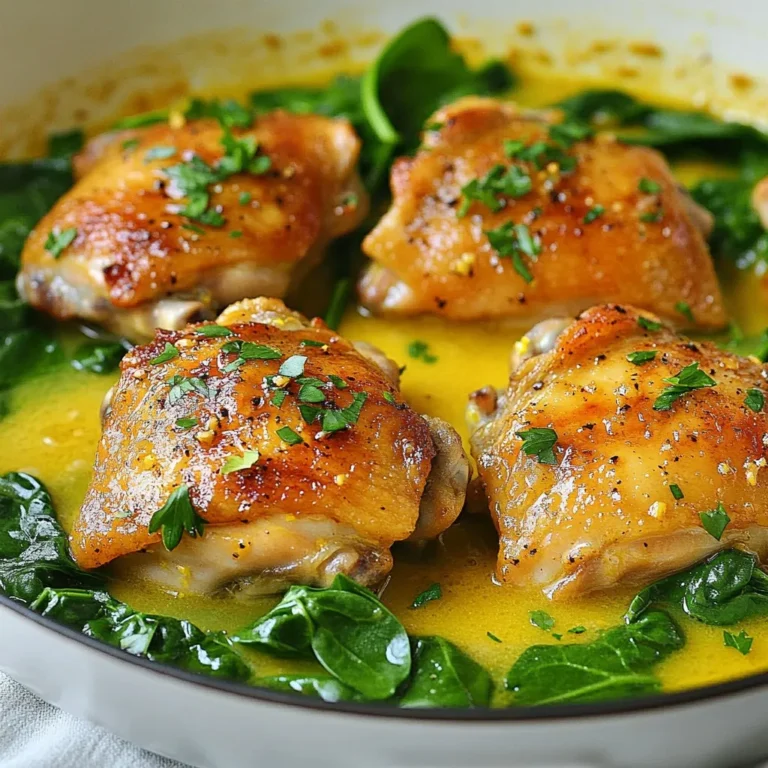
One-Pan Lemon Garlic Chicken Thighs Tasty Meal Idea
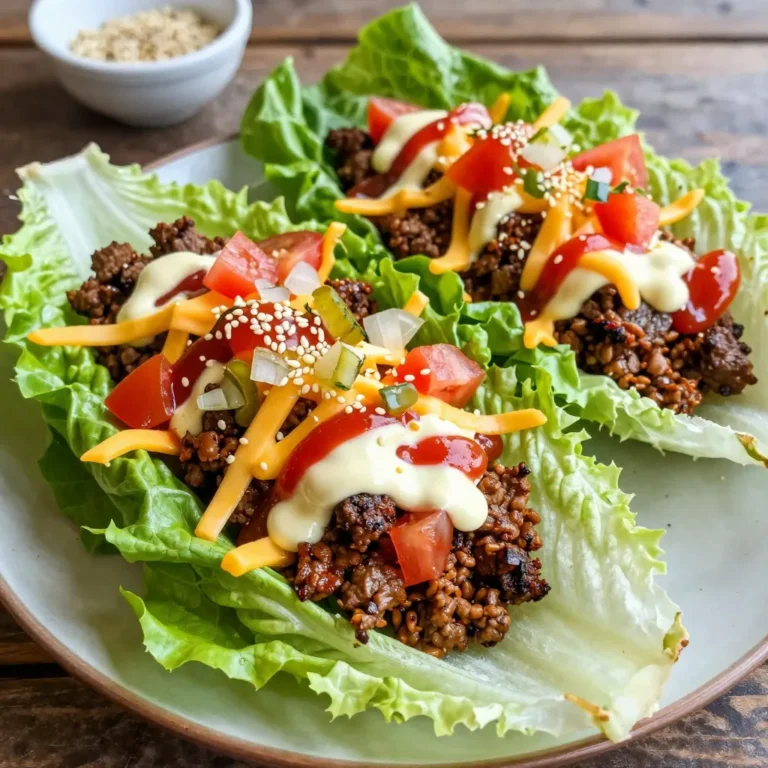
Big Mac Lettuce Wraps That Pack a Flavor Punch
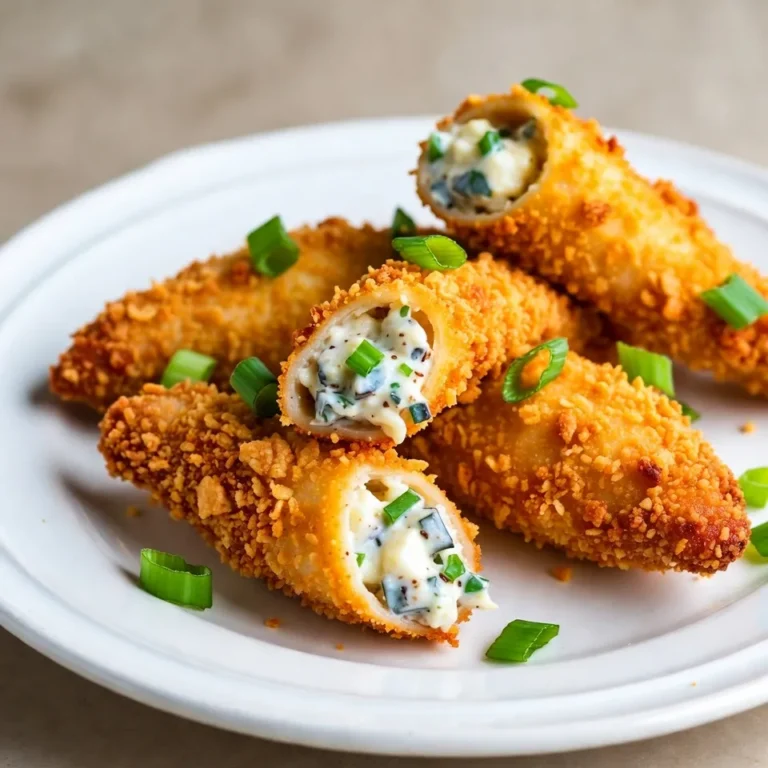
Crack Chicken Tenders Flavorful and Crispy Treat
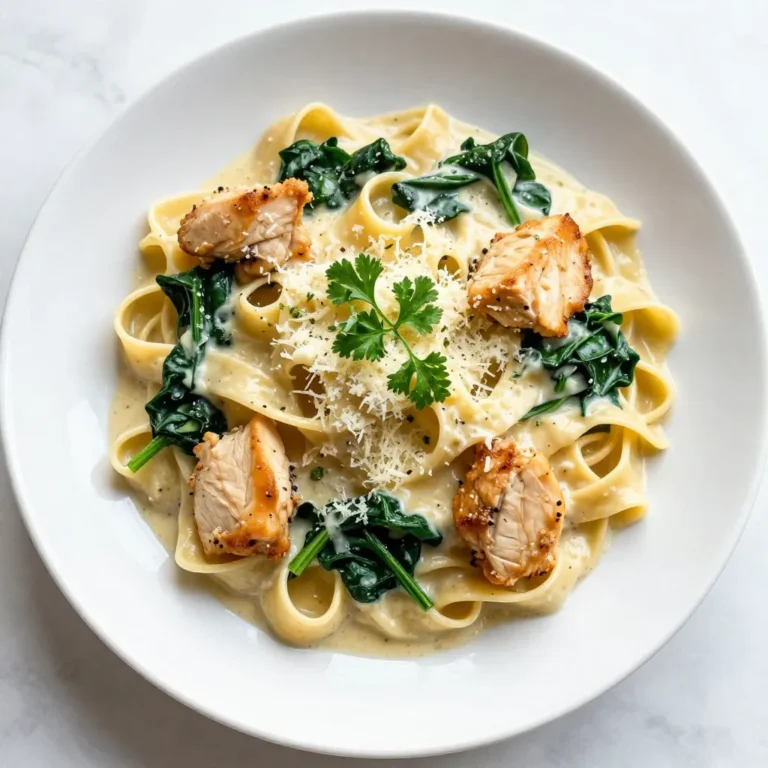
Easy Parmesan Chicken Pasta Simple and Quick Meal
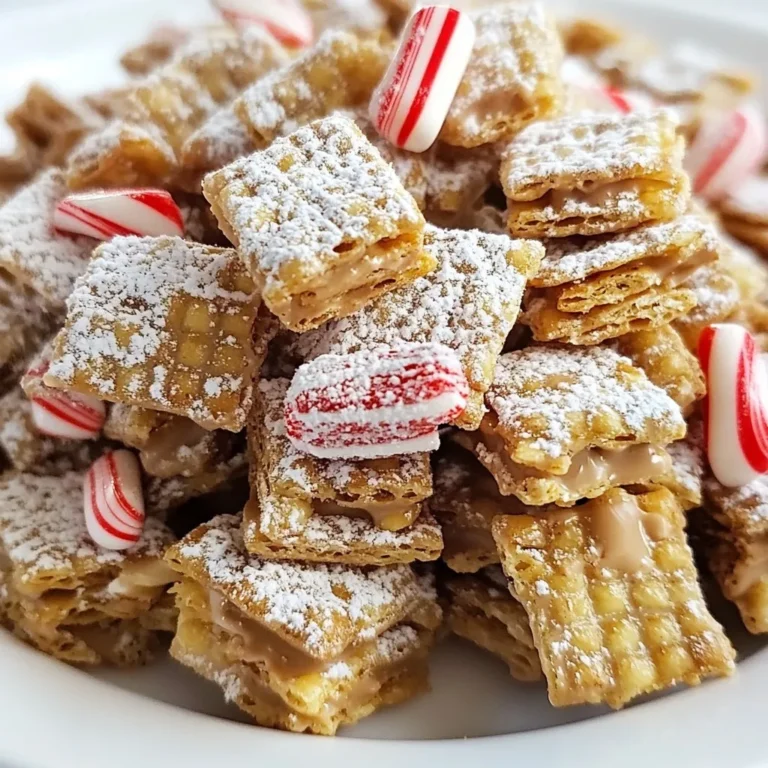
Peppermint Bark Puppy Chow Irresistible Holiday Treat
Foolproof Royal Icing Easy Recipe for Perfect Decor
1
2
…
86
NEXT