FREE DINNER EBOOK!
Get your copy!
Cookie Policy
GDPR Policy
Disclaimer
Terms Of Use
Visit my other site:
Fun Cookie Recipes
Home
Dinner
Desserts
Drinks
Appetizers
Contact
About
Privacy Policy
Home
Dinner
Desserts
Drinks
Appetizers
Contact
About
Privacy Policy
Cookie Policy
GDPR Policy
Disclaimer
Terms Of Use
Visit my other site:
Fun Cookie Recipes
HOME / CATEGORIES /
Latest
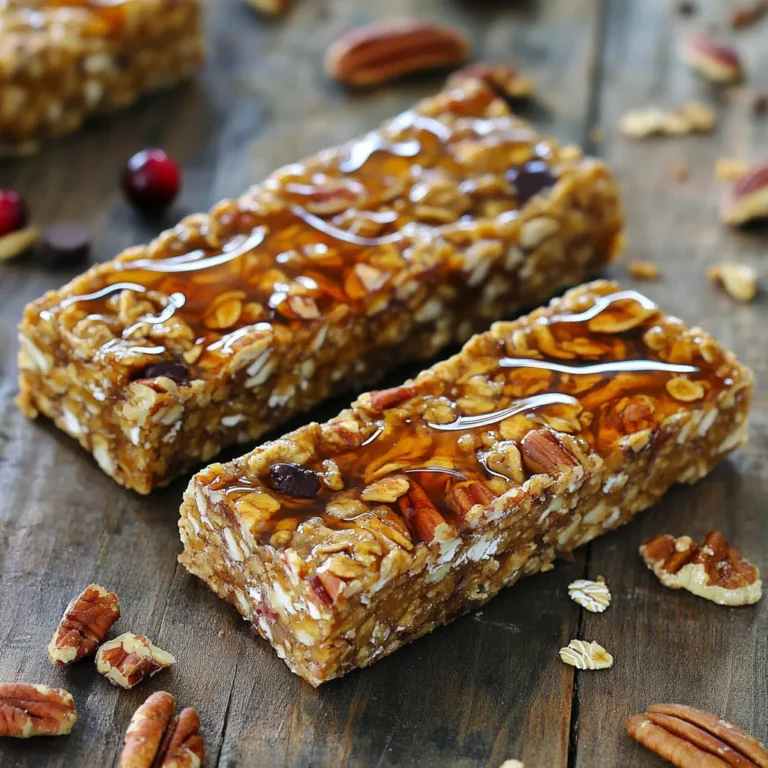
No-Bake Maple Pecan Energy Bars Nutritious and Tasty
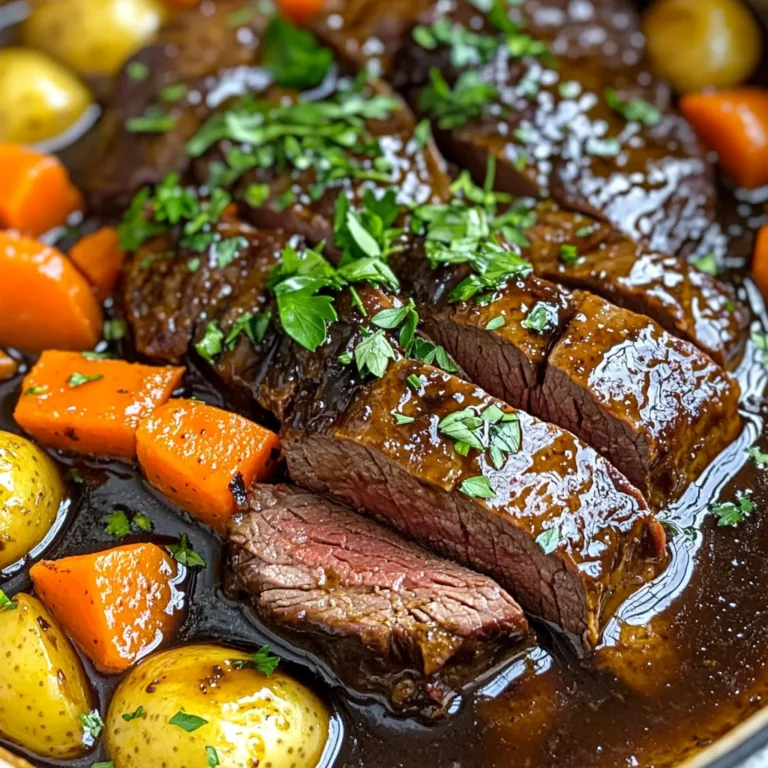
Slow Cooker Balsamic Pot Roast Flavorful and Tender Meal
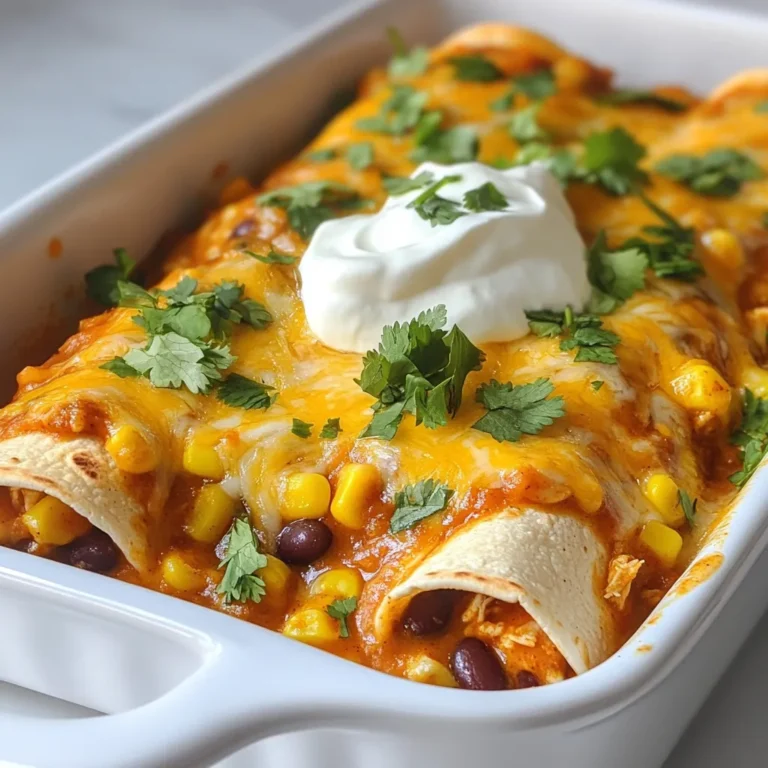
Quick Chicken Enchiladas Easy and Tasty Recipe
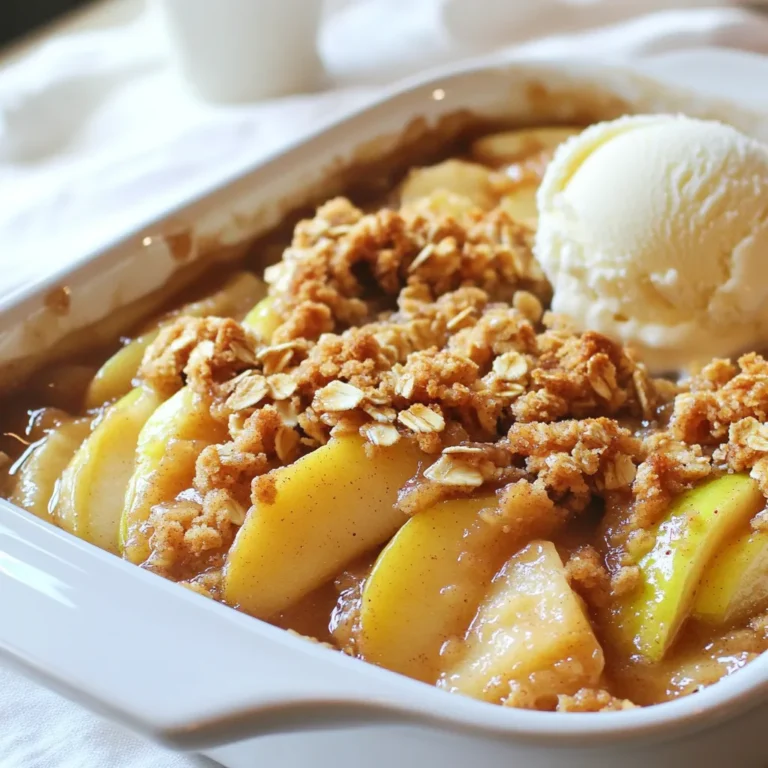
Best Apple Crisp Delightful Recipe for Every Occasion
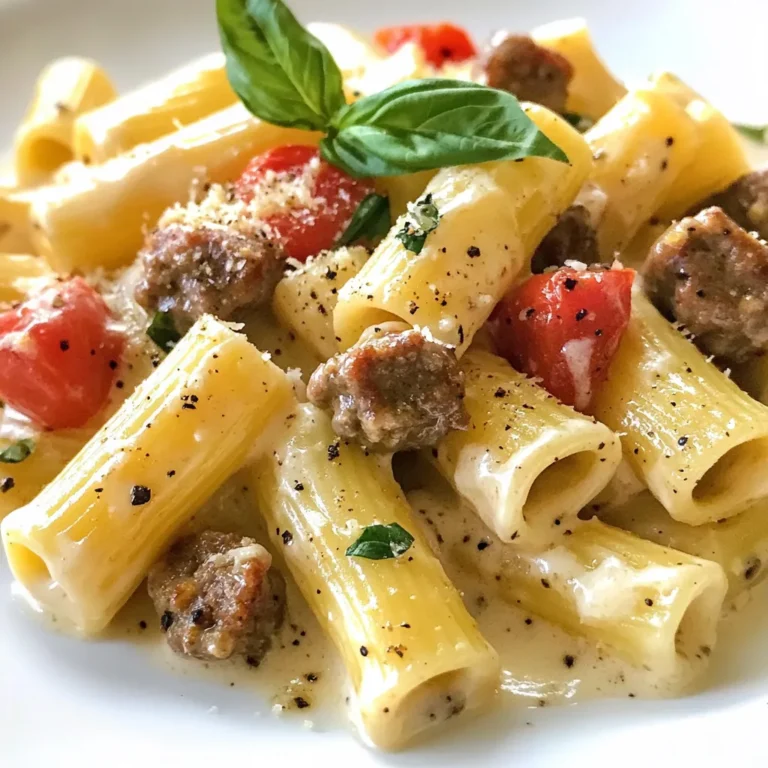
Creamy Italian Sausage Rigatoni Flavorful Pasta Dish
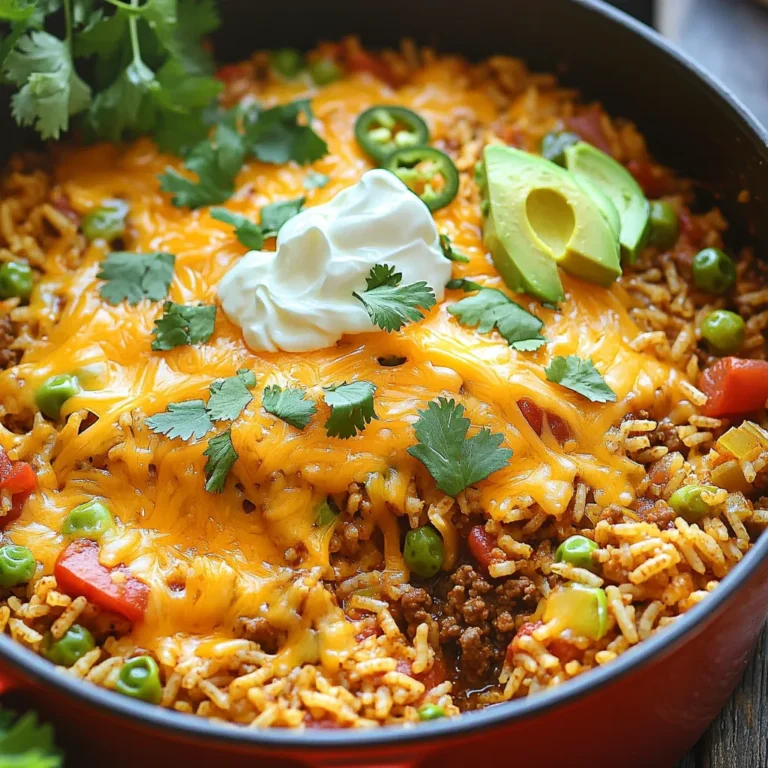
One-Pot Cheesy Taco Rice Quick and Easy Meal
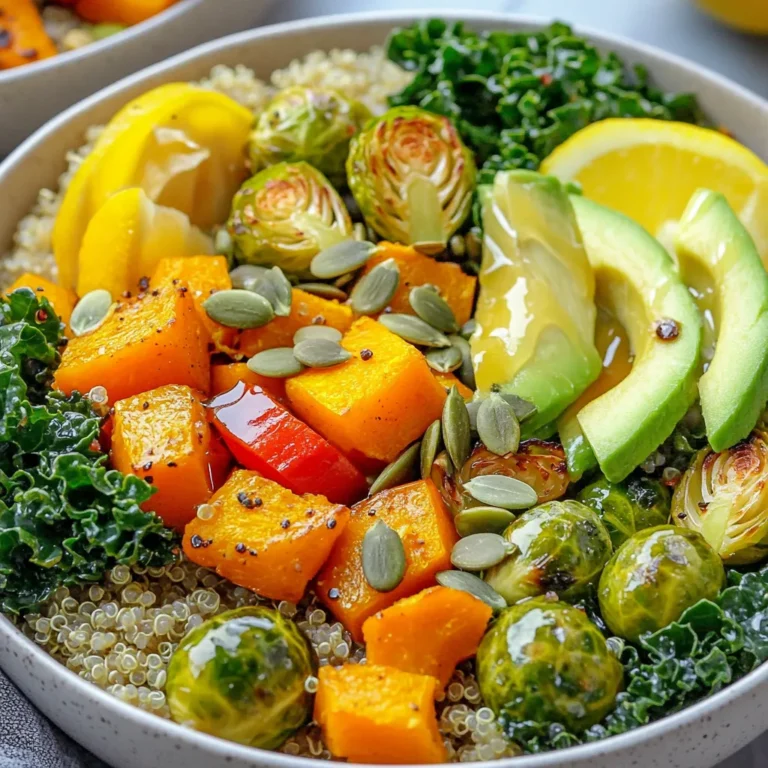
Harvest Veggie Grain Bowls Simple and Nutritious Meal
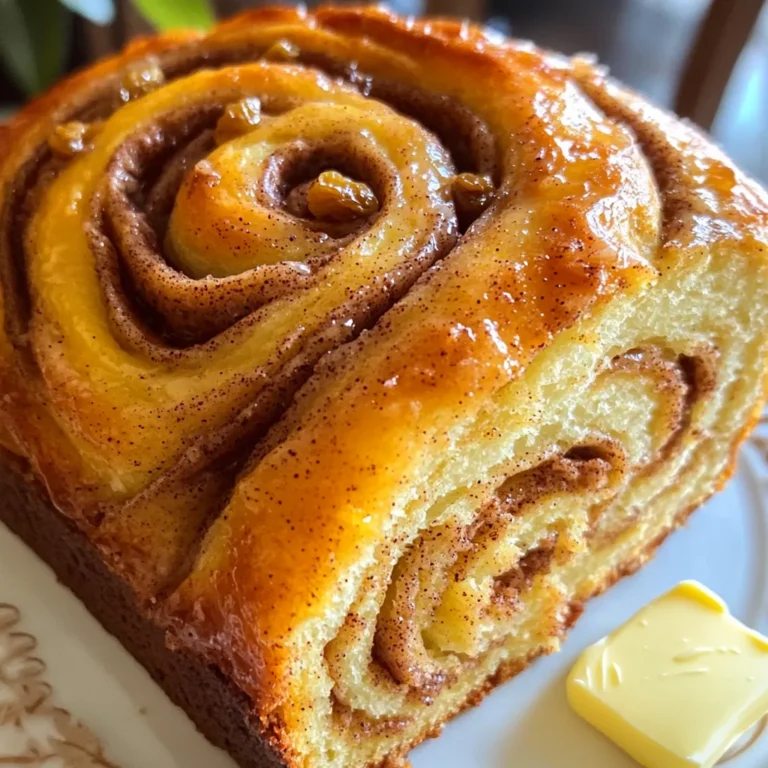
Cinnamon Swirl Bread Irresistibly Soft and Tasty Recipe
Air Fryer Buffalo Chicken Wraps Easy and Flavorful Dish
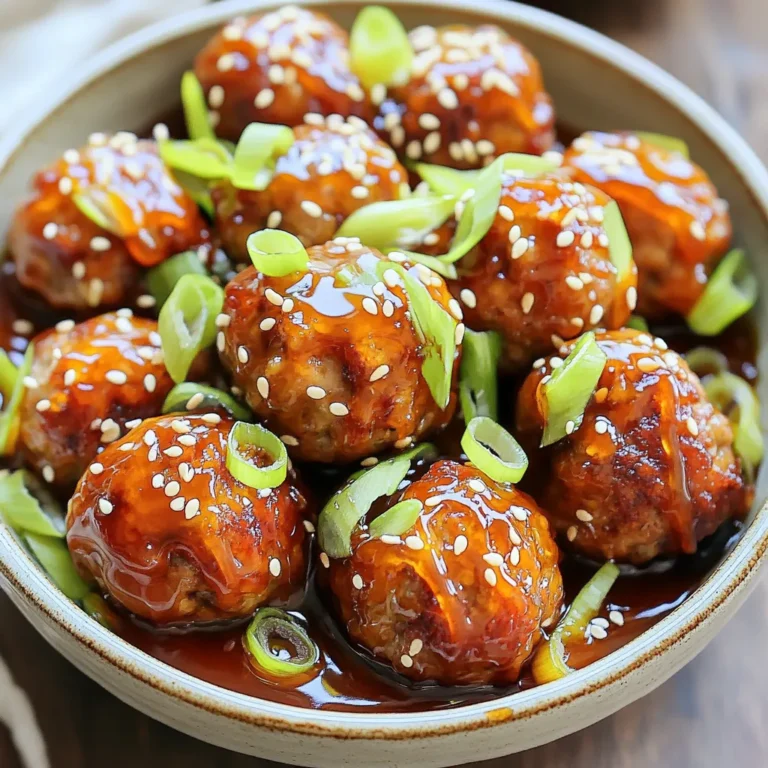
Slow Cooker Honey Garlic Meatballs Tasty and Easy Recipe
PREV
1
…
9
10
11
…
56
NEXT