FREE DINNER EBOOK!
Get your copy!
Cookie Policy
GDPR Policy
Disclaimer
Terms Of Use
Visit my other site:
Fun Cookie Recipes
Home
Dinner
Desserts
Drinks
Appetizers
Contact
About
Privacy Policy
Home
Dinner
Desserts
Drinks
Appetizers
Contact
About
Privacy Policy
Cookie Policy
GDPR Policy
Disclaimer
Terms Of Use
Visit my other site:
Fun Cookie Recipes
HOME / CATEGORIES /
Latest
Apple Cider Sangria Refreshing and Festive Drink
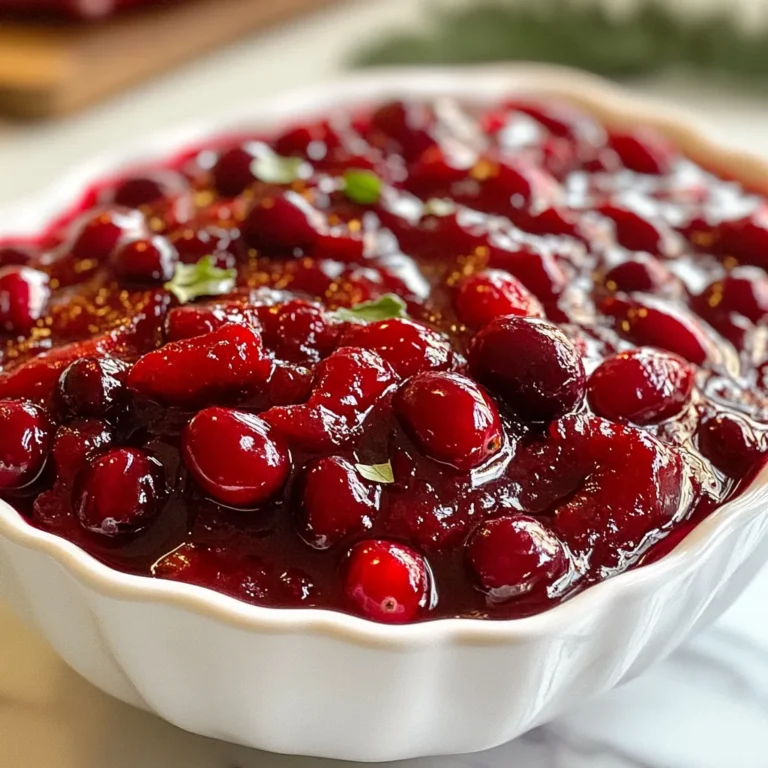
Cranberry Chipotle Turkey Glaze Flavorful Holiday Treat
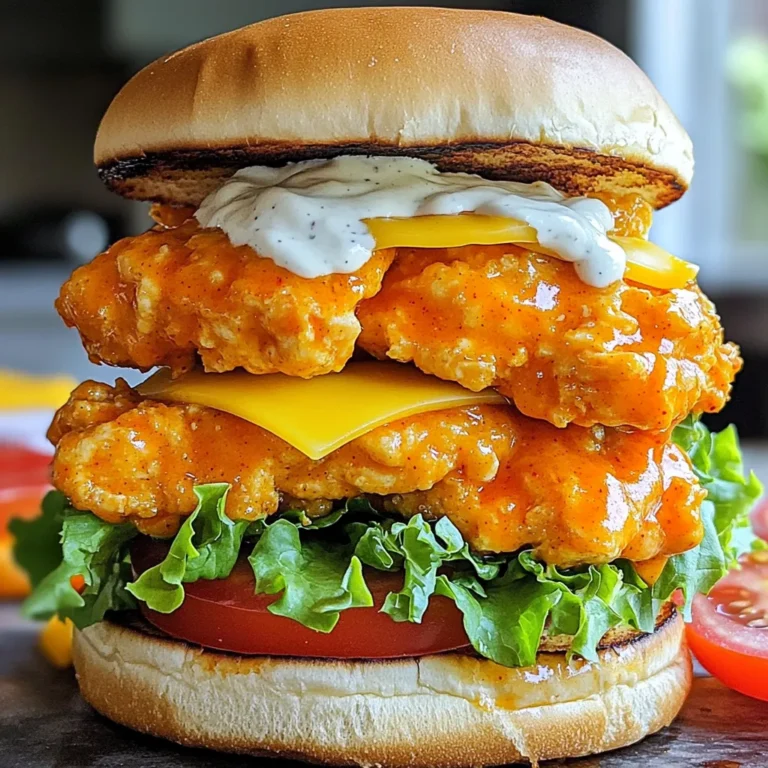
Air Fryer Buffalo Chicken Sandwiches Simple and Tasty
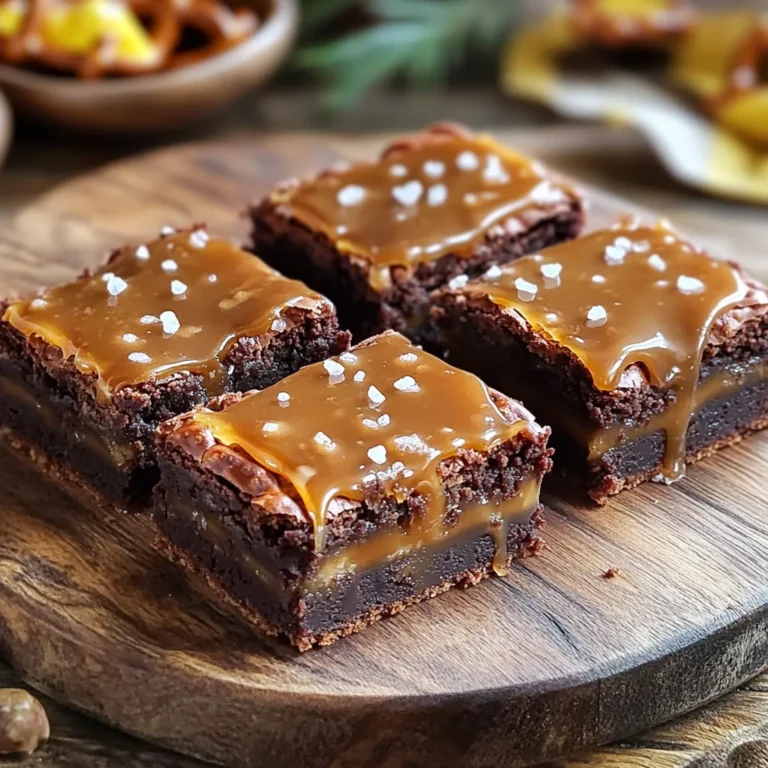
Salted Caramel Pretzel Brownie Bars Irresistible Treat
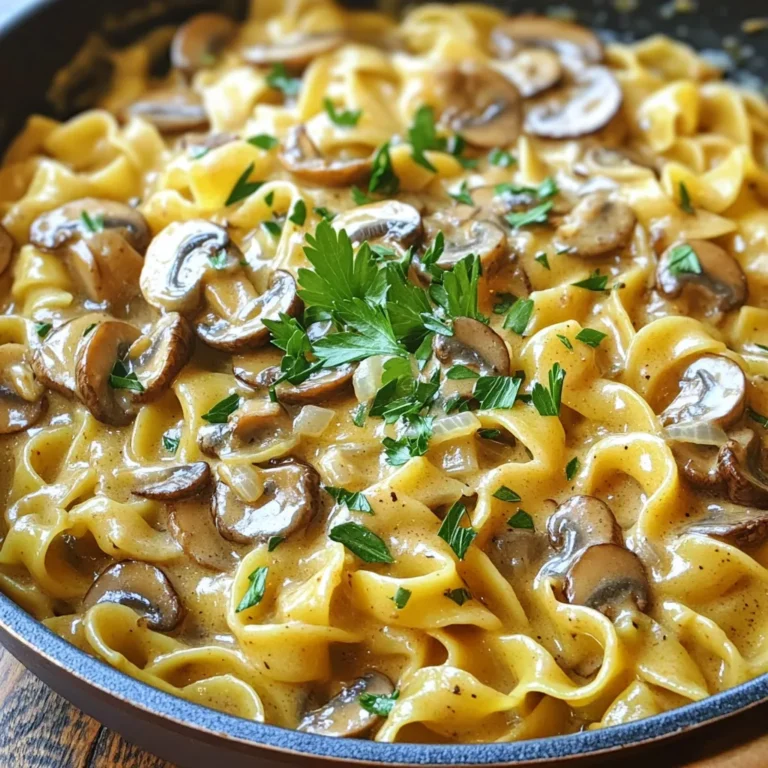
Minute Mushroom Stroganoff Simple and Tasty Meal
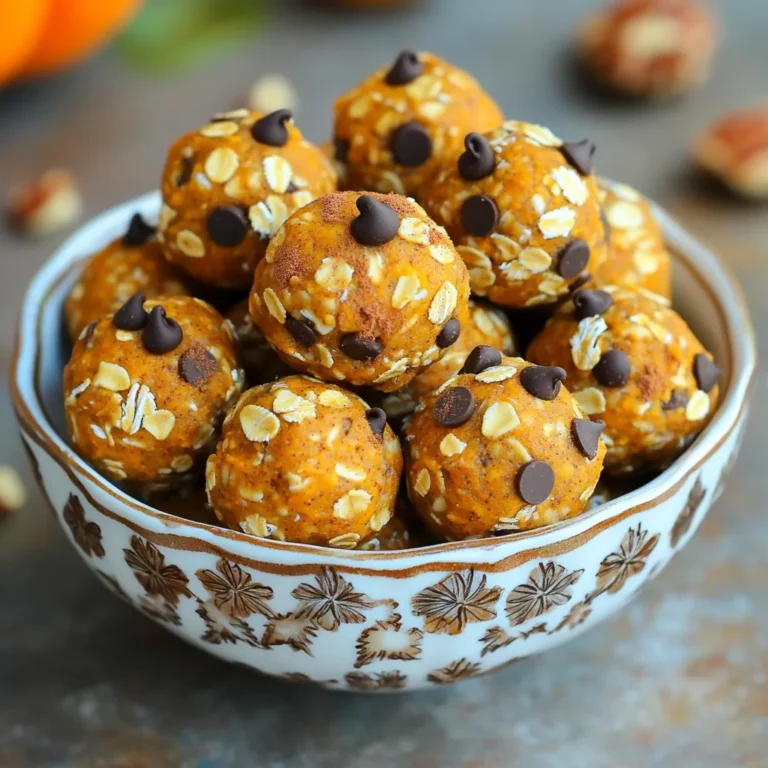
No Bake Pumpkin Spice Energy Balls Quick and Easy Snack
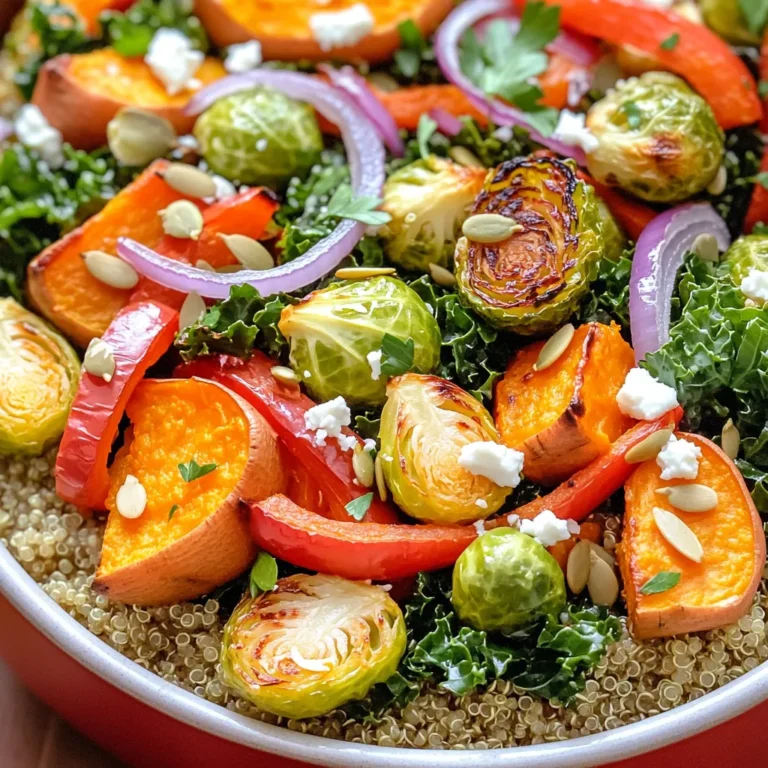
Sheet Pan Fall Veggie Grain Bowls Nourishing Delight
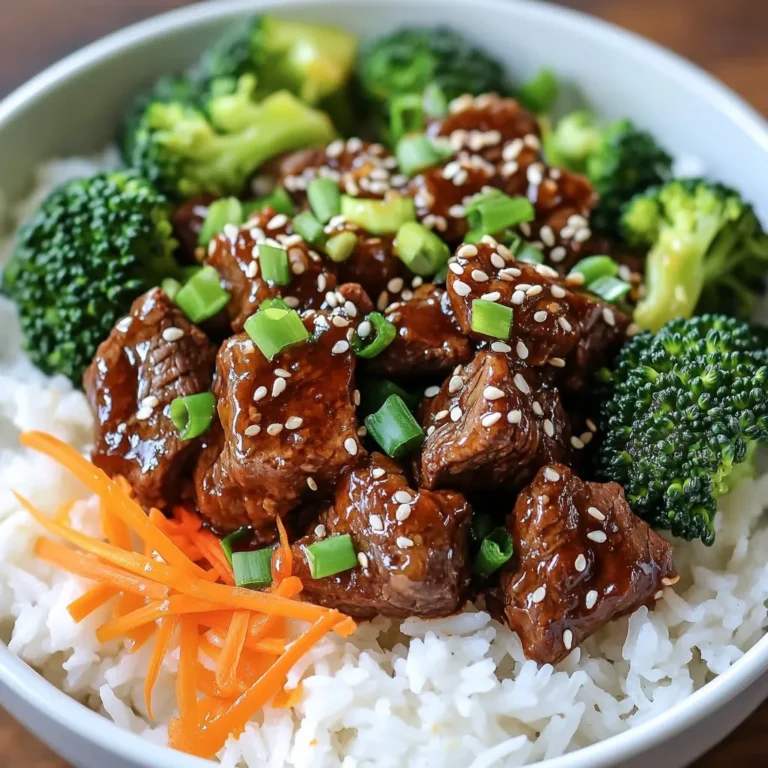
Slow Cooker Korean Beef Bowls Tasty and Easy Meal
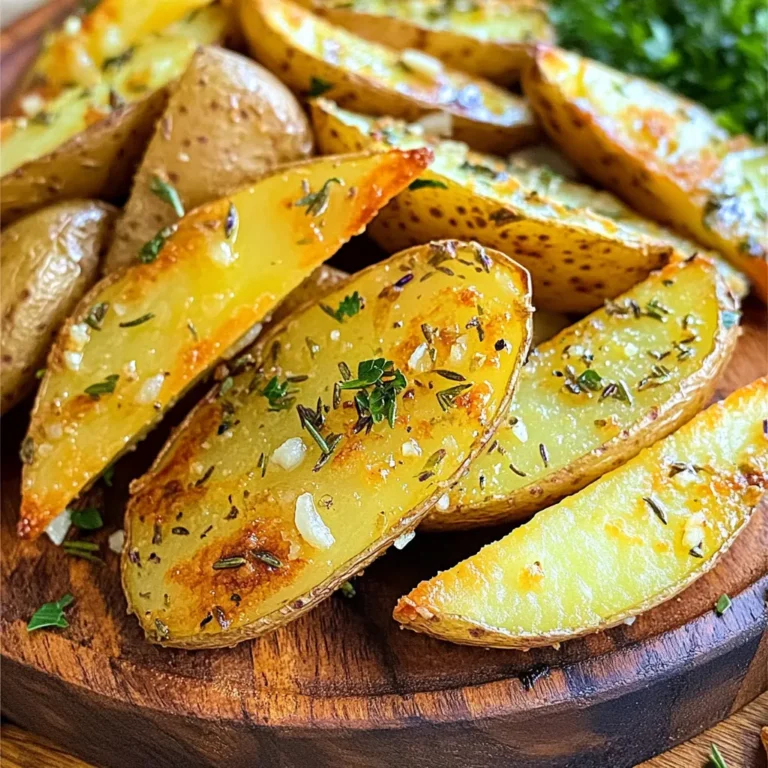
Air Fryer Garlic Herb Potato Wedges Crispy Delight
Apple Cider Donut Pancakes Flavorful and Simple Recipe
PREV
1
…
10
11
12
…
56
NEXT