FREE DINNER EBOOK!
Get your copy!
Cookie Policy
GDPR Policy
Disclaimer
Terms Of Use
Visit my other site:
Fun Cookie Recipes
Home
Dinner
Desserts
Drinks
Appetizers
Contact
About
Privacy Policy
Home
Dinner
Desserts
Drinks
Appetizers
Contact
About
Privacy Policy
Cookie Policy
GDPR Policy
Disclaimer
Terms Of Use
Visit my other site:
Fun Cookie Recipes
HOME / CATEGORIES /
Latest
Bakery-Style Cinnamon Swirl Pound Cake Delight
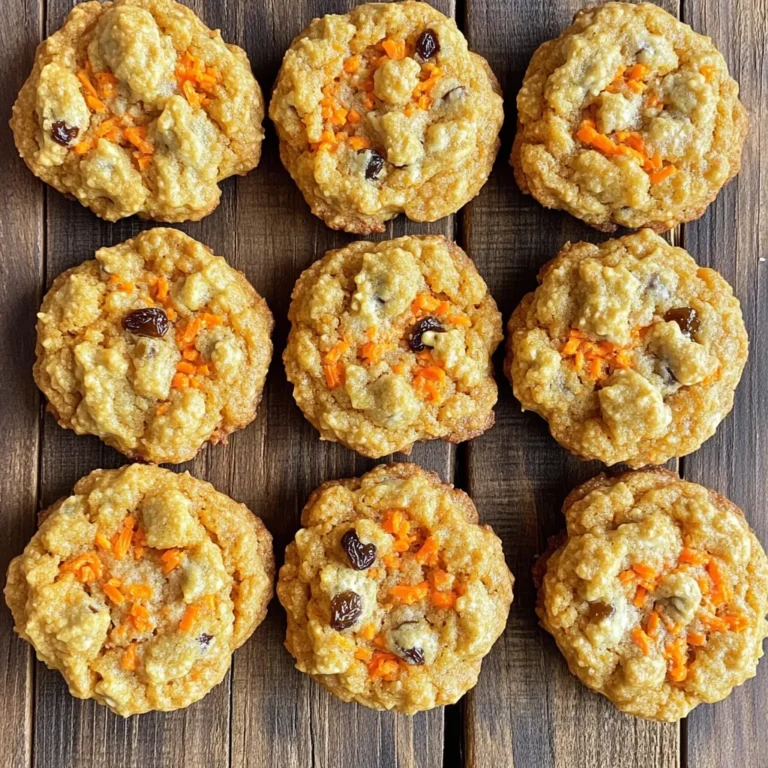
Carrot Cake Breakfast Cookies Tasty and Easy Recipe
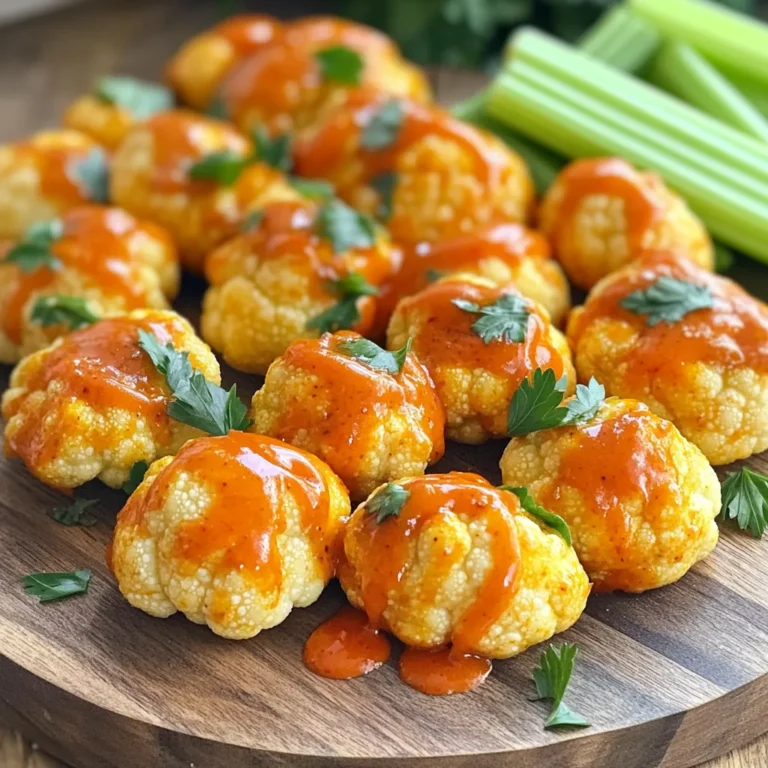
Crispy Air Fryer Buffalo Cauliflower Wings Delight
Slow Cooker Beef Stroganoff with Egg Noodles Delight
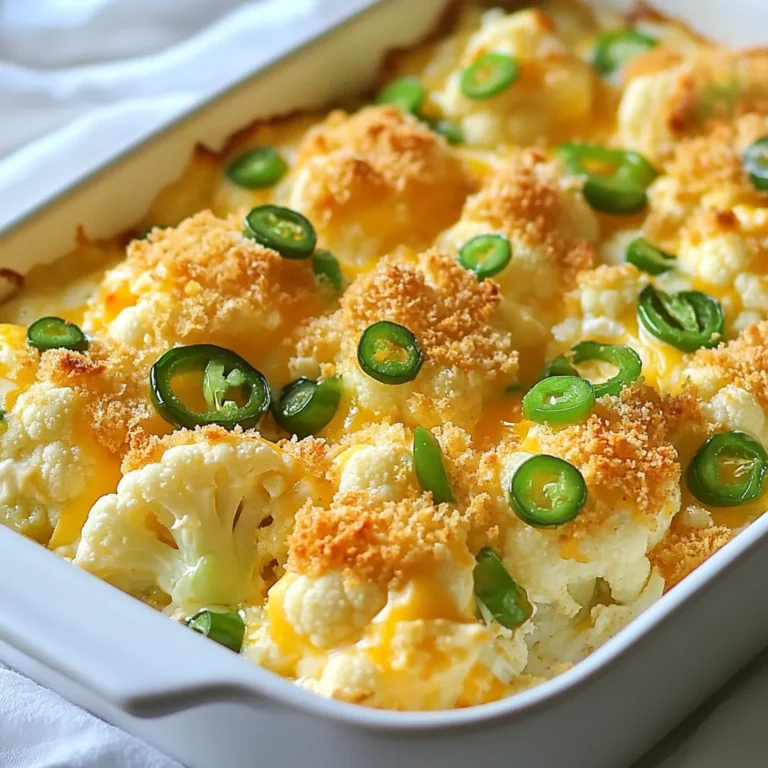
Cauliflower Jalapeño Popper Casserole Flavor Boost
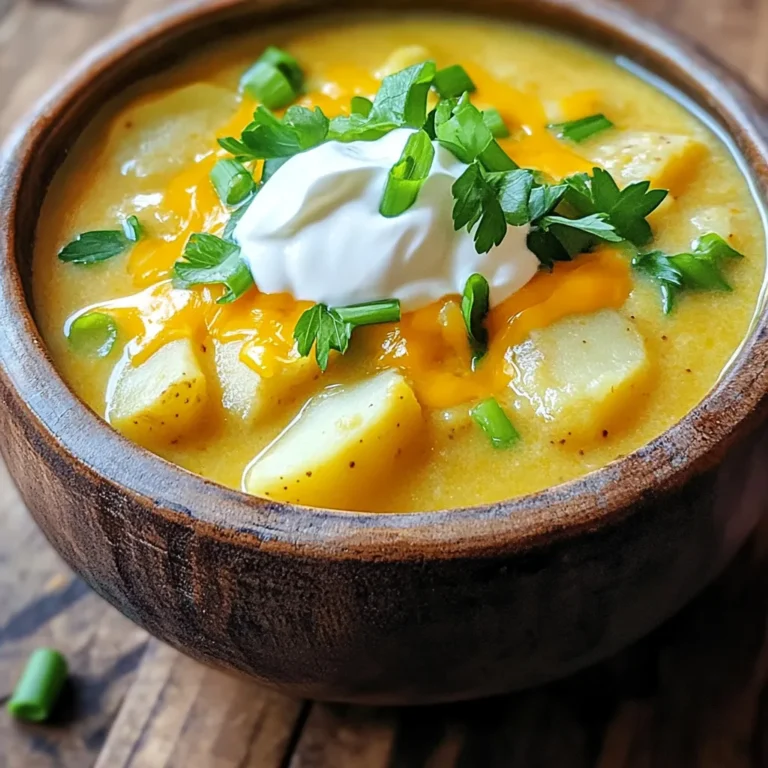
Loaded Baked Potato Soup Creamy and Comforting Bowl
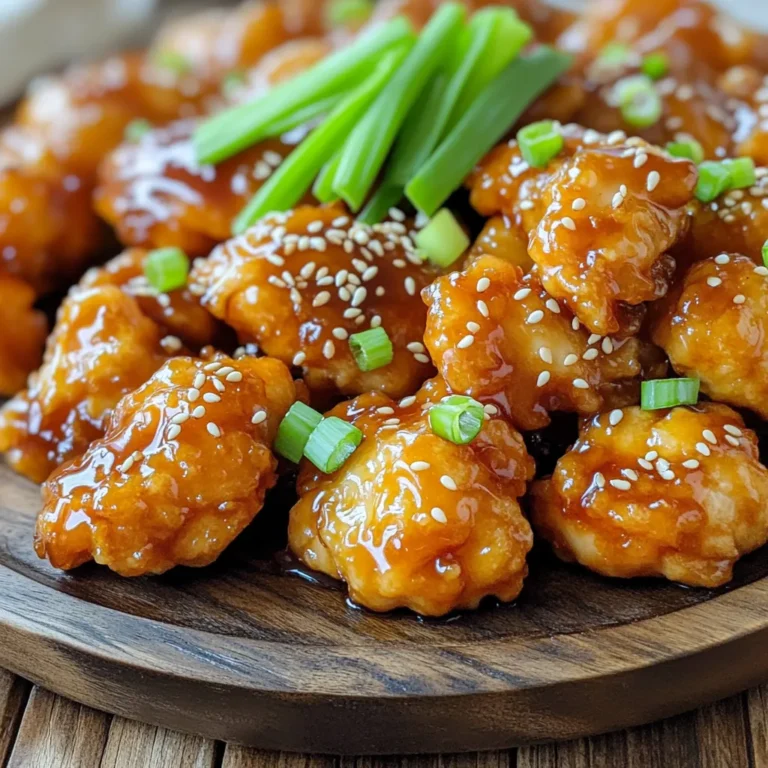
Air Fryer Honey Sesame Chicken Easy Recipe Delight
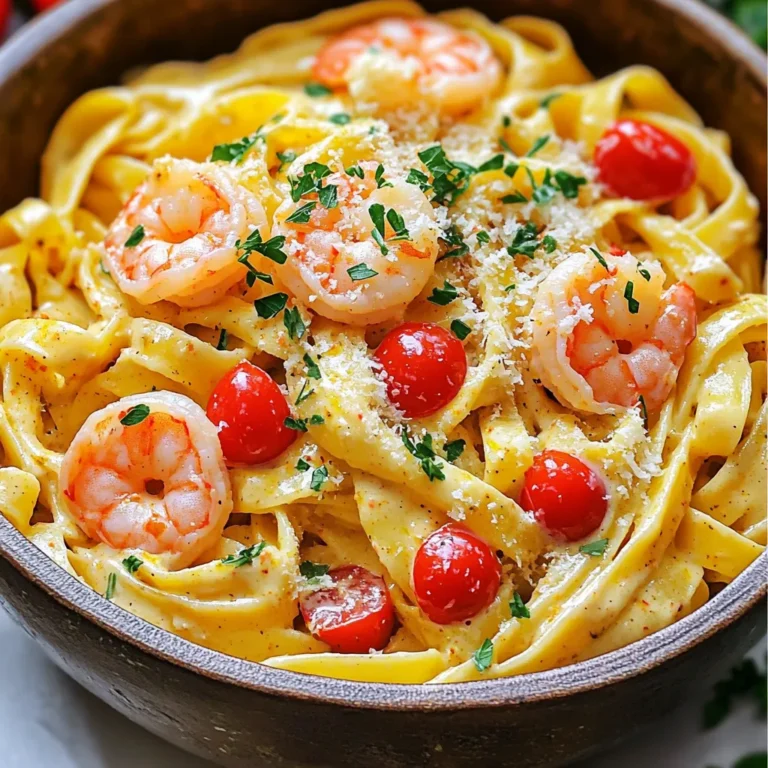
One-Pot Creamy Cajun Shrimp Pasta Easy Dinner Recipe
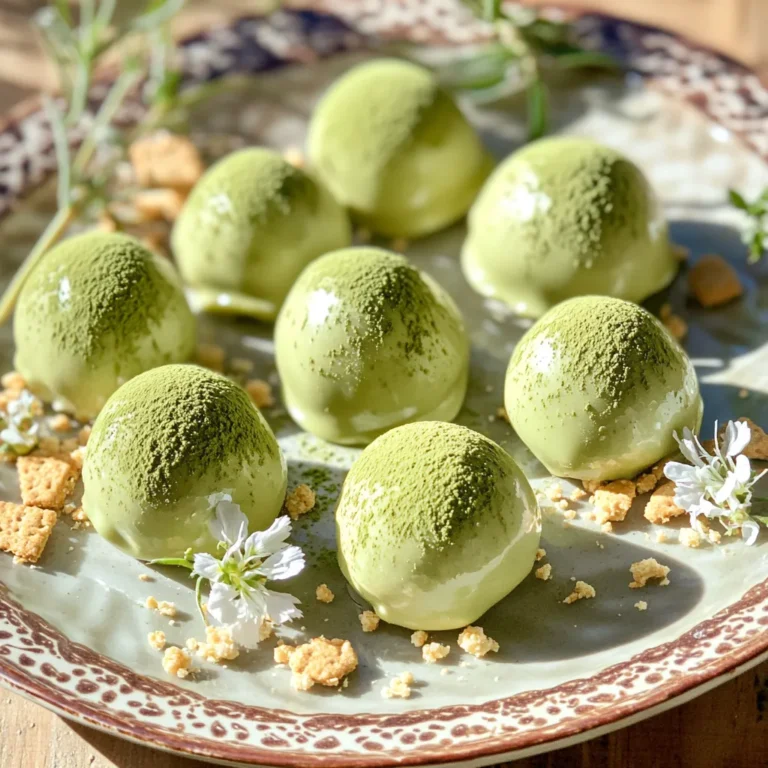
No-Bake Matcha White Chocolate Truffles Delightfully Easy
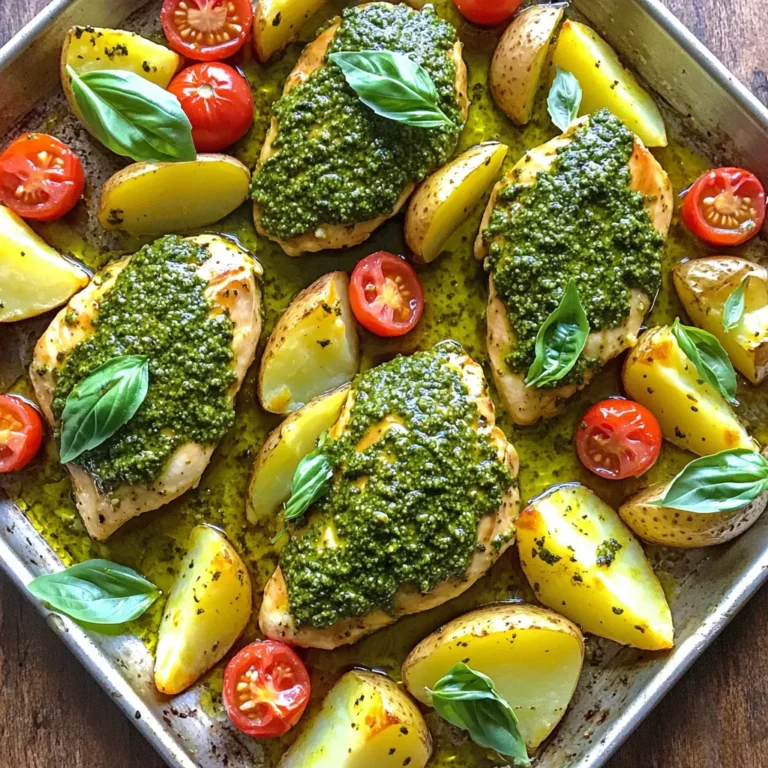
Sheet-Pan Pesto Chicken and Potatoes Delight
PREV
1
…
12
13
14
…
56
NEXT