FREE DINNER EBOOK!
Get your copy!
Cookie Policy
GDPR Policy
Disclaimer
Terms Of Use
Visit my other site:
Fun Cookie Recipes
Home
Dinner
Desserts
Drinks
Appetizers
Contact
About
Privacy Policy
Home
Dinner
Desserts
Drinks
Appetizers
Contact
About
Privacy Policy
Cookie Policy
GDPR Policy
Disclaimer
Terms Of Use
Visit my other site:
Fun Cookie Recipes
HOME / CATEGORIES /
Latest
Snickerdoodle Blondies Delightful and Easy Recipe
One-Pot Creamy Cajun Chicken Pasta Delightful Meal
Air Fryer Teriyaki Salmon Bites Tasty and Easy Recipe
Pumpkin Snickerdoodle Cookie Bars Irresistible Treat
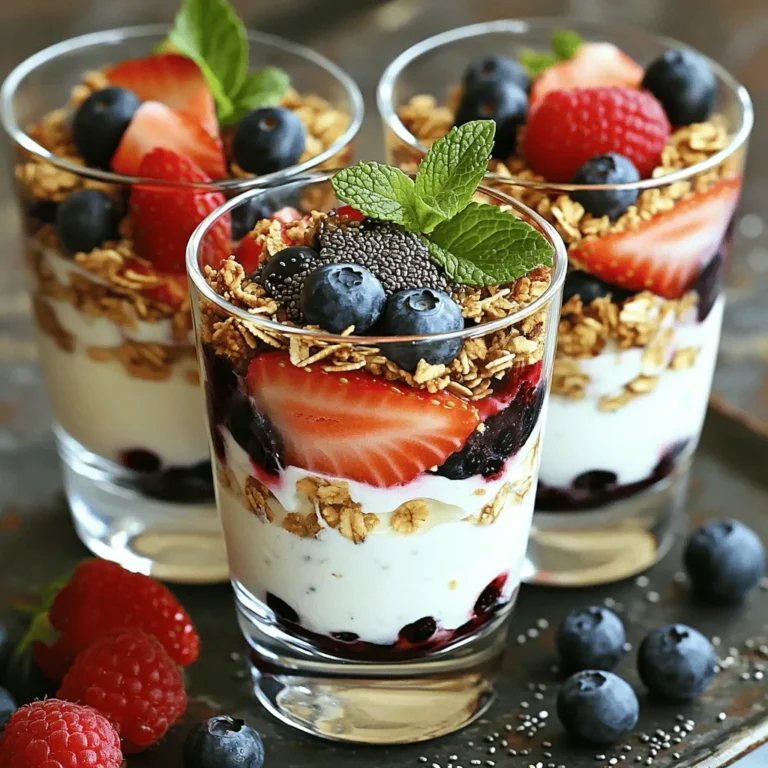
Protein Greek Yogurt Parfaits Easy and Healthy Snack
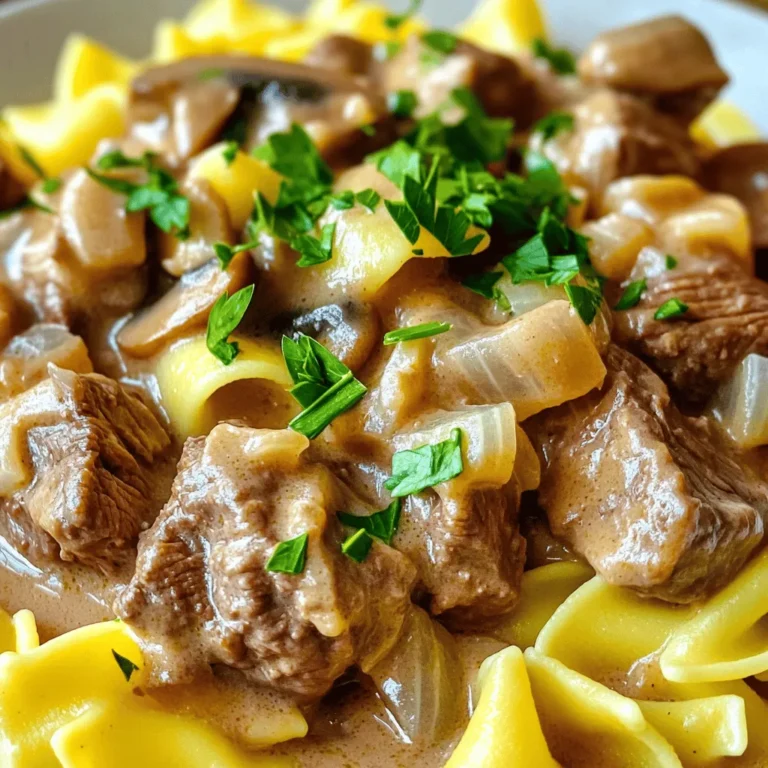
Slow Cooker Beef Stroganoff Egg Noodles Savory Dish
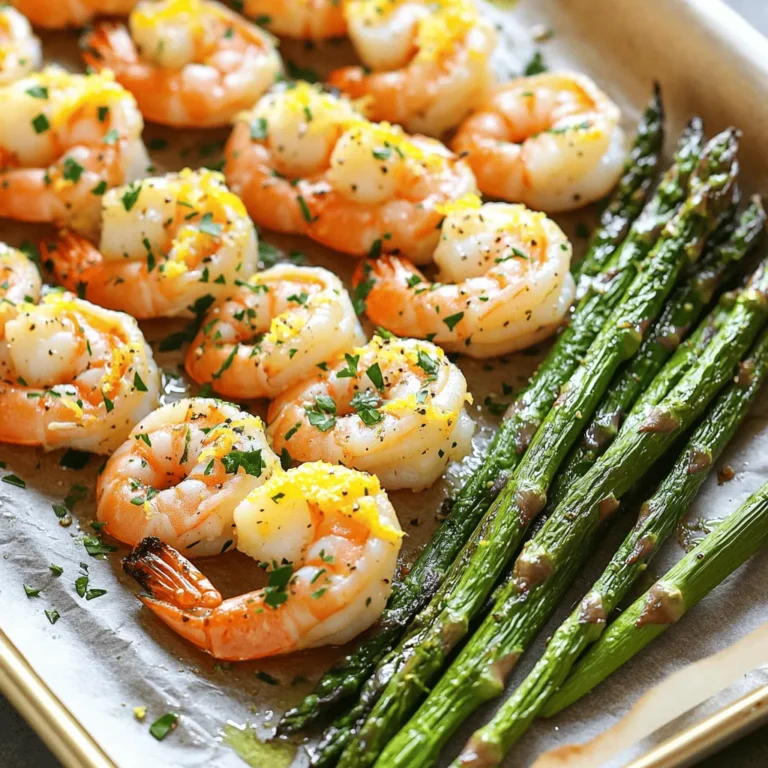
Sheet Pan Lemon Garlic Shrimp Asparagus Delight
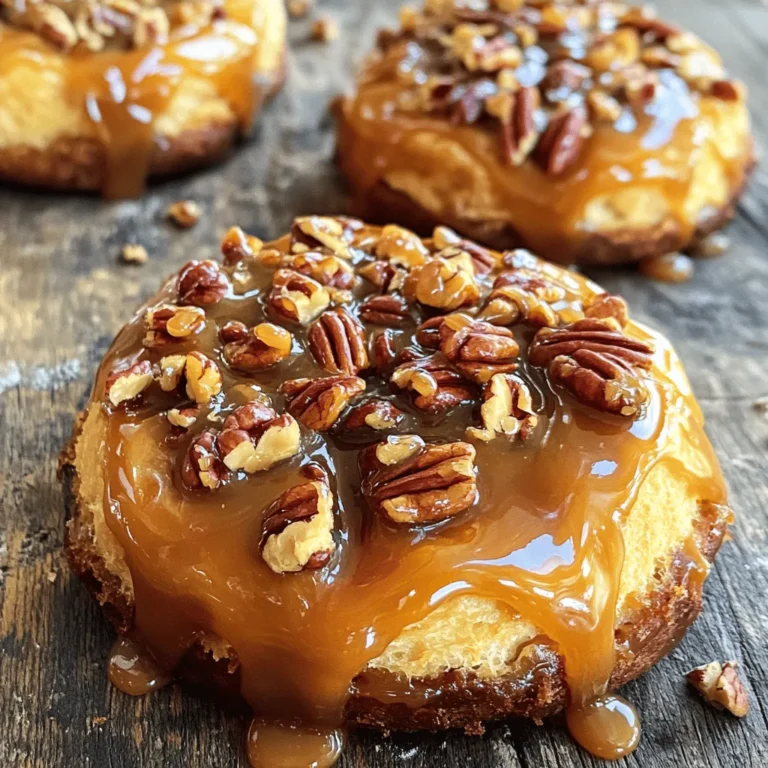
Caramel Pecan Sticky Buns Irresistible Sweet Treats
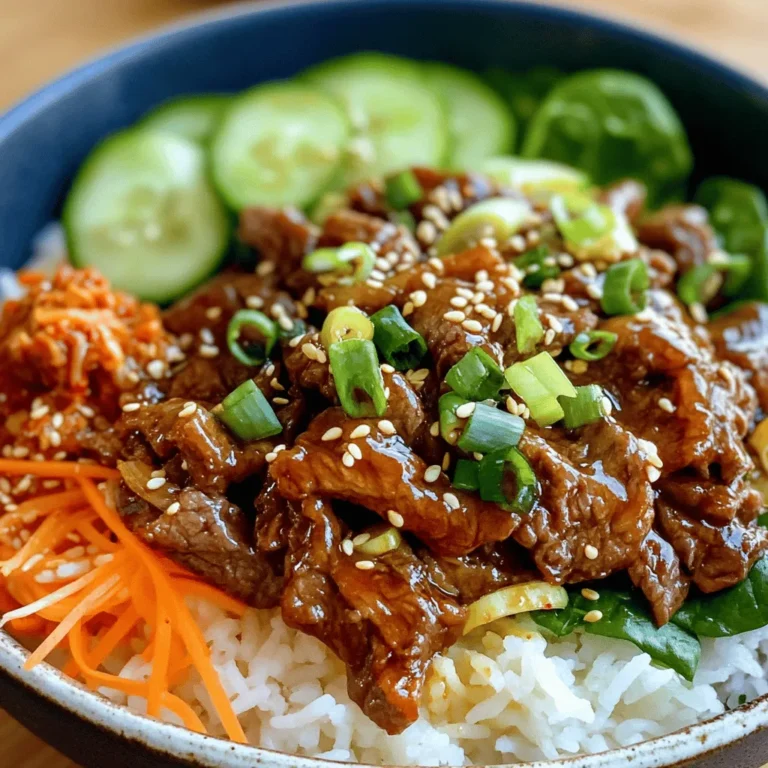
Beef Bulgogi Bowls Flavorful and Simple Meal Idea
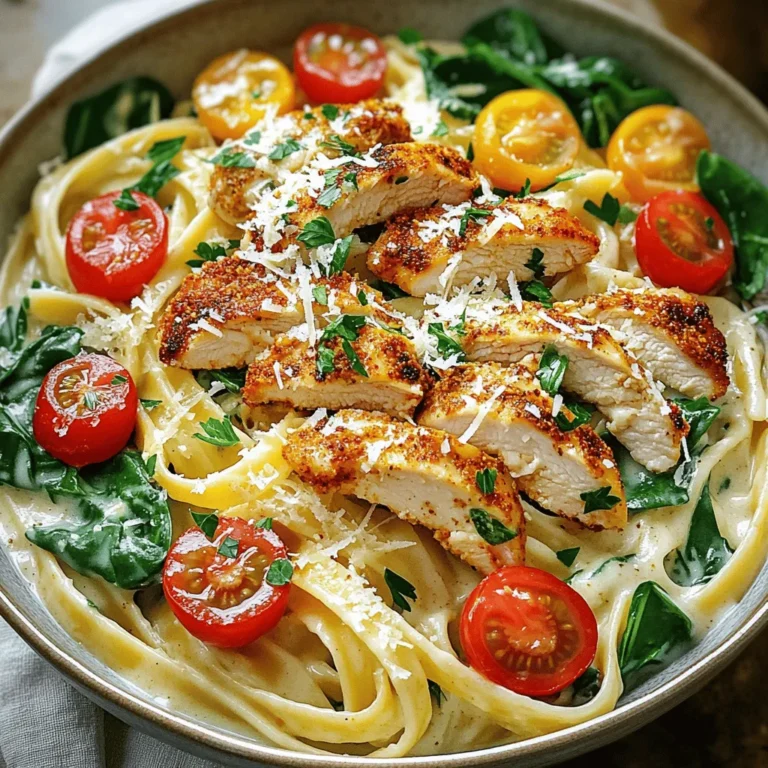
One Pot Creamy Cajun Chicken Alfredo Delight
PREV
1
…
15
16
17
…
56
NEXT