FREE DINNER EBOOK!
Get your copy!
Cookie Policy
GDPR Policy
Disclaimer
Terms Of Use
Visit my other site:
Fun Cookie Recipes
Home
Dinner
Desserts
Drinks
Appetizers
Contact
About
Privacy Policy
Home
Dinner
Desserts
Drinks
Appetizers
Contact
About
Privacy Policy
Cookie Policy
GDPR Policy
Disclaimer
Terms Of Use
Visit my other site:
Fun Cookie Recipes
HOME / CATEGORIES /
Latest
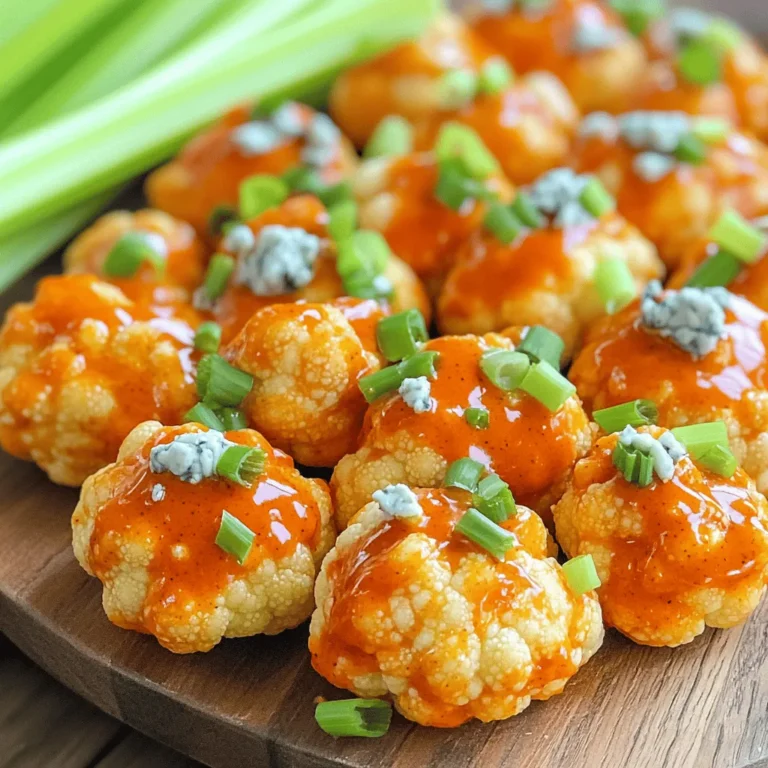
Air Fryer Buffalo Cauliflower Bites Flavorful Snack Idea
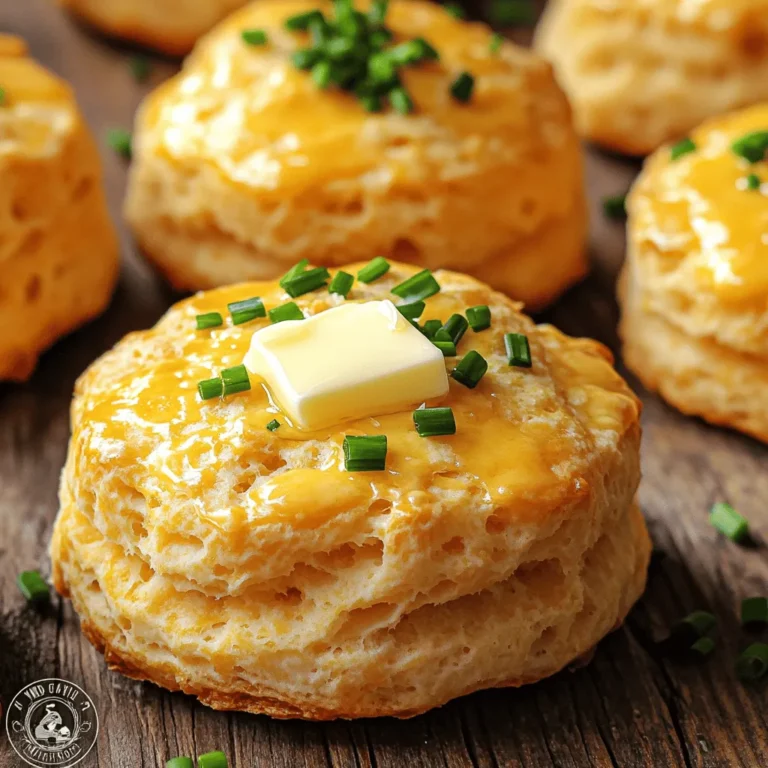
Cheddar Chive Biscuits Fresh and Fluffy Recipe
Flavorful Meal Prep Ground Beef Teriyaki Recipe
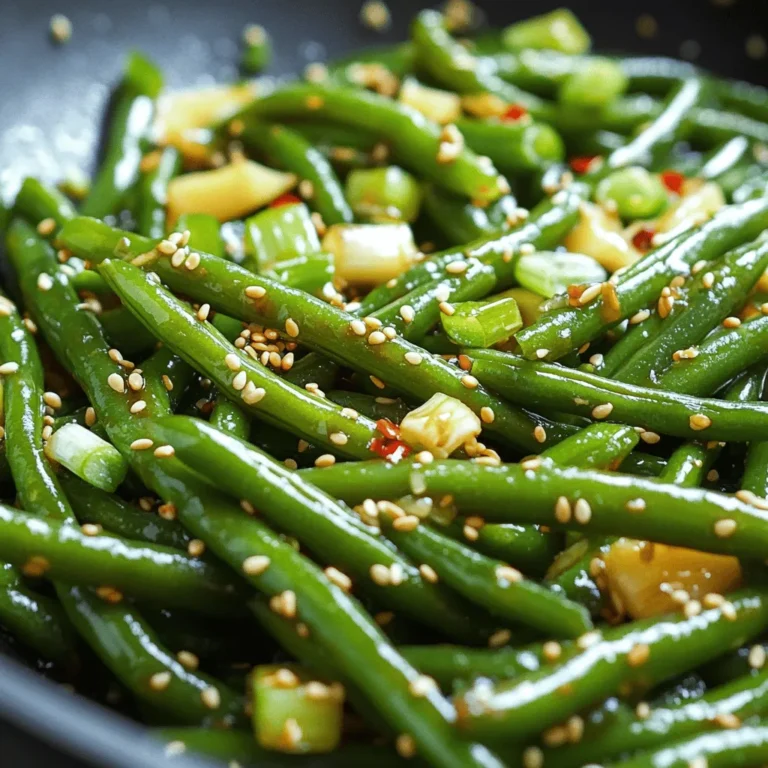
Savory Sesame Garlic Green Beans Stir Fry Recipe
Easy One-Pot Mushroom Risotto Simple Creamy Delight
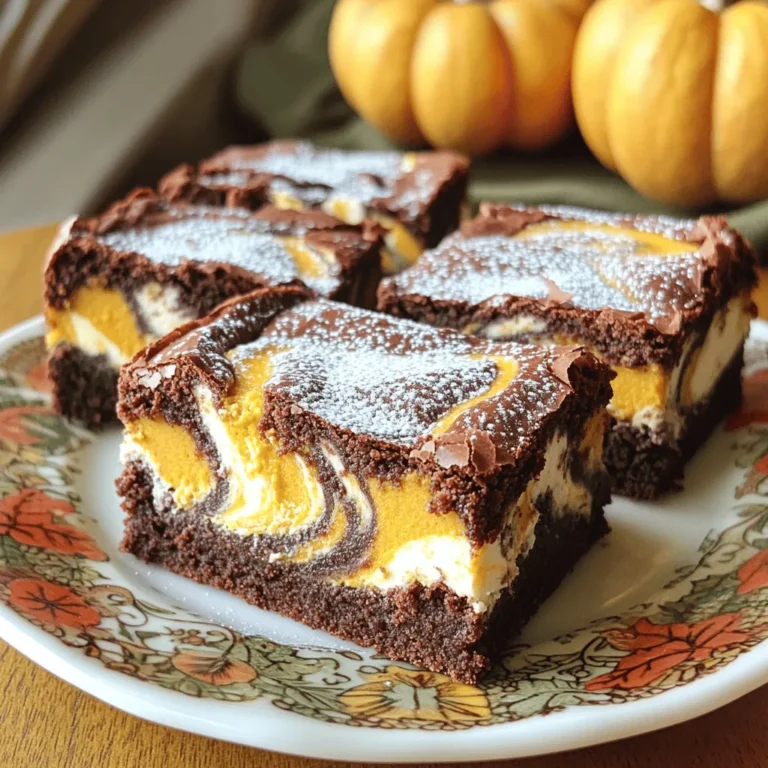
Pumpkin Cream Cheese Swirl Brownies Delightful Treat
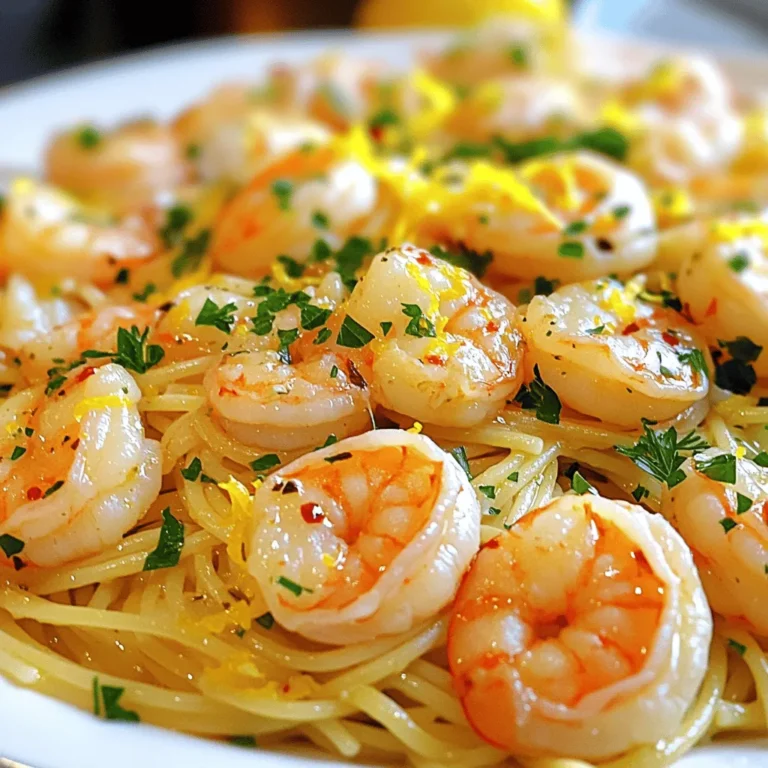
Min Garlic Shrimp Scampi Quick and Tasty Recipe
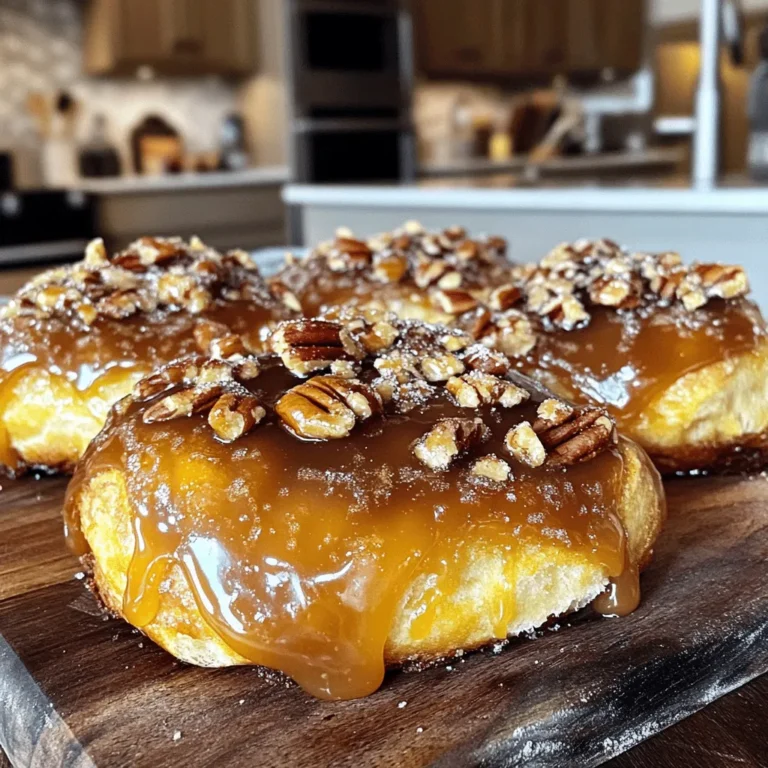
Caramel Pecan Sticky Buns Soft and Sweet Delight
Air Fryer Honey Sriracha Cauliflower Delight
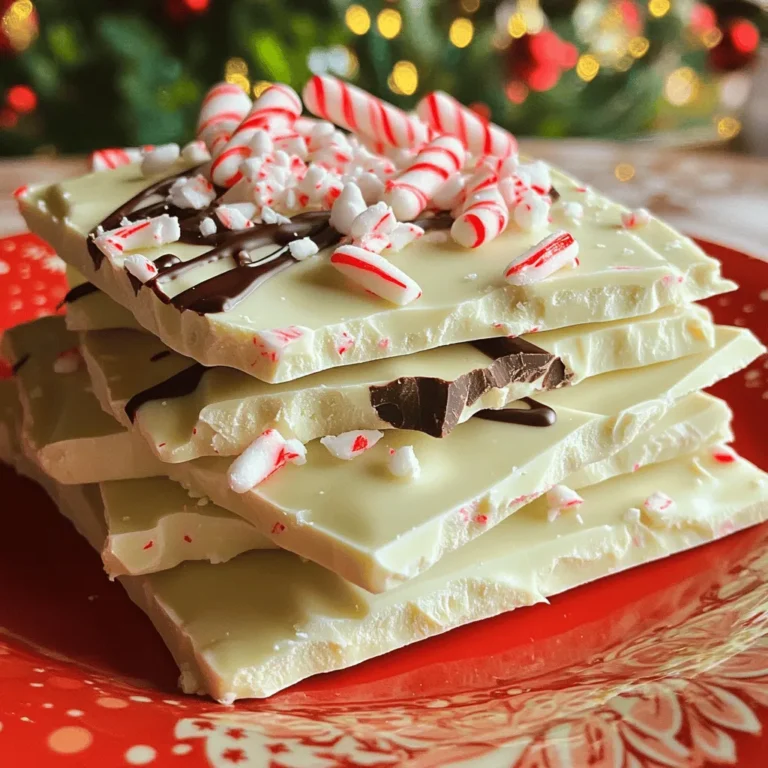
White Chocolate Peppermint Bark Simple Holiday Treat
PREV
1
…
16
17
18
…
56
NEXT