FREE DINNER EBOOK!
Get your copy!
Cookie Policy
GDPR Policy
Disclaimer
Terms Of Use
Visit my other site:
Fun Cookie Recipes
Home
Dinner
Desserts
Drinks
Appetizers
Contact
About
Privacy Policy
Home
Dinner
Desserts
Drinks
Appetizers
Contact
About
Privacy Policy
Cookie Policy
GDPR Policy
Disclaimer
Terms Of Use
Visit my other site:
Fun Cookie Recipes
HOME / CATEGORIES /
Latest
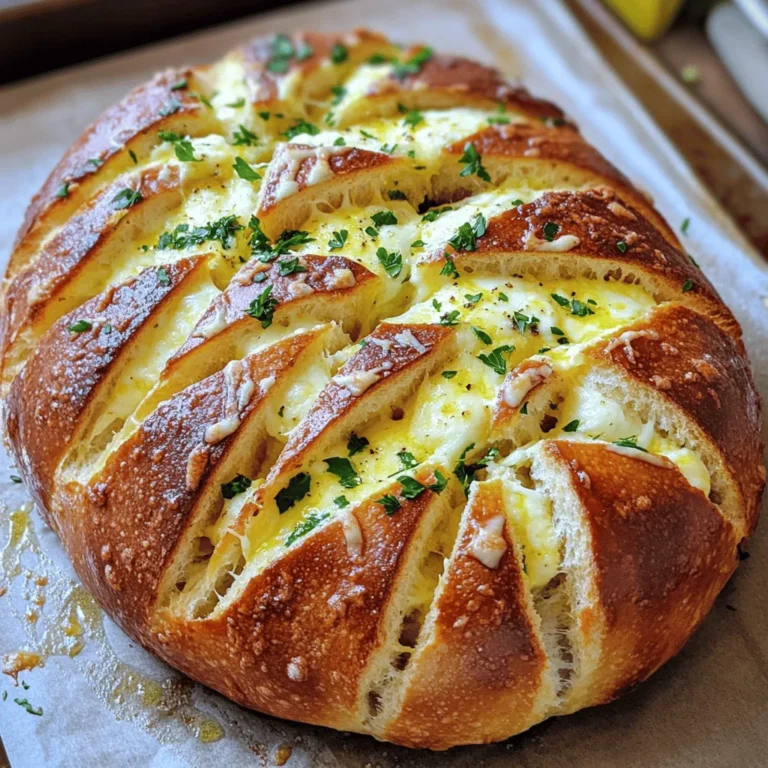
Cheesy Garlic Parmesan Pull-Apart Bread Delight
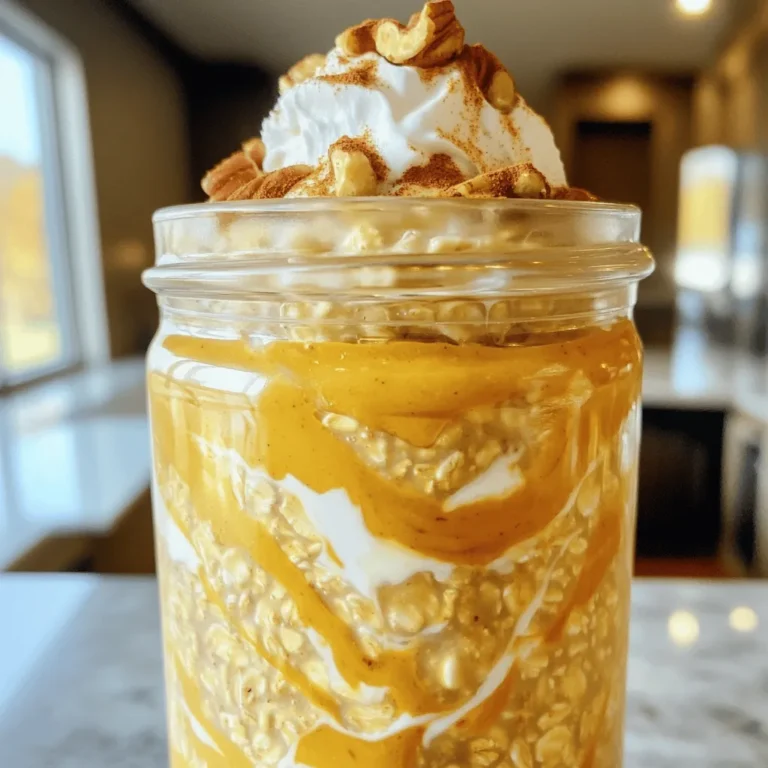
Pumpkin Pie Overnight Oats Tasty and Healthy Recipe
Savory Slow Cooker Korean Beef Recipe You’ll Love
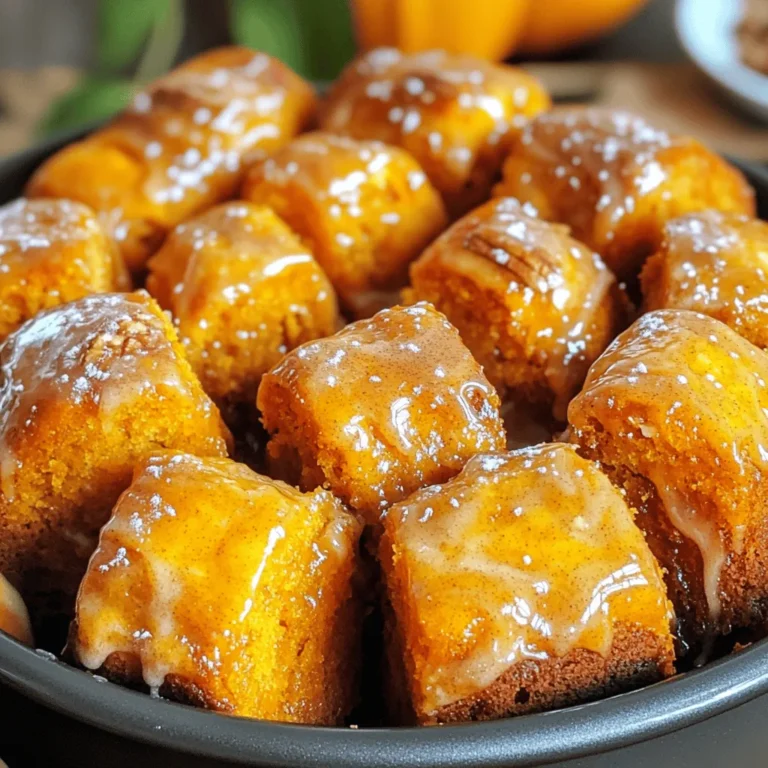
Pumpkin Spice Monkey Bread Irresistible Fall Treat
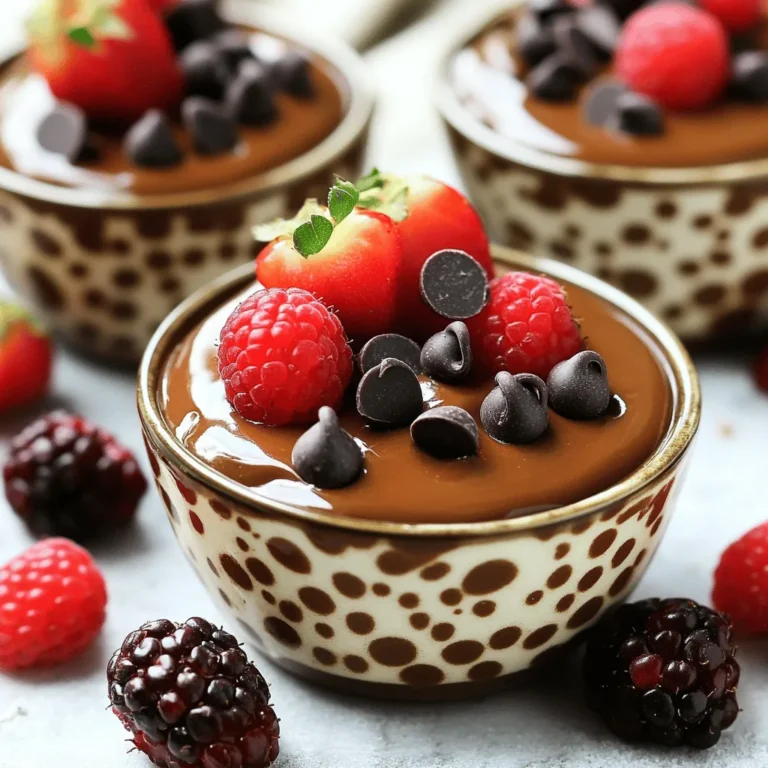
Cottage Cheese Chocolate Pudding Tasty and Simple Treat
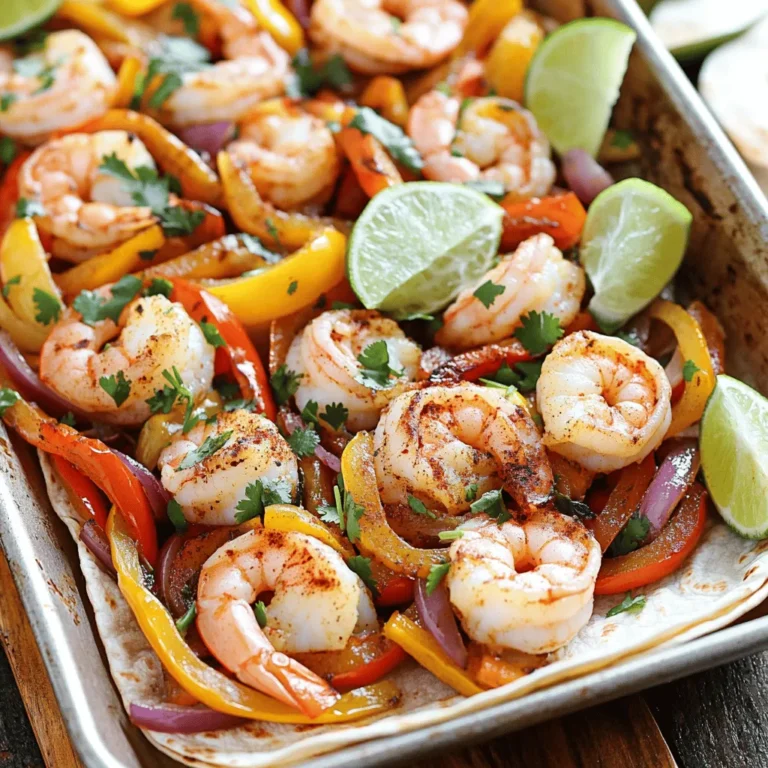
Sheet Pan Shrimp Fajitas Easy and Flavorful Meal
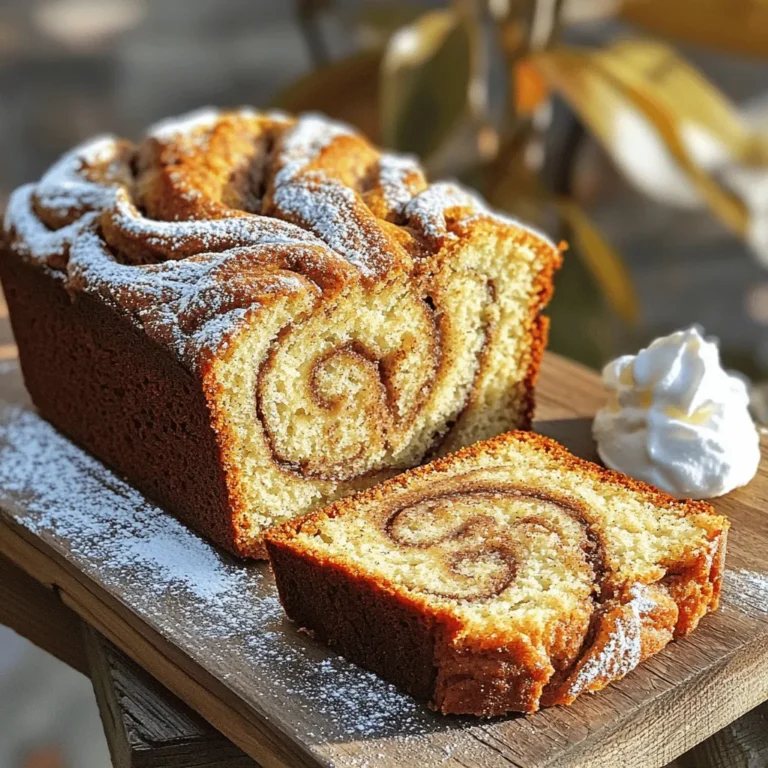
Cinnamon Swirl Banana Bread Rich and Flavorful Treat
One Pot Pesto Gnocchi with Spinach Flavorful Meal
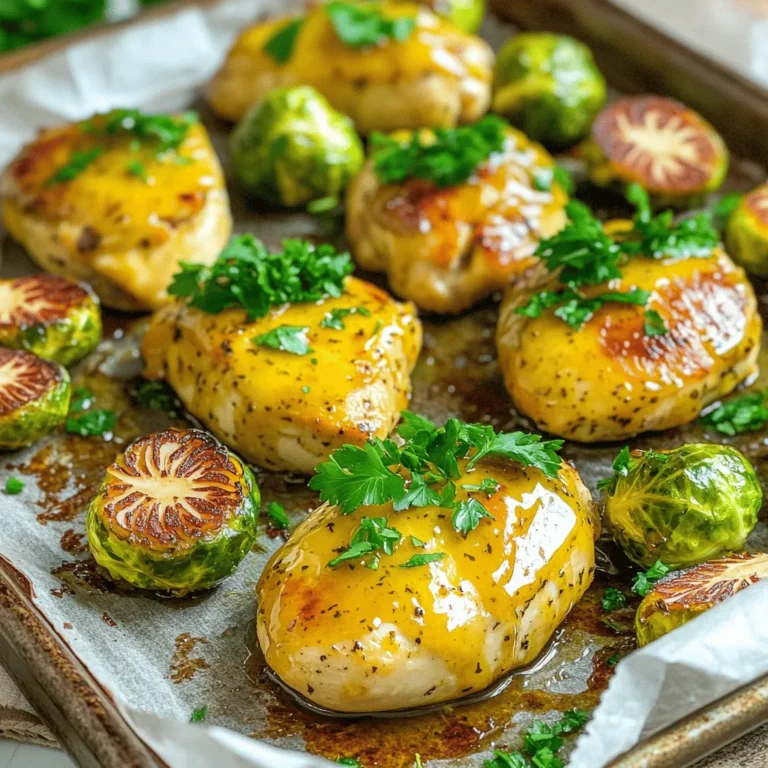
Maple Dijon Chicken & Brussels Sheet Pan Delight
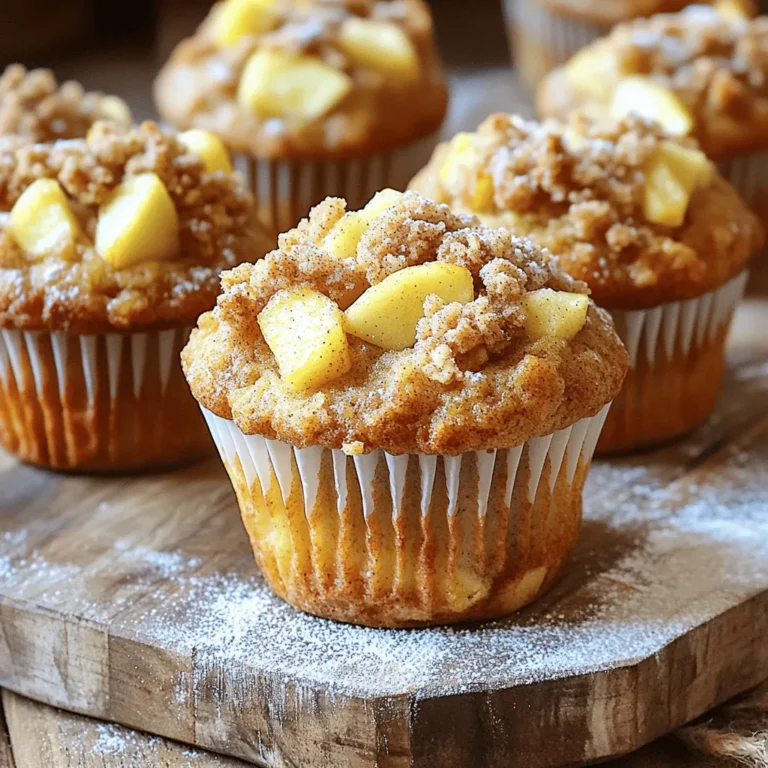
Apple Streusel Muffins Flavorful and Simple Delight
PREV
1
…
17
18
19
…
56
NEXT