FREE DINNER EBOOK!
Get your copy!
Cookie Policy
GDPR Policy
Disclaimer
Terms Of Use
Visit my other site:
Fun Cookie Recipes
Home
Dinner
Desserts
Drinks
Appetizers
Contact
About
Privacy Policy
Home
Dinner
Desserts
Drinks
Appetizers
Contact
About
Privacy Policy
Cookie Policy
GDPR Policy
Disclaimer
Terms Of Use
Visit my other site:
Fun Cookie Recipes
HOME / CATEGORIES /
Latest
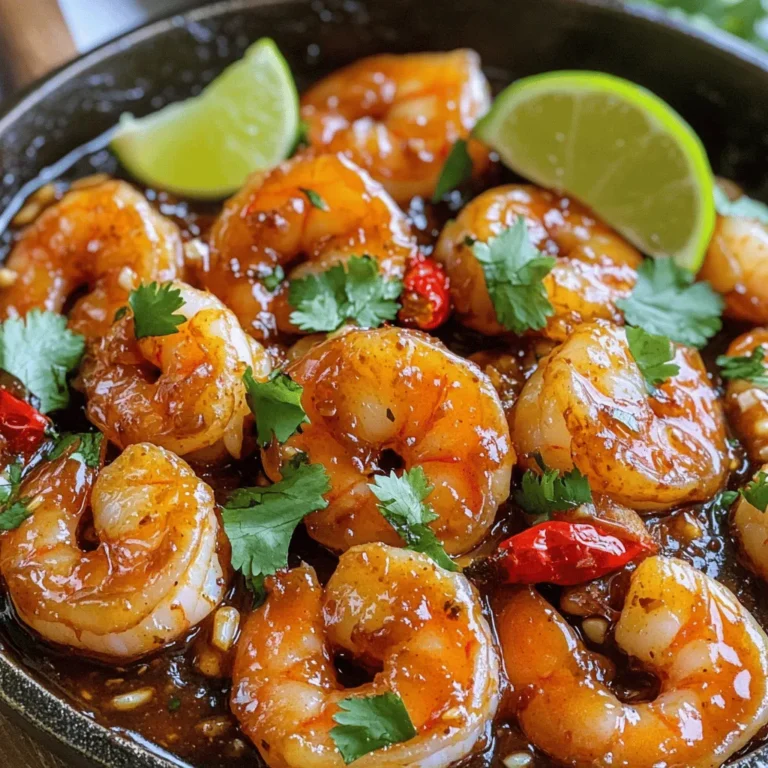
Minute Chili Garlic Shrimp Quick and Flavorful Dish
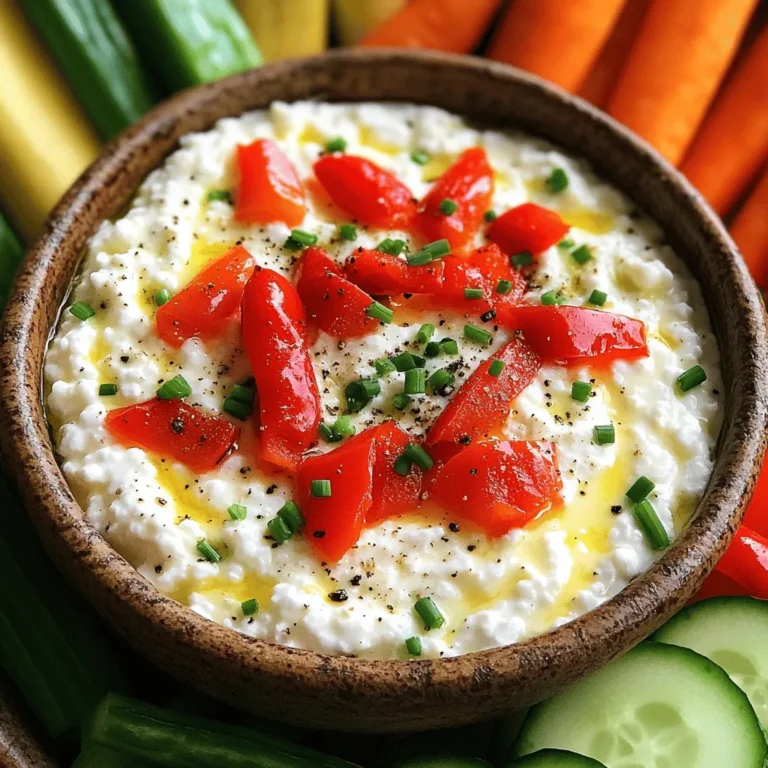
Protein Cottage Cheese Dip Easy and Tasty Recipe
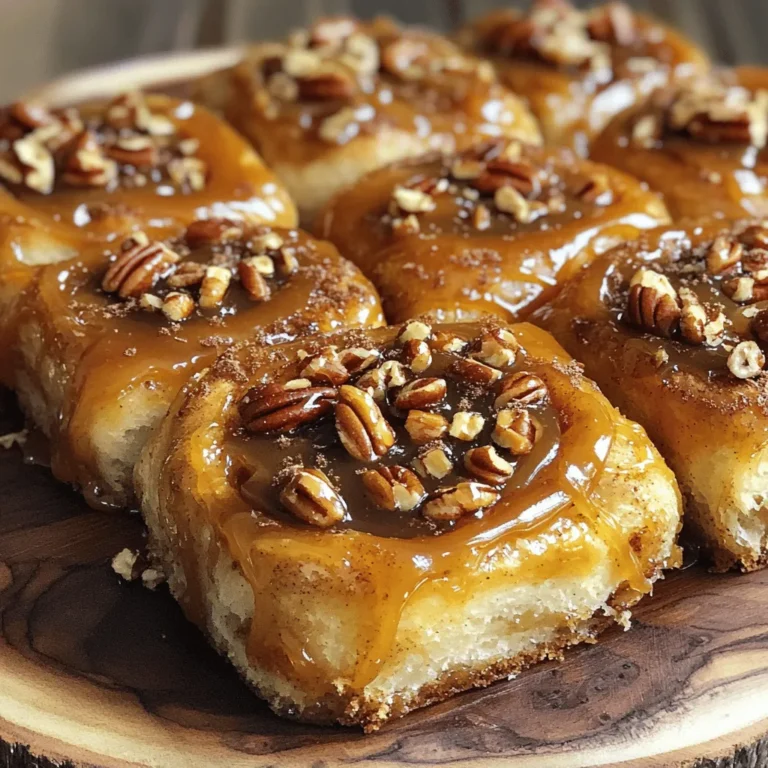
Caramel Pecan Sticky Buns Irresistible Sweet Treat
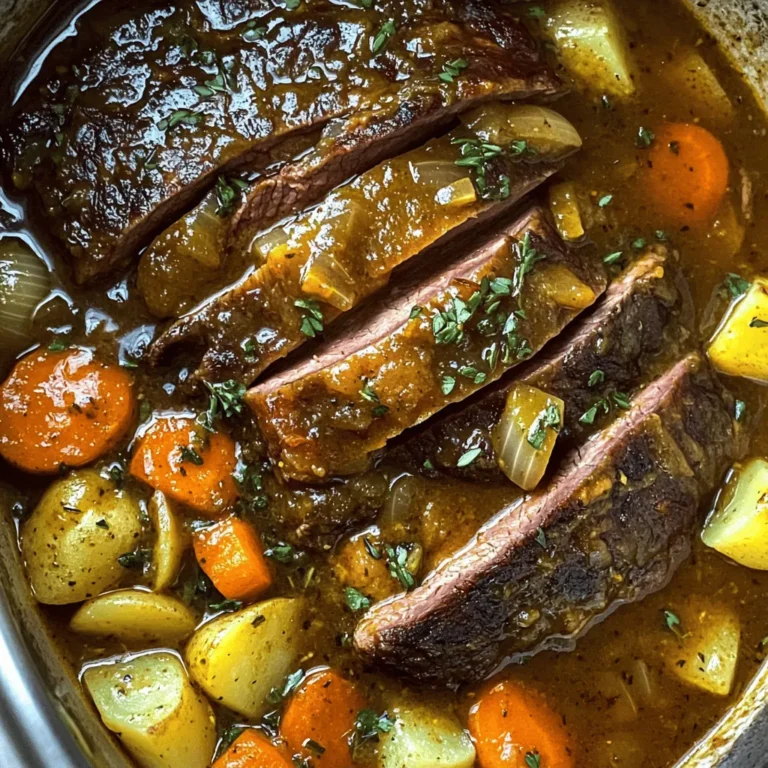
Slow Cooker Pot Roast Veggies Simple and Hearty Meal
Air Fryer Garlic Parmesan Wings Flavorful and Crispy
Classic Chicken Alfredo Pasta Creamy and Quick Dish
Chicken Gyros with Tzatziki Flavorful Greek Delight
Lotus Biscoff Cheesecake Cups Delightfully Easy Treat
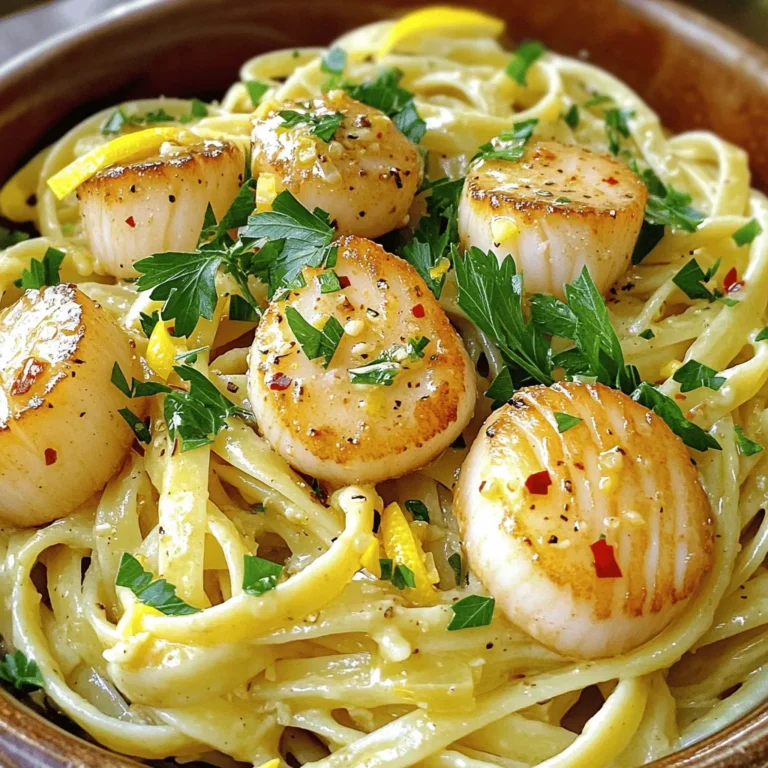
Garlic Butter Scallop Pasta Rich and Flavorful Dish
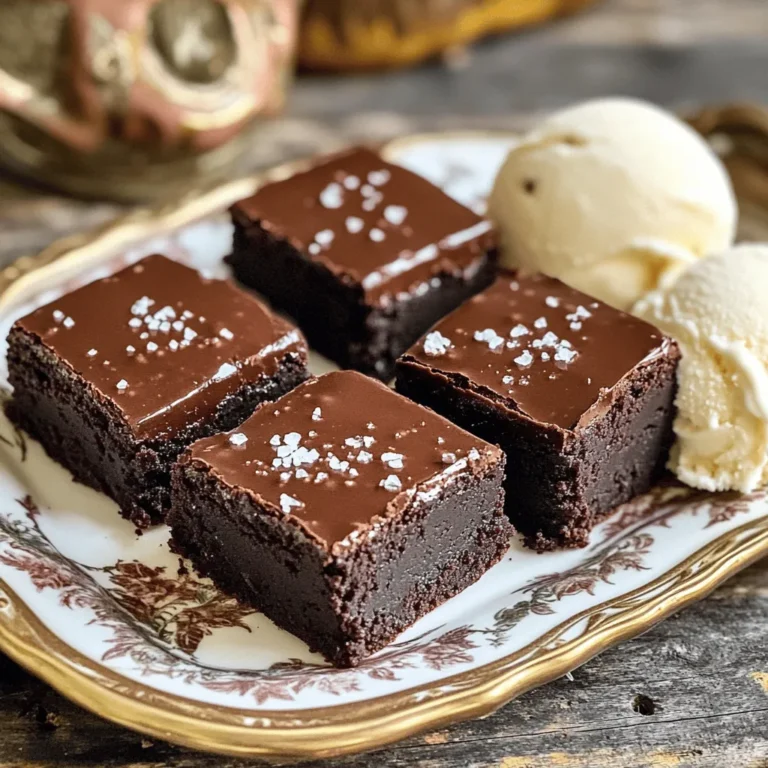
Dark Chocolate Sea Salt Brownie Bites Rich Delight
PREV
1
…
18
19
20
…
56
NEXT