FREE DINNER EBOOK!
Get your copy!
Cookie Policy
GDPR Policy
Disclaimer
Terms Of Use
Visit my other site:
Fun Cookie Recipes
Home
Dinner
Desserts
Drinks
Appetizers
Contact
About
Privacy Policy
Home
Dinner
Desserts
Drinks
Appetizers
Contact
About
Privacy Policy
Cookie Policy
GDPR Policy
Disclaimer
Terms Of Use
Visit my other site:
Fun Cookie Recipes
HOME / CATEGORIES /
Latest
Low-Carb Burrito Bowl Meal Prep for Easy Nutrition
Cranberry Orange Streusel Muffins Delightful Treat
Slow Cooker Chicken Wild Rice Soup Comfort Bowl
Crispy Coconut Shrimp with Chili Sauce Recipe Fun
Sweet Chili Tofu Sheet Pan Bowls Simple and Tasty
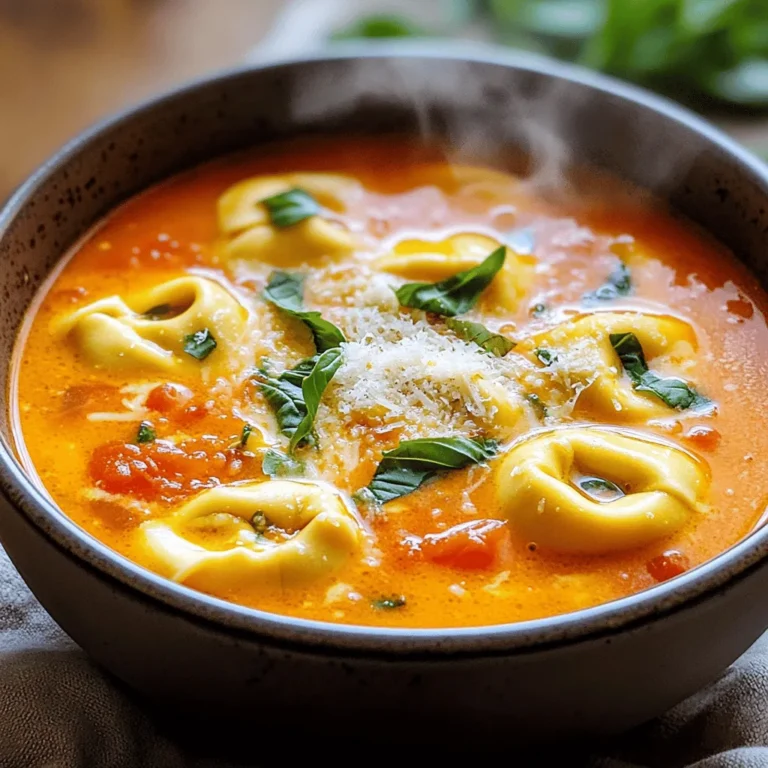
Creamy Tomato Basil Tortellini Soup Savory Comfort Bowl
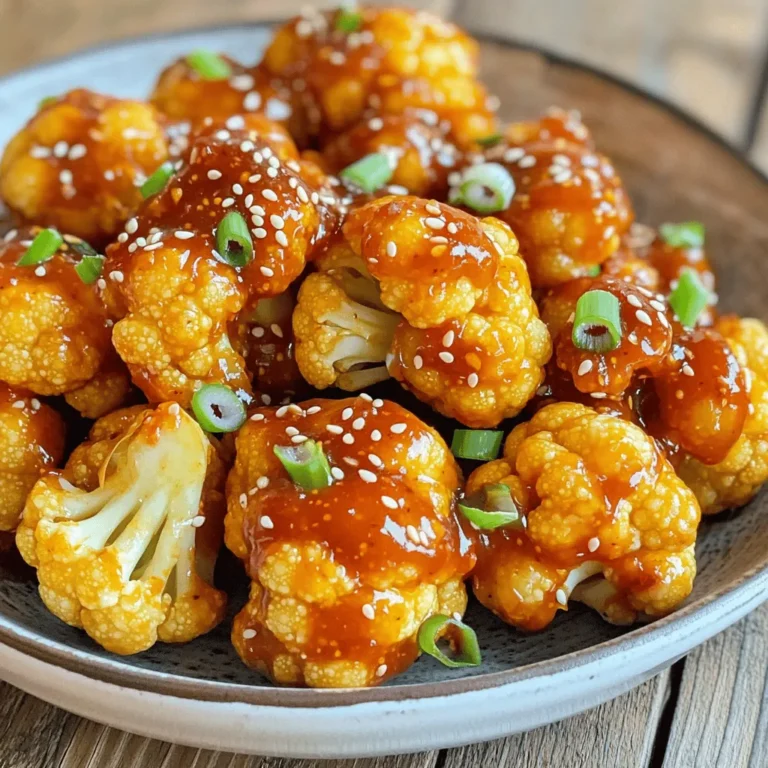
Air Fryer Sweet Chili Cauliflower Crispy Delight
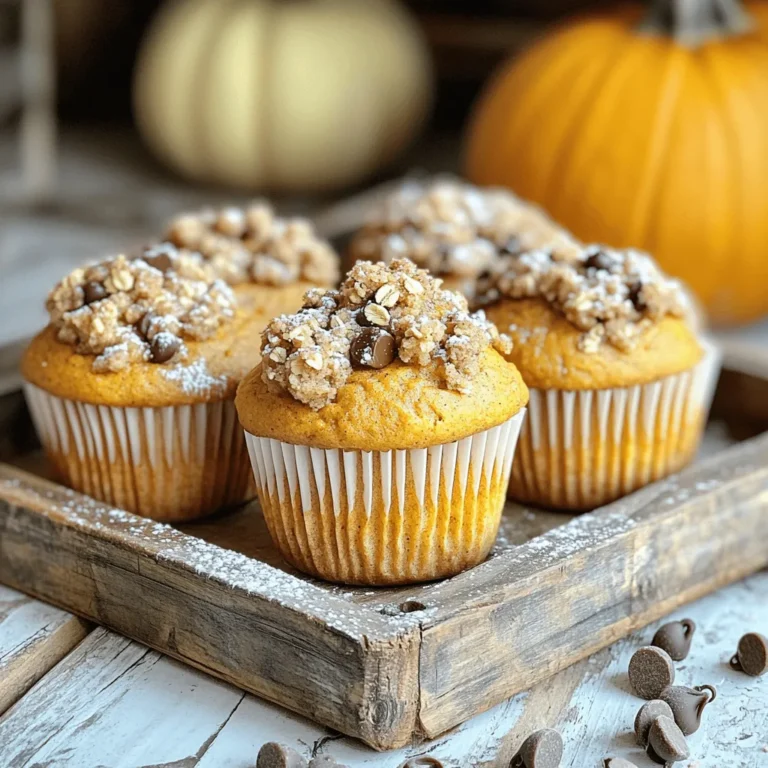
Pumpkin Chocolate Chip Streusel Muffins Delightful Treat
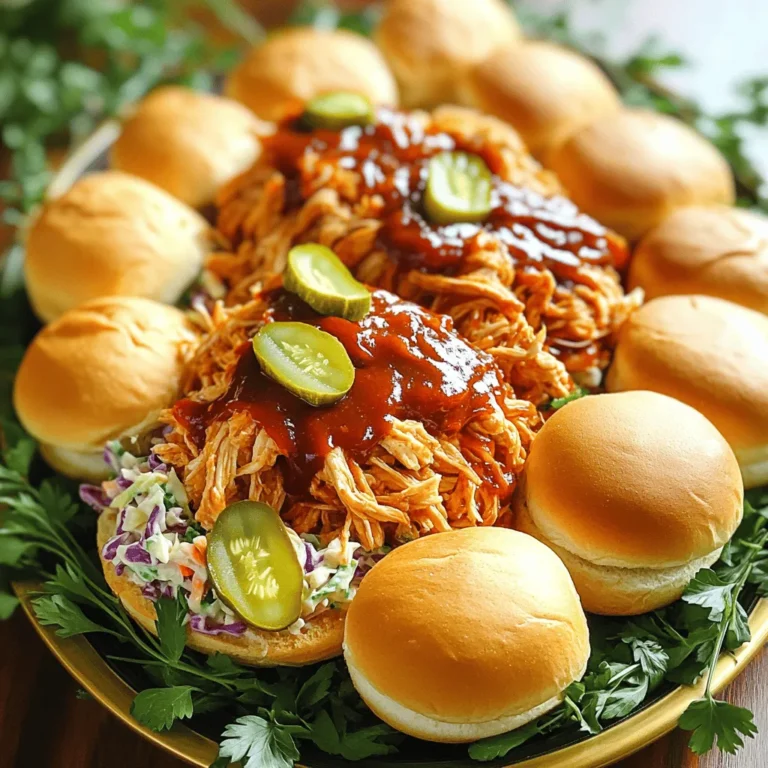
Savory Slow Cooker BBQ Pulled Chicken Sliders Recipe
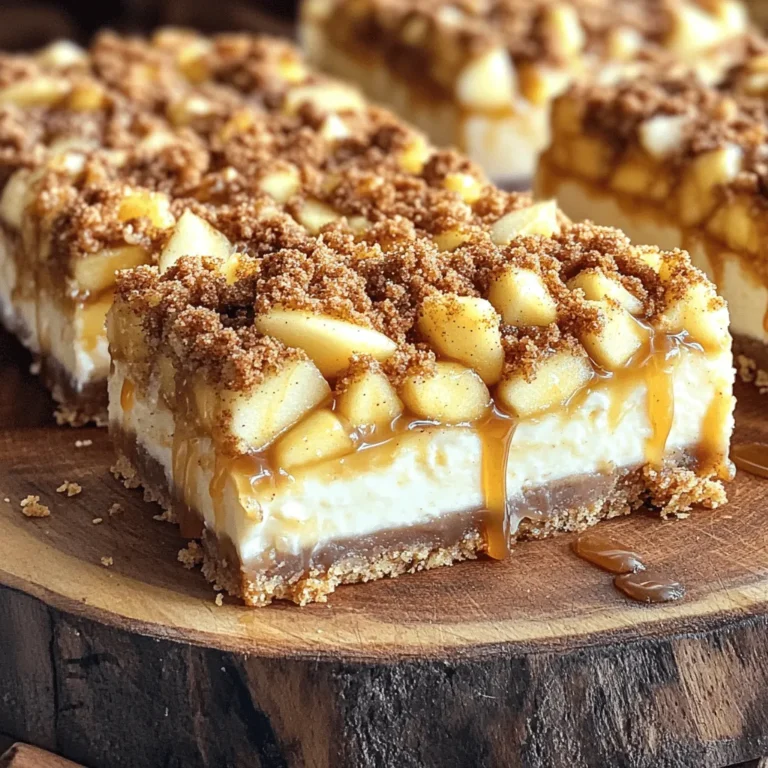
Caramel Apple Streusel Cheesecake Bars Delightfully Sweet
PREV
1
…
19
20
21
…
56
NEXT