FREE DINNER EBOOK!
Get your copy!
Cookie Policy
GDPR Policy
Disclaimer
Terms Of Use
Visit my other site:
Fun Cookie Recipes
Home
Dinner
Desserts
Drinks
Appetizers
Contact
About
Privacy Policy
Home
Dinner
Desserts
Drinks
Appetizers
Contact
About
Privacy Policy
Cookie Policy
GDPR Policy
Disclaimer
Terms Of Use
Visit my other site:
Fun Cookie Recipes
HOME / CATEGORIES /
Latest
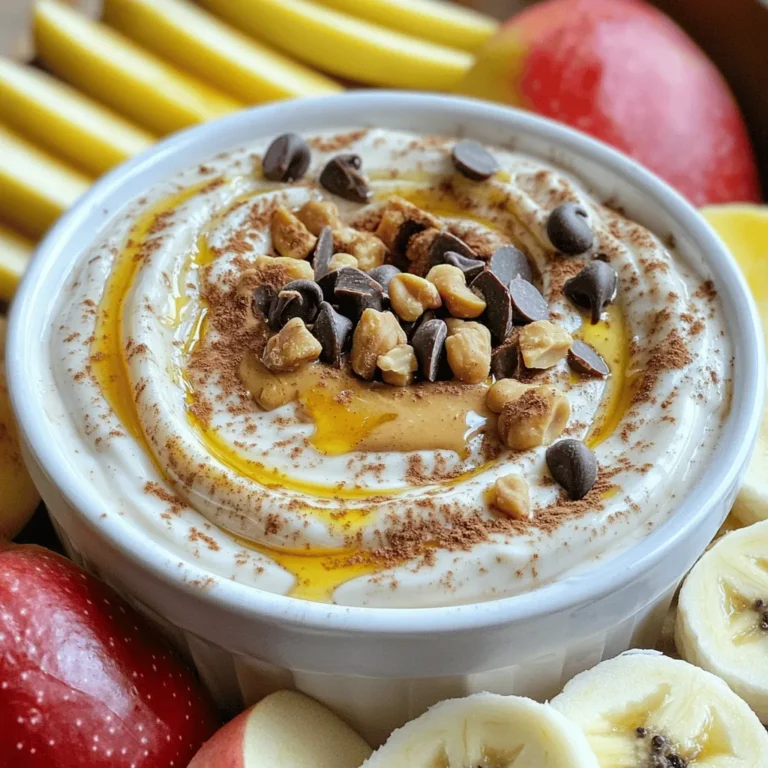
High-Protein Peanut Butter Yogurt Dip Recipe
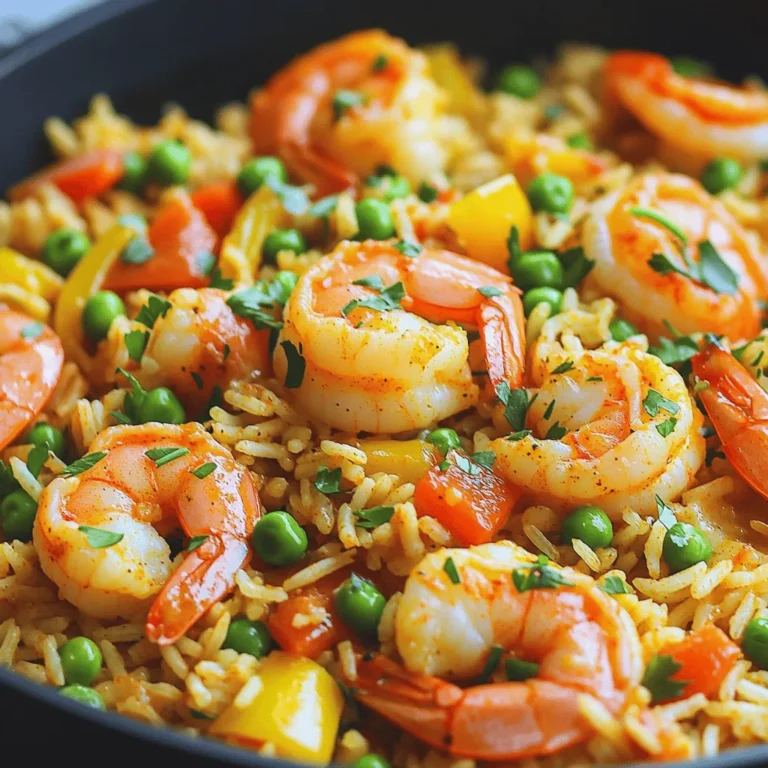
Cajun Butter Shrimp Rice Skillet Flavorful Dish
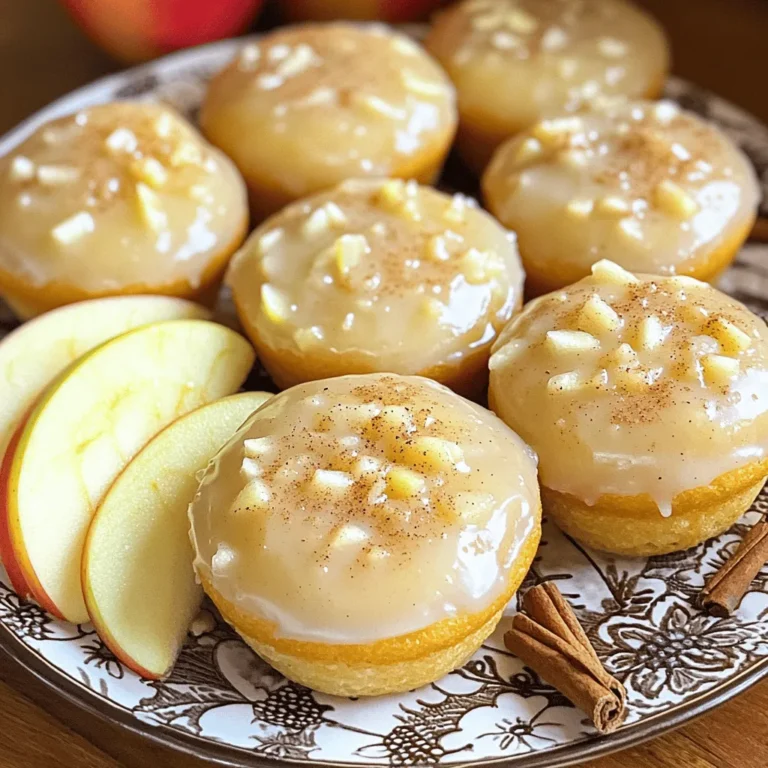
Apple Cider Glazed Donut Muffins Tasty and Simple Treat
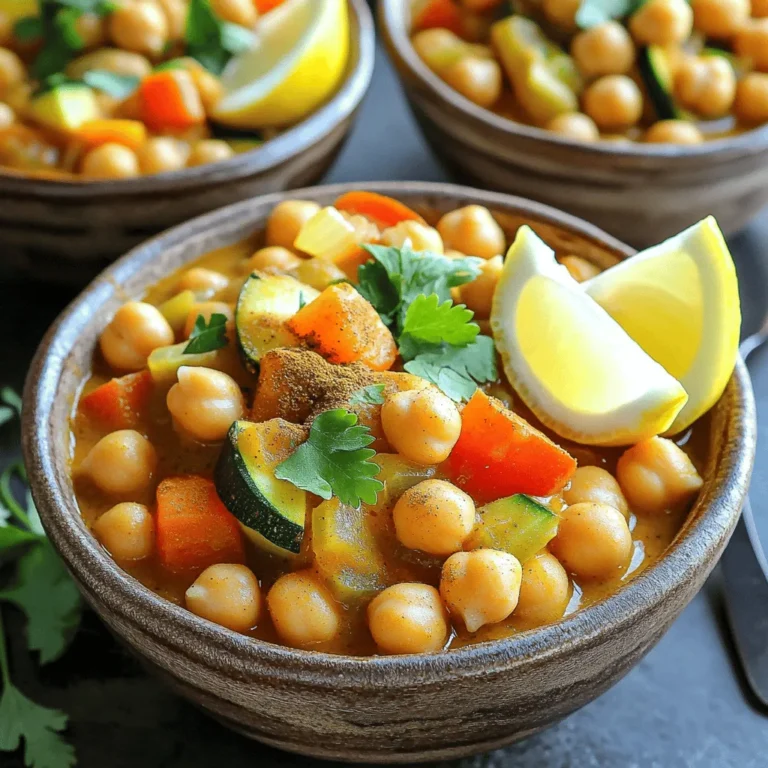
Savory Slow Cooker Moroccan Chickpea Stew Recipe
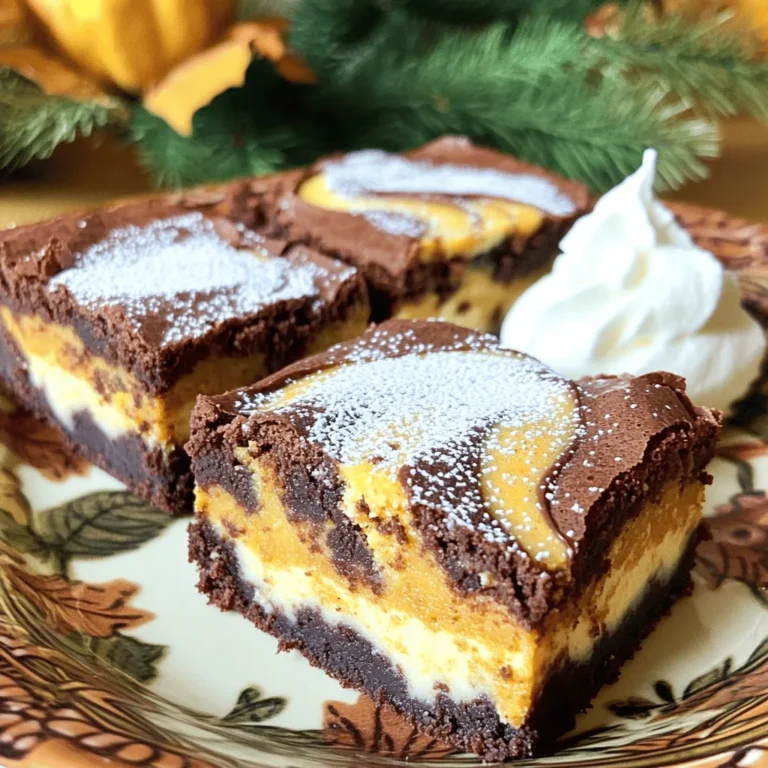
Pumpkin Cheesecake Swirl Brownies Irresistible Delight
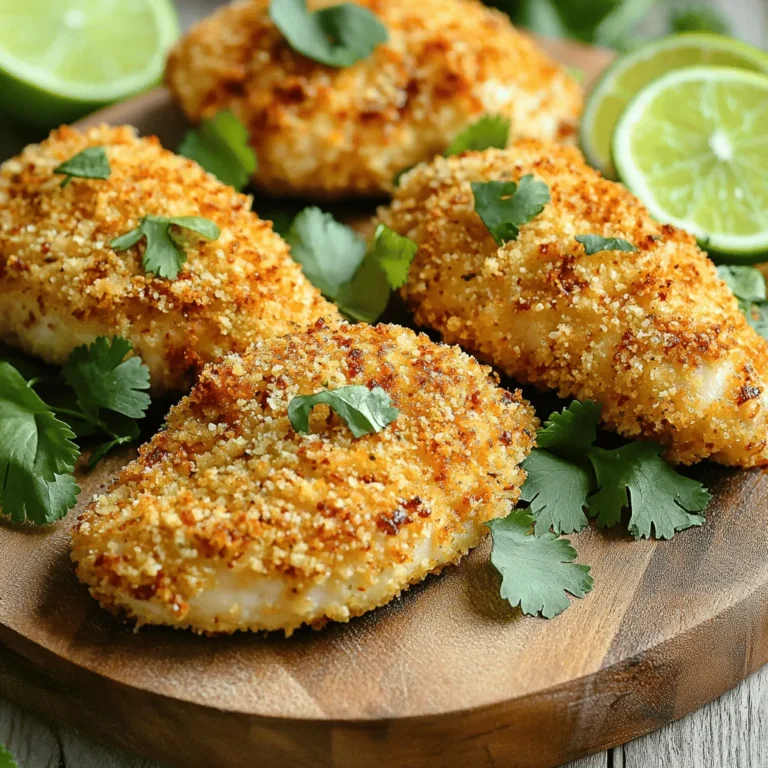
Air Fryer Chili Lime Chicken Tenders Flavor Burst Dish
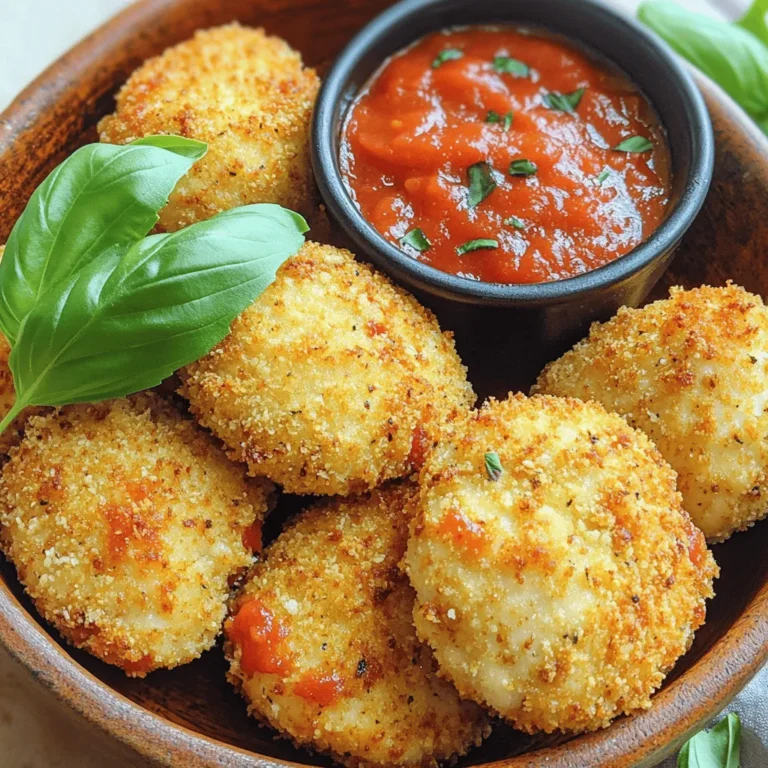
Air Fryer Chicken Parmesan Bites Crispy and Tasty Treat
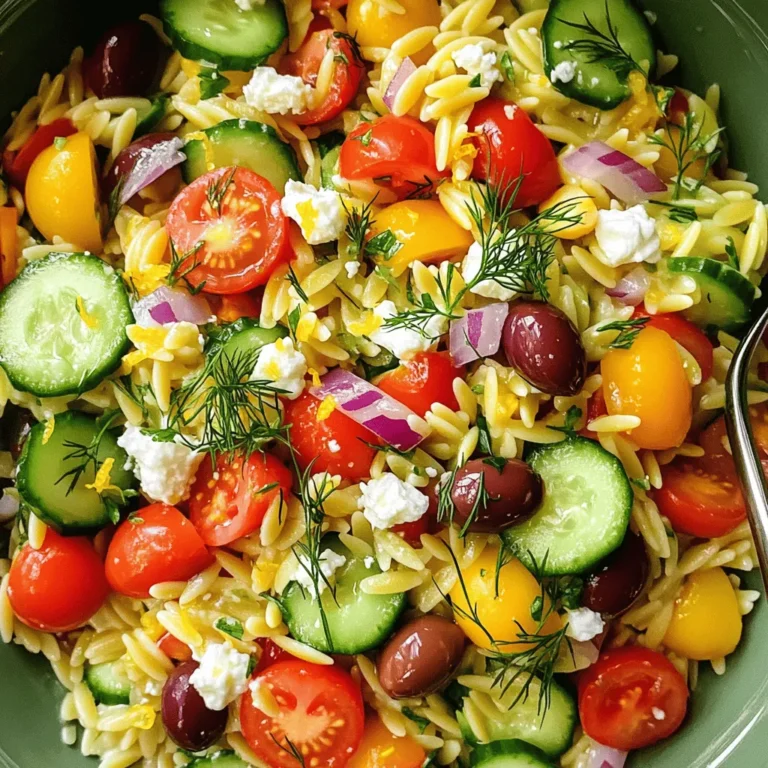
Greek Orzo Salad Lemon Dill Fresh and Tasty Dish
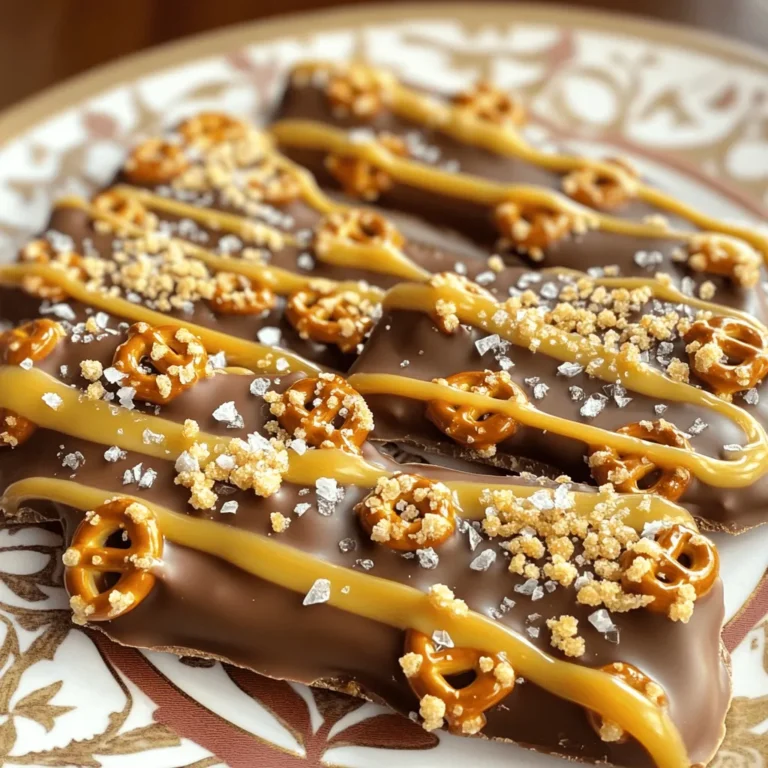
Salted Caramel Pretzel Bark Delightful Sweet Treat
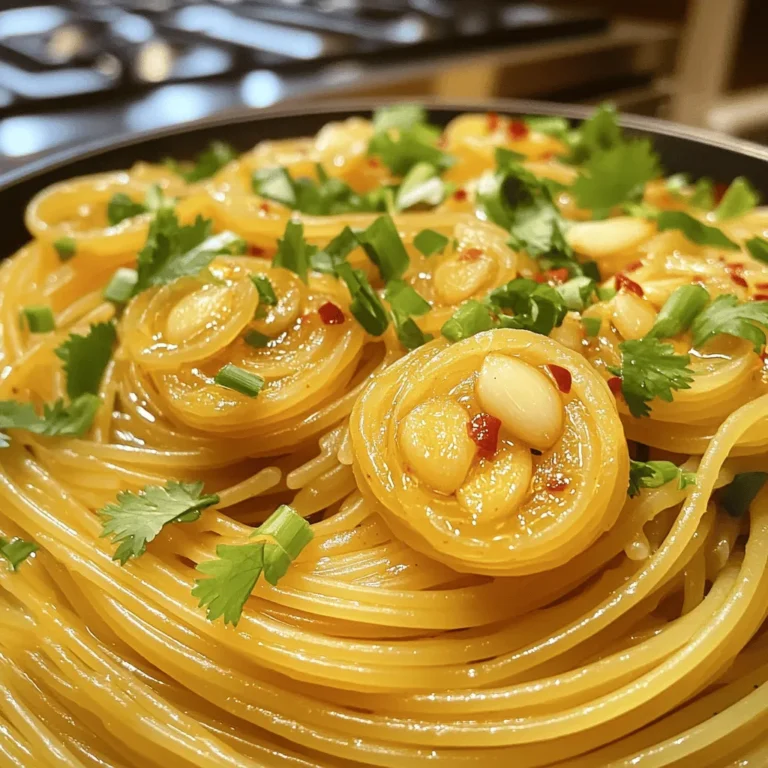
Garlic Chili Oil Noodles Flavorful and Simple Recipe
PREV
1
…
20
21
22
…
56
NEXT