FREE DINNER EBOOK!
Get your copy!
Cookie Policy
GDPR Policy
Disclaimer
Terms Of Use
Visit my other site:
Fun Cookie Recipes
Home
Dinner
Desserts
Drinks
Appetizers
Contact
About
Privacy Policy
Home
Dinner
Desserts
Drinks
Appetizers
Contact
About
Privacy Policy
Cookie Policy
GDPR Policy
Disclaimer
Terms Of Use
Visit my other site:
Fun Cookie Recipes
HOME / CATEGORIES /
Latest
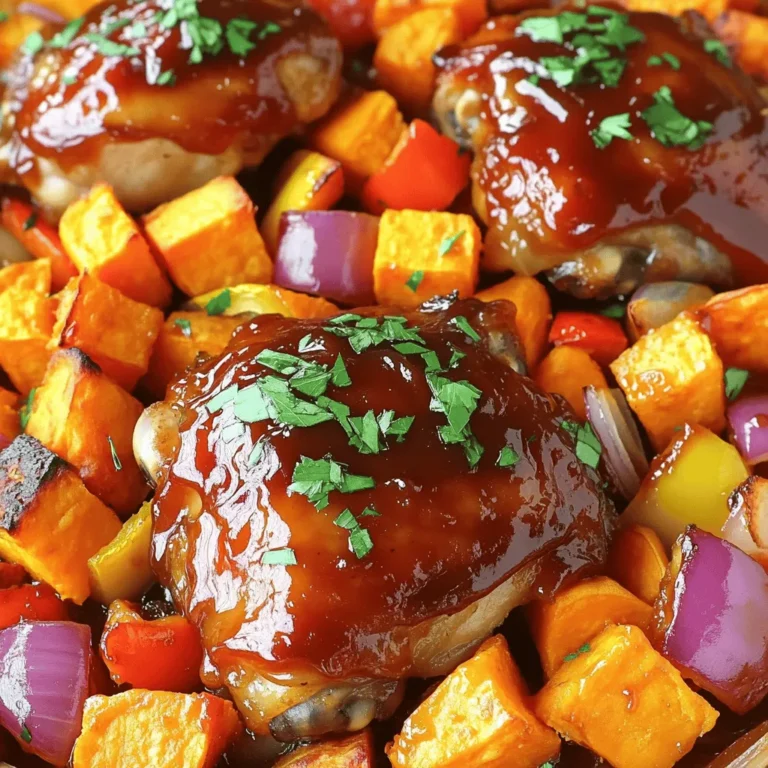
Sheet Pan BBQ Chicken Sweet Potatoes Easy Recipe
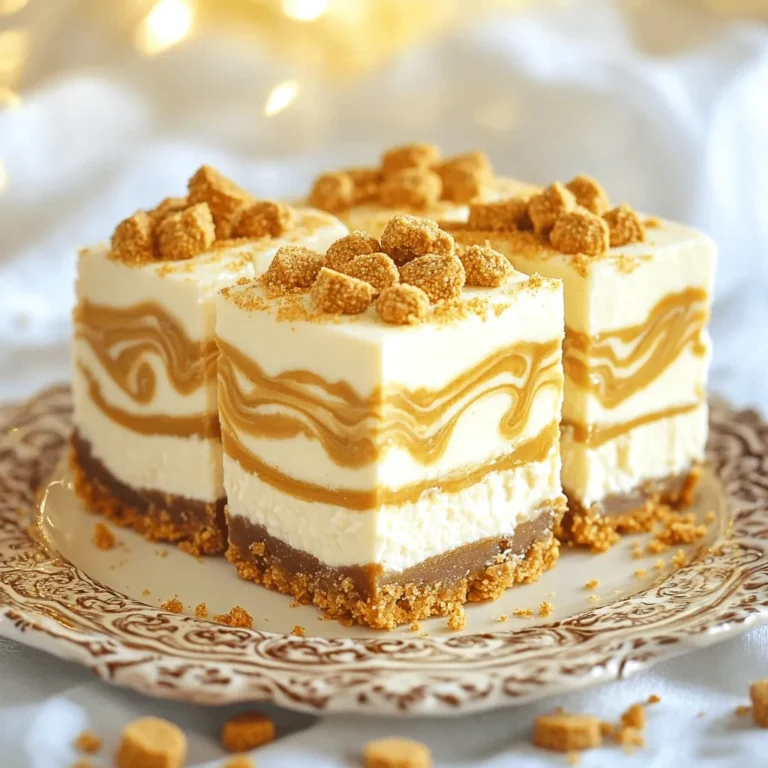
No Bake Biscoff Cheesecake Bars Easy and Delicious Treat
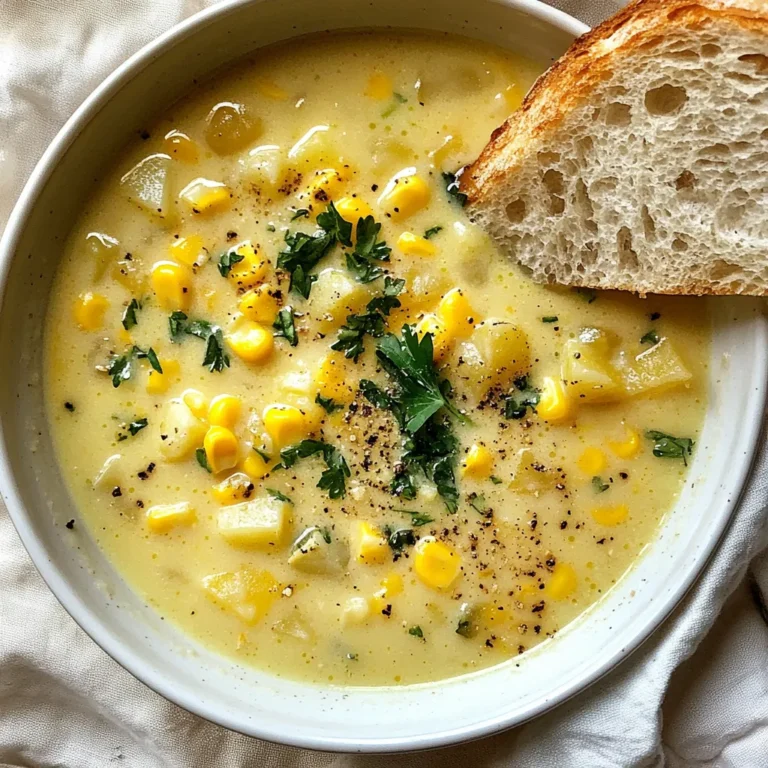
Fresh Summer Corn Chowder Simple and Tasty Dish
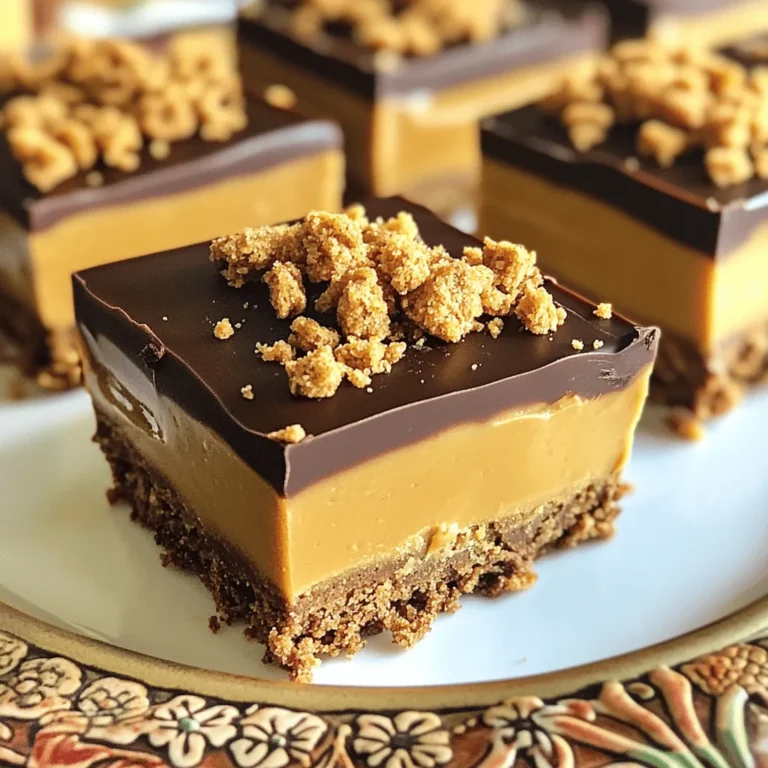
No Bake Biscoff Cookie Butter Bars Deliciously Easy
Lemon Dill Salmon Orzo Flavorful and Healthy Dinner
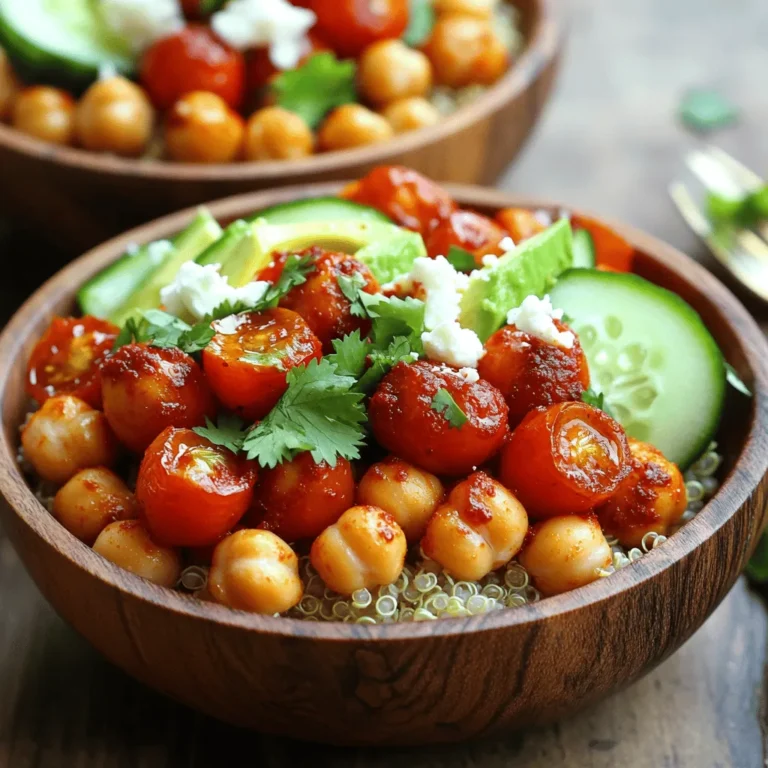
Harissa Roasted Chickpea Bowls Tasty and Nutritious Meal
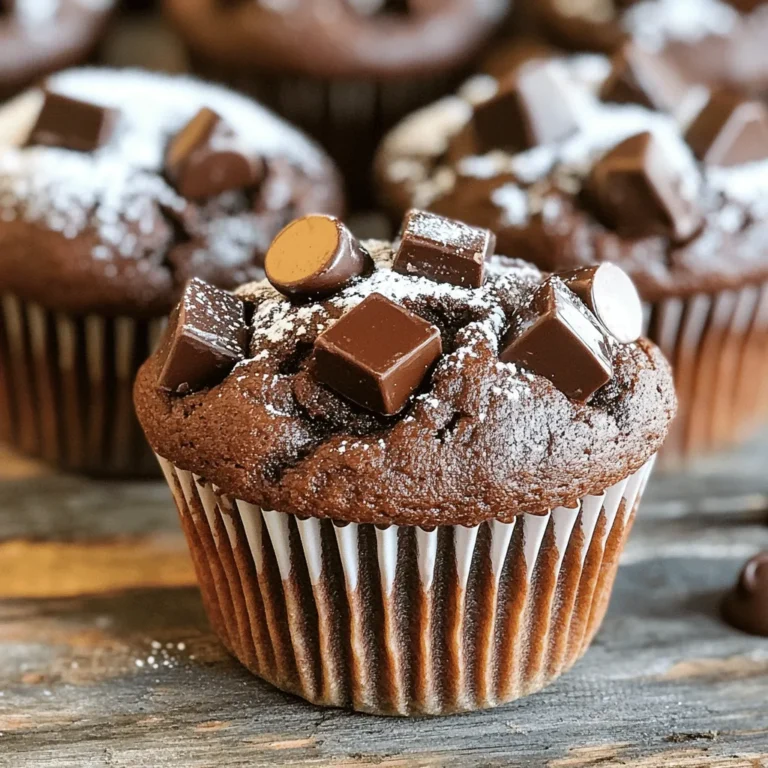
Bakery Style Double Chocolate Muffins Soft and Rich Treat
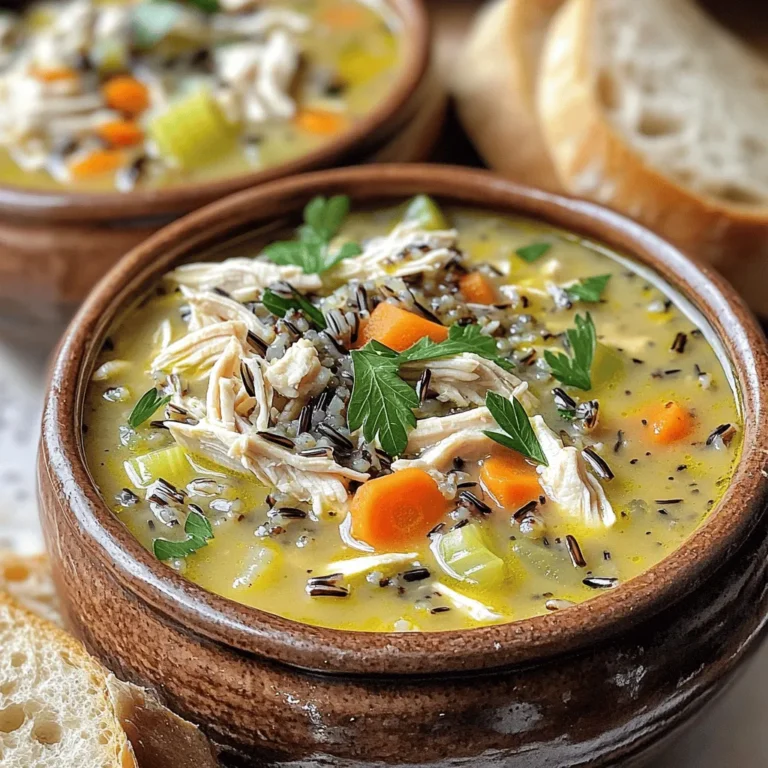
Slow Cooker Chicken & Wild Rice Soup Comfort Dish
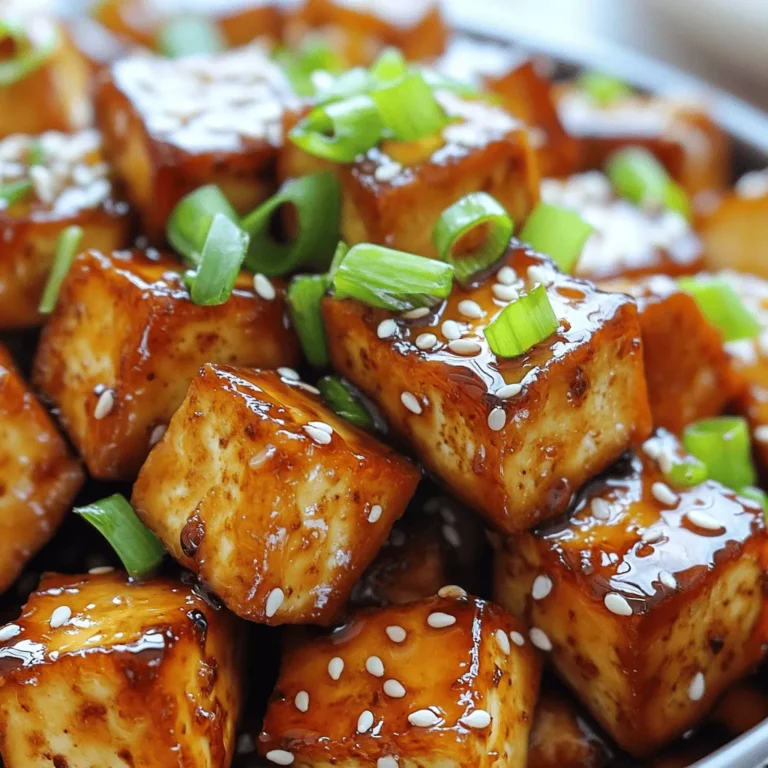
Air Fryer Honey Garlic Tofu Flavorful and Crisp Dish
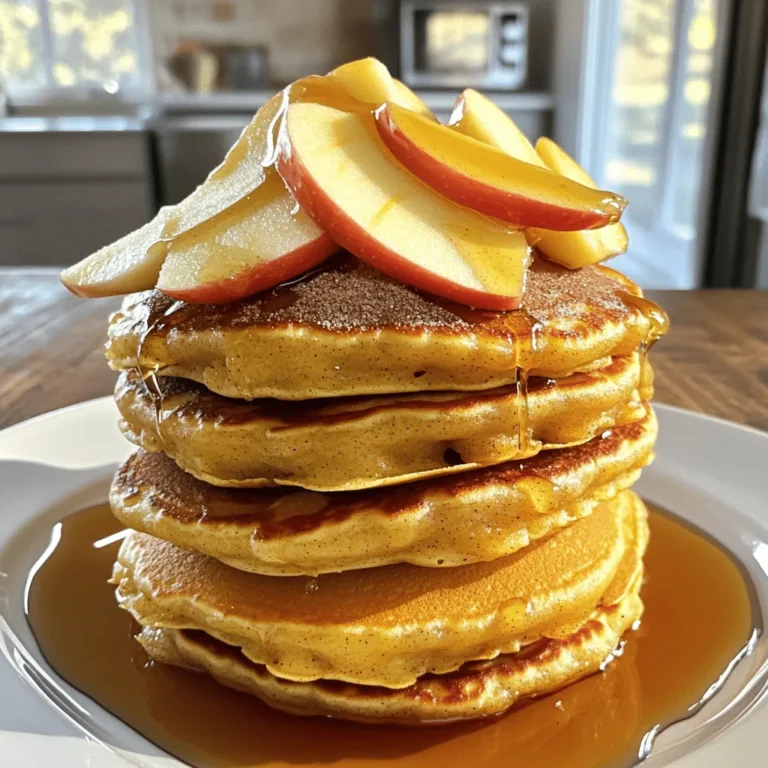
Apple Cider Donut Pancakes Delightful Fall Flavor
PREV
1
…
21
22
23
…
56
NEXT