FREE DINNER EBOOK!
Get your copy!
Cookie Policy
GDPR Policy
Disclaimer
Terms Of Use
Visit my other site:
Fun Cookie Recipes
Home
Dinner
Desserts
Drinks
Appetizers
Contact
About
Privacy Policy
Home
Dinner
Desserts
Drinks
Appetizers
Contact
About
Privacy Policy
Cookie Policy
GDPR Policy
Disclaimer
Terms Of Use
Visit my other site:
Fun Cookie Recipes
HOME / CATEGORIES /
Latest
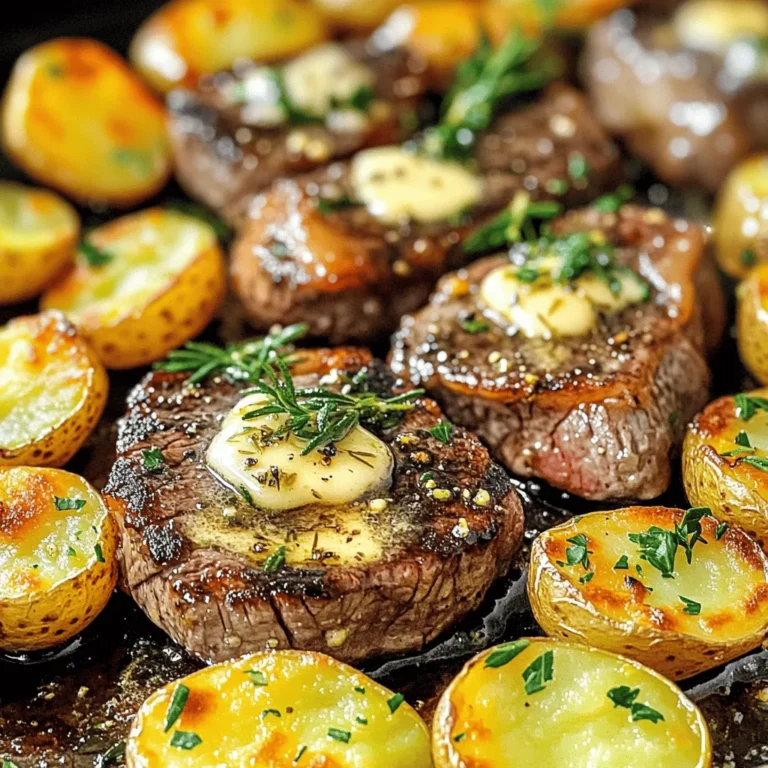
Sheet Pan Garlic Butter Steak Bites & Potatoes Recipe
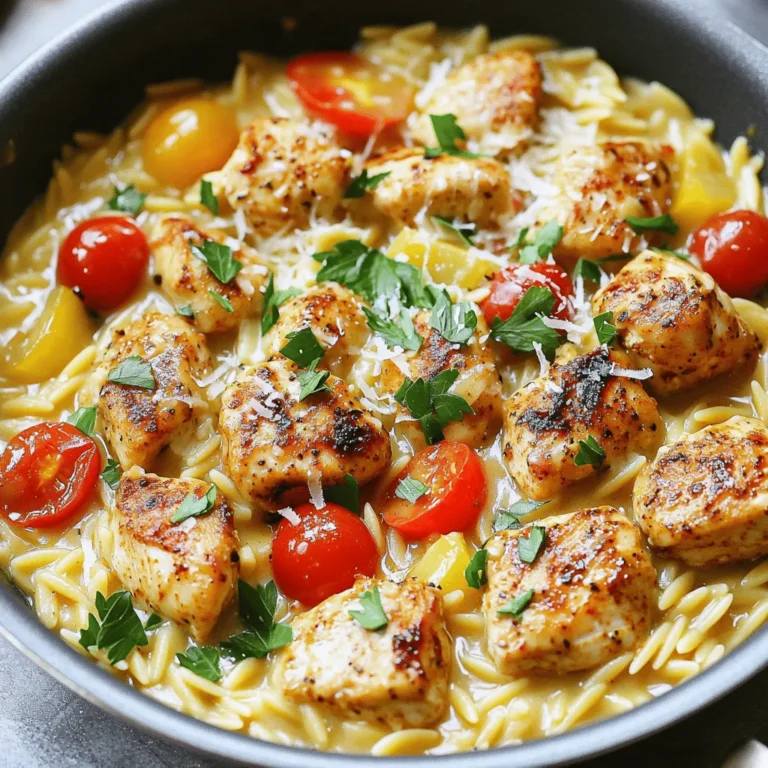
One-Pan Creamy Cajun Chicken Orzo Tasty Meal Idea
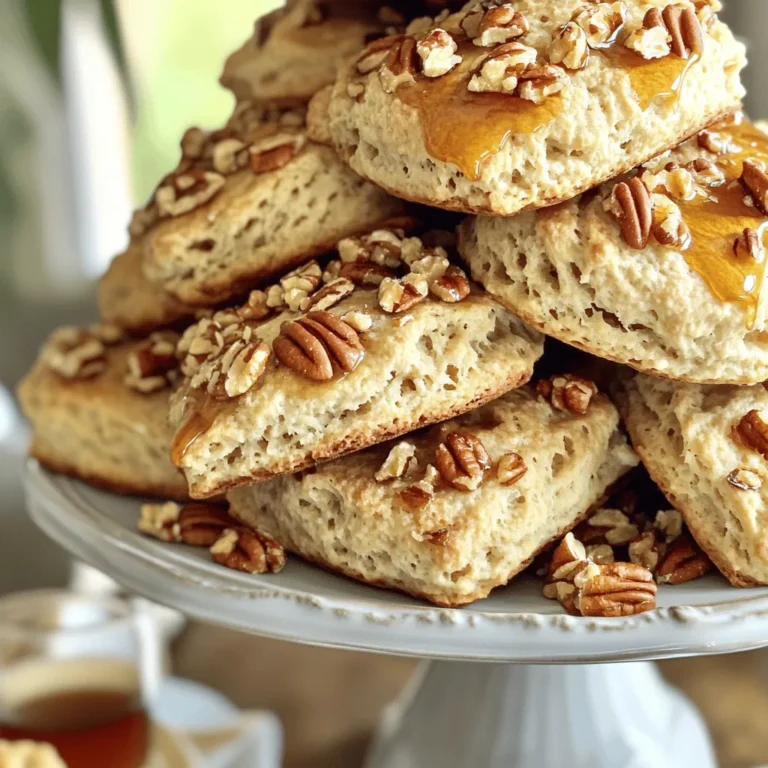
Maple Pecan Bakery Scones Delicious and Simple Recipe
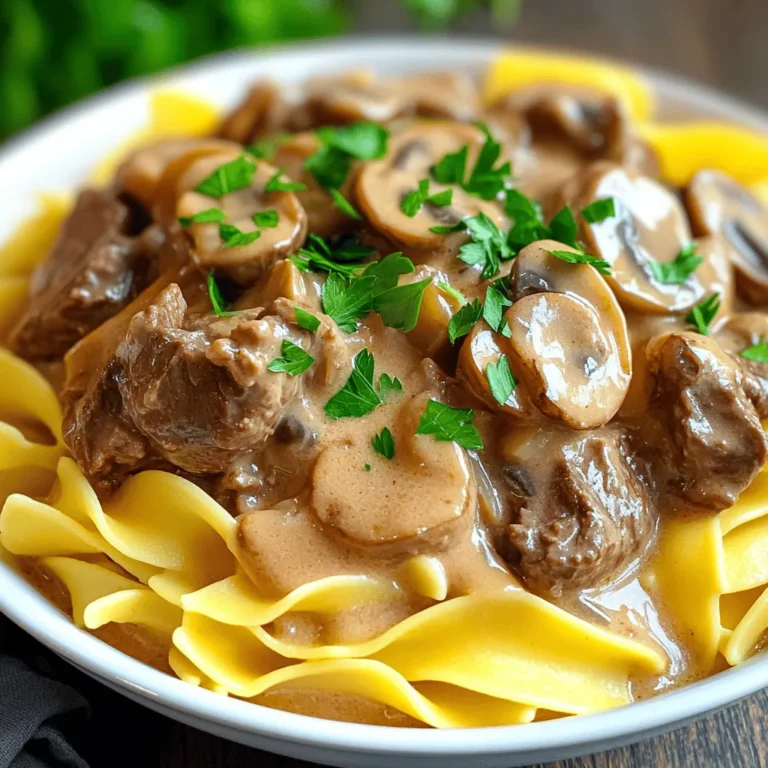
Slow Cooker Beef & Mushroom Stroganoff Rich Delight
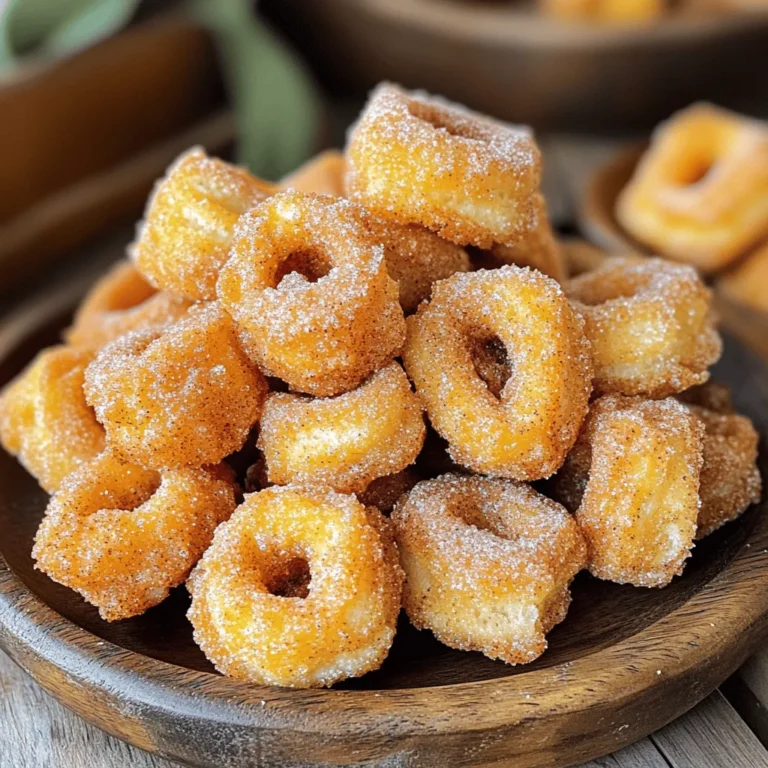
Air Fryer Cinnamon Sugar Churro Bites Delight
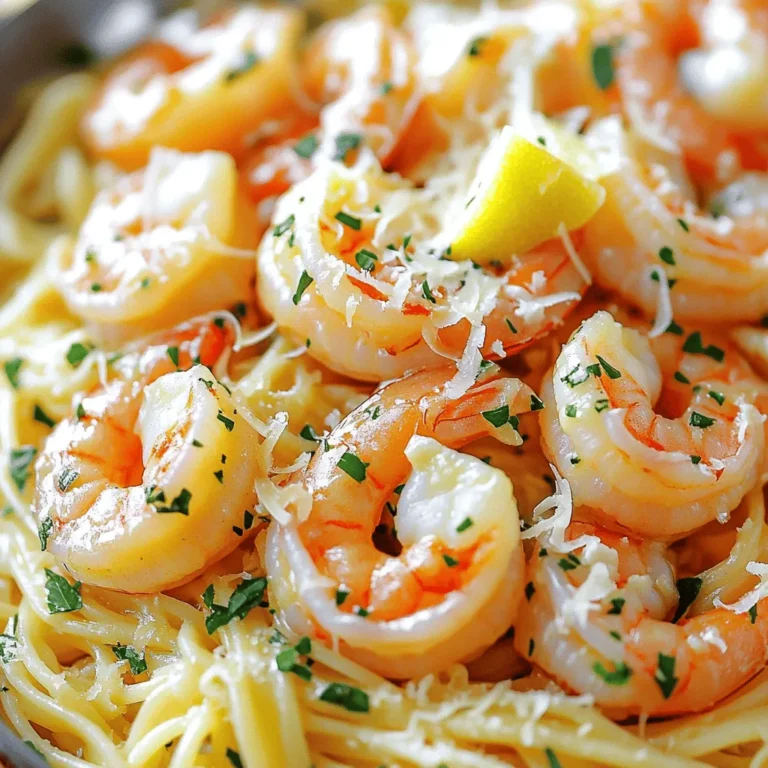
Minute Garlic Butter Shrimp Scampi Quick and Tasty Dish
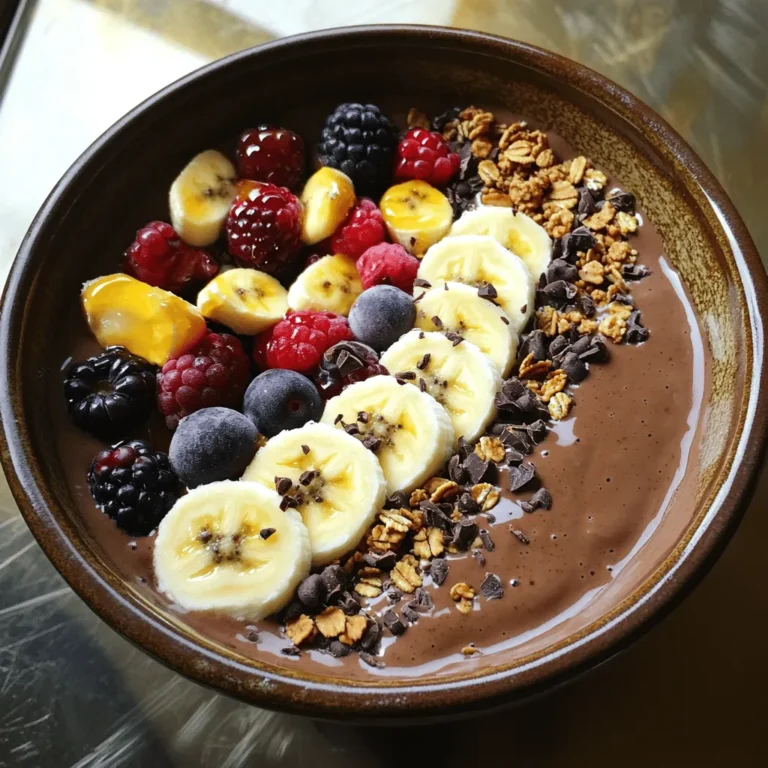
High-Protein Chocolate Peanut Butter Smoothie Bowl Delight
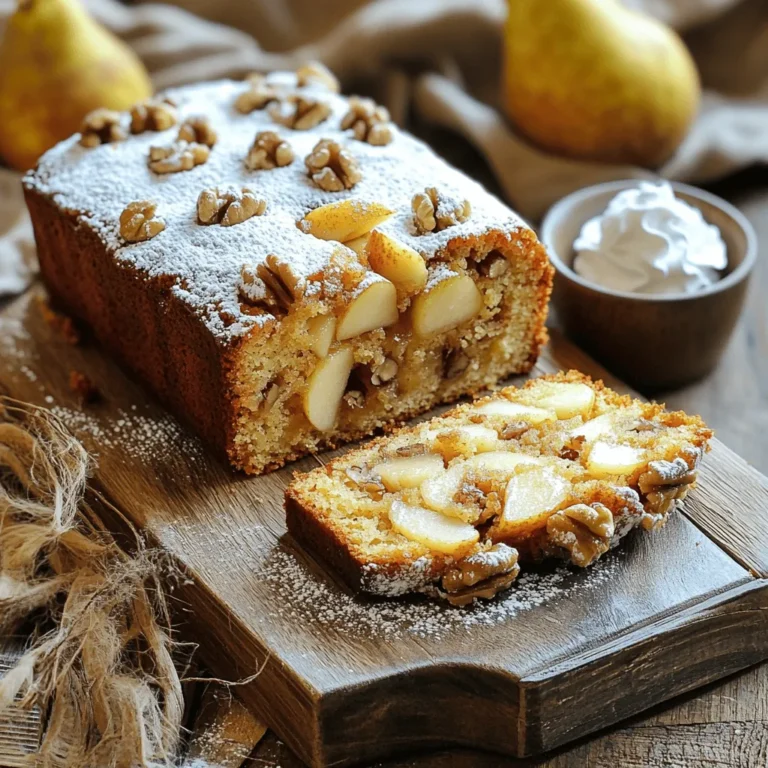
Spiced Pear Walnut Coffee Cake Irresistible Recipe
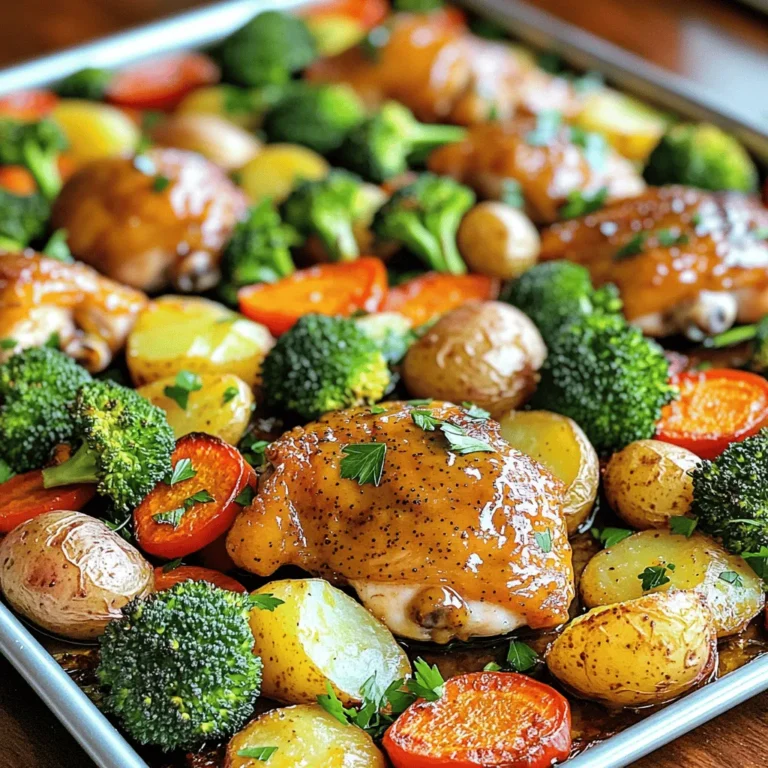
Honey Mustard Chicken Veggie Sheet Pan Delight
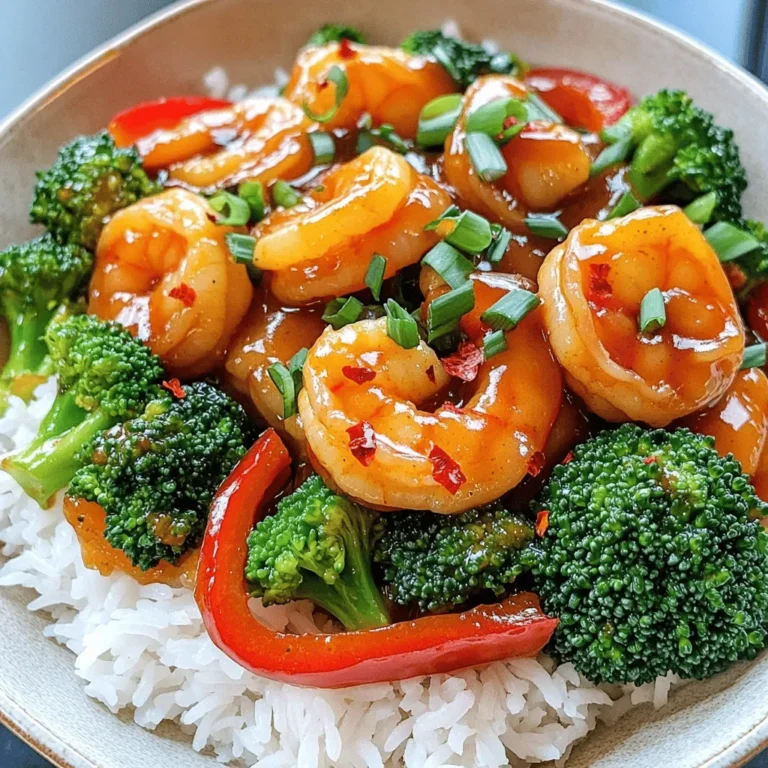
General Tso’s Shrimp Better Than Takeout Delight
PREV
1
…
22
23
24
…
56
NEXT