FREE DINNER EBOOK!
Get your copy!
Cookie Policy
GDPR Policy
Disclaimer
Terms Of Use
Visit my other site:
Fun Cookie Recipes
Home
Dinner
Desserts
Drinks
Appetizers
Contact
About
Privacy Policy
Home
Dinner
Desserts
Drinks
Appetizers
Contact
About
Privacy Policy
Cookie Policy
GDPR Policy
Disclaimer
Terms Of Use
Visit my other site:
Fun Cookie Recipes
HOME / CATEGORIES /
Latest
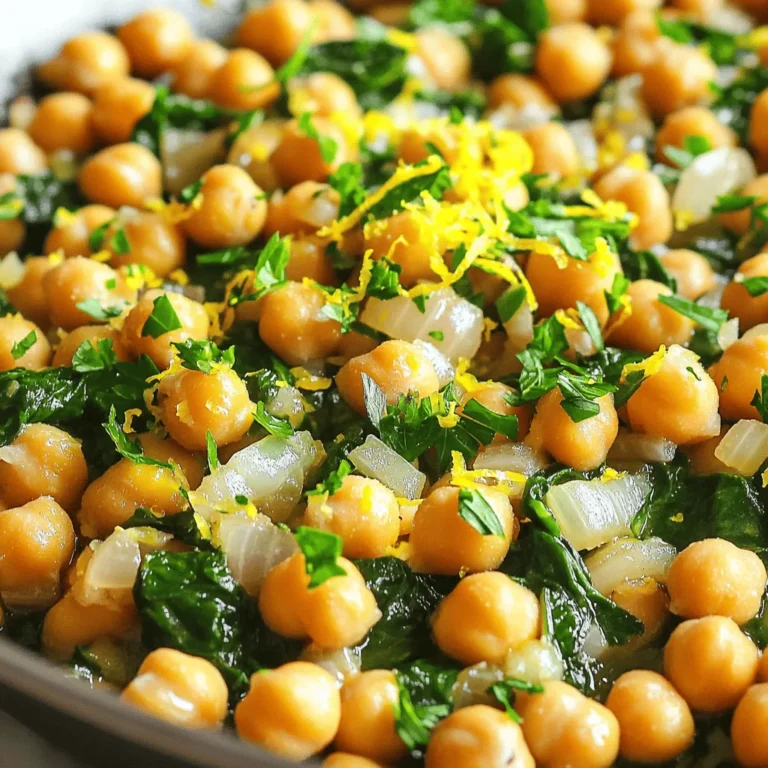
Lemon Garlic Chickpea Skillet Flavorful Quick Meal
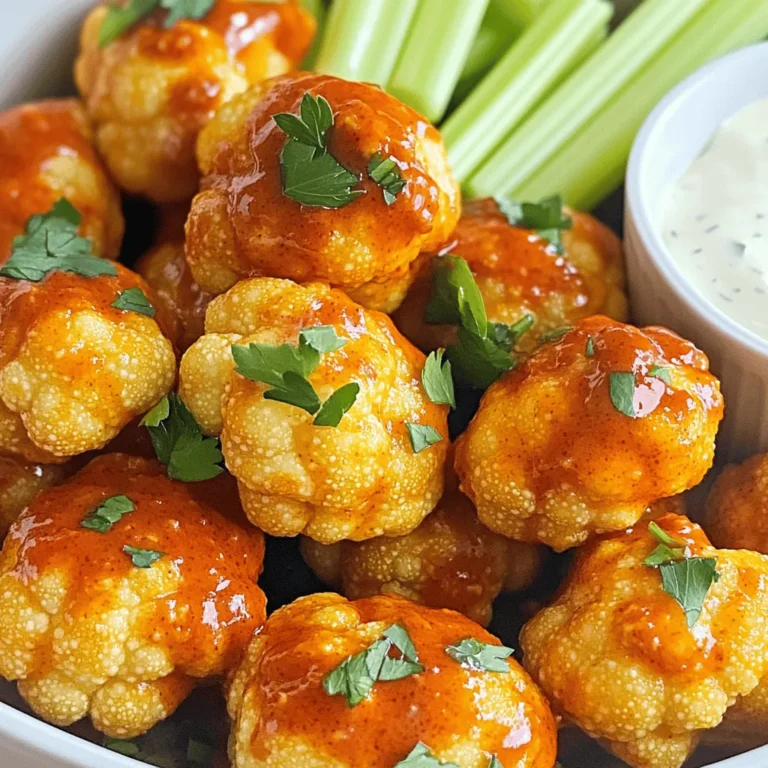
Air Fryer Buffalo Cauliflower Crisp and Tasty Snack
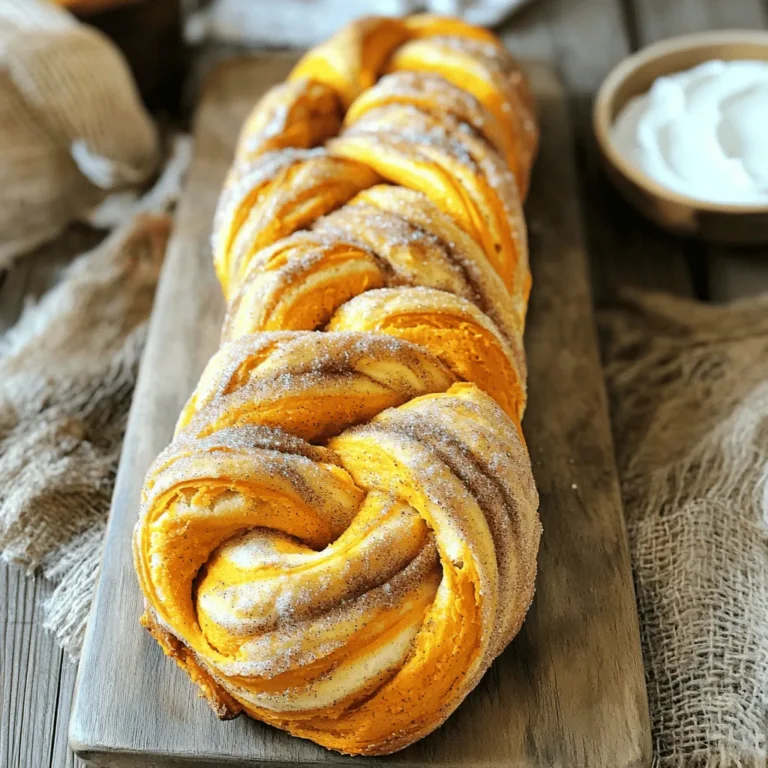
Cinnamon Sugar Pumpkin Twist Bread Delightful Recipe
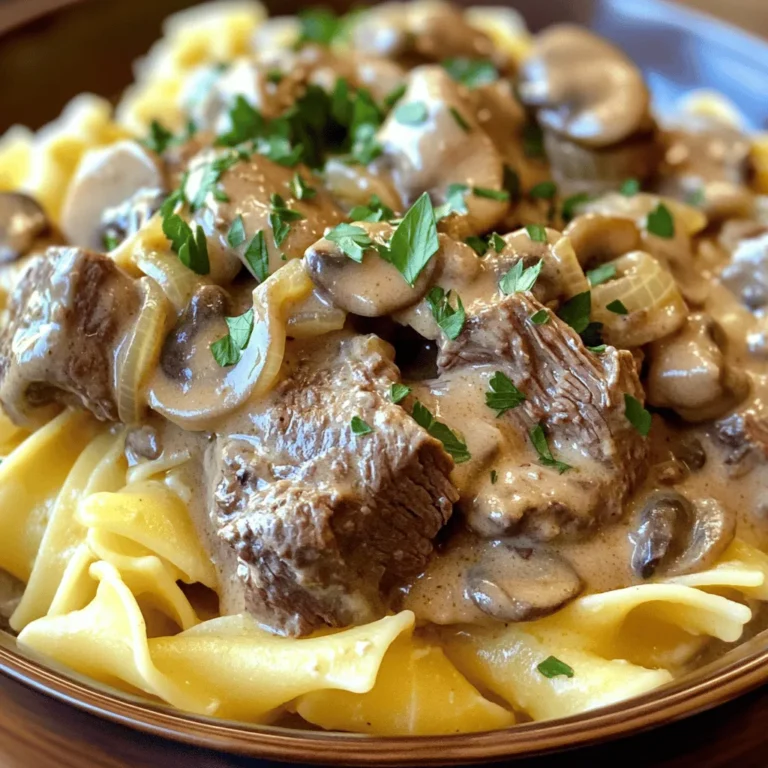
Savory Slow Cooker Beef Stroganoff Easy Dinner Recipe
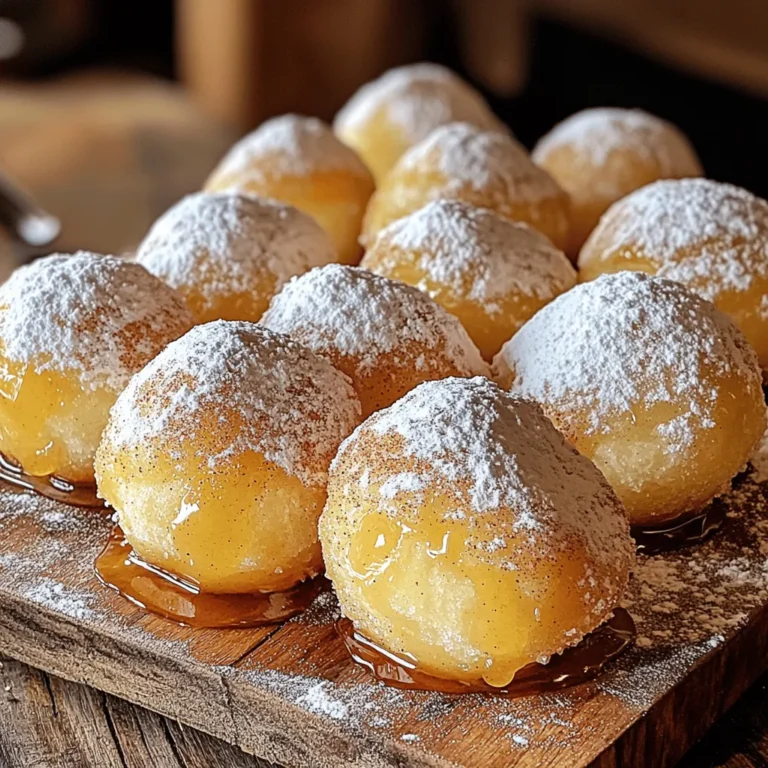
Apple Cider Donut Hole Truffles Delightful and Easy
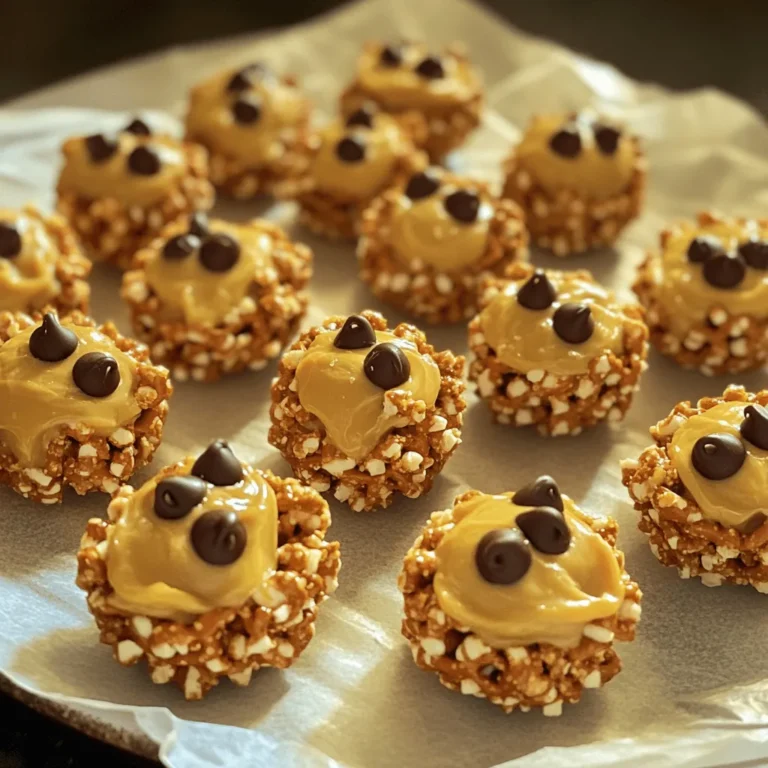
Peanut Butter Pretzel No Bake Bites Healthy Snack
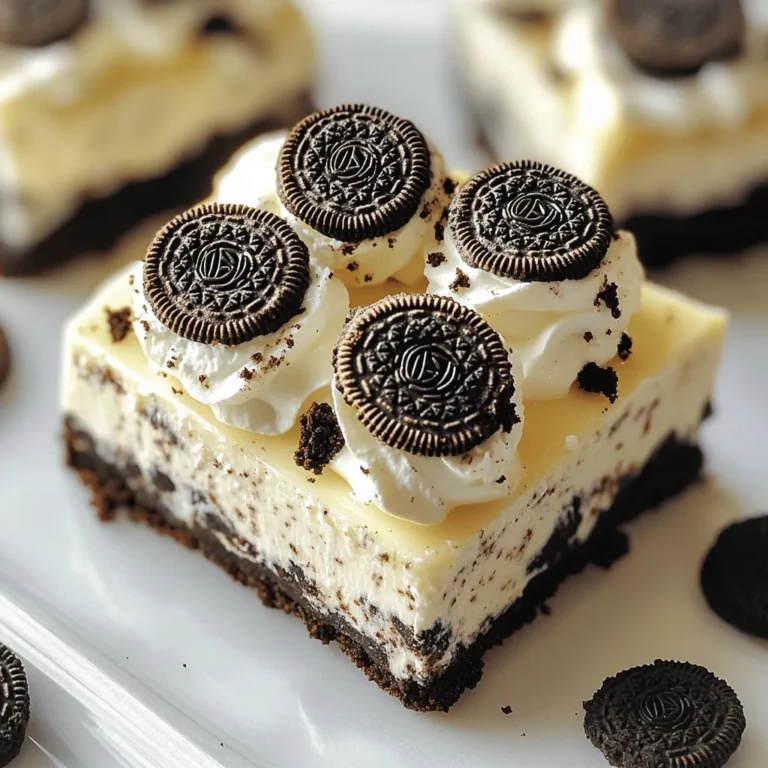
No-Bake Oreo Cheesecake Bars Easy and Delicious Dessert
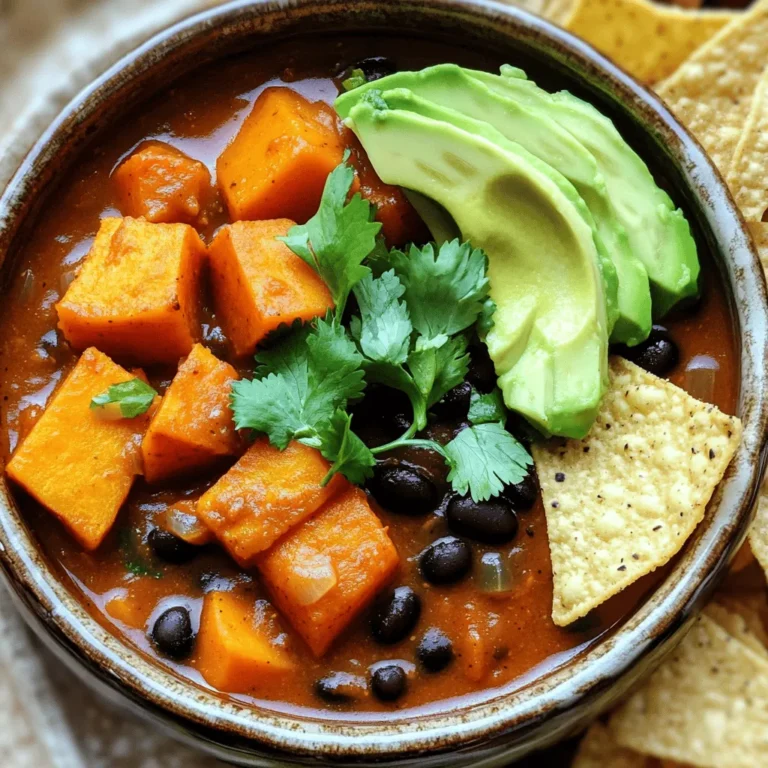
Sweet Potato Black Bean Chili Hearty and Healthy Dish
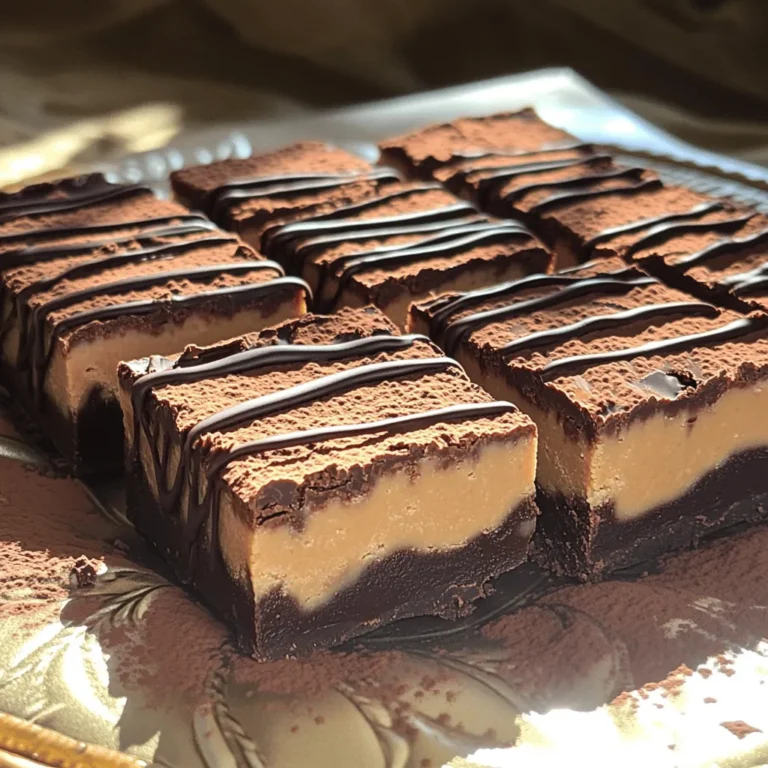
Ingredient Peanut Butter Fudge Simple and Sweet Delight
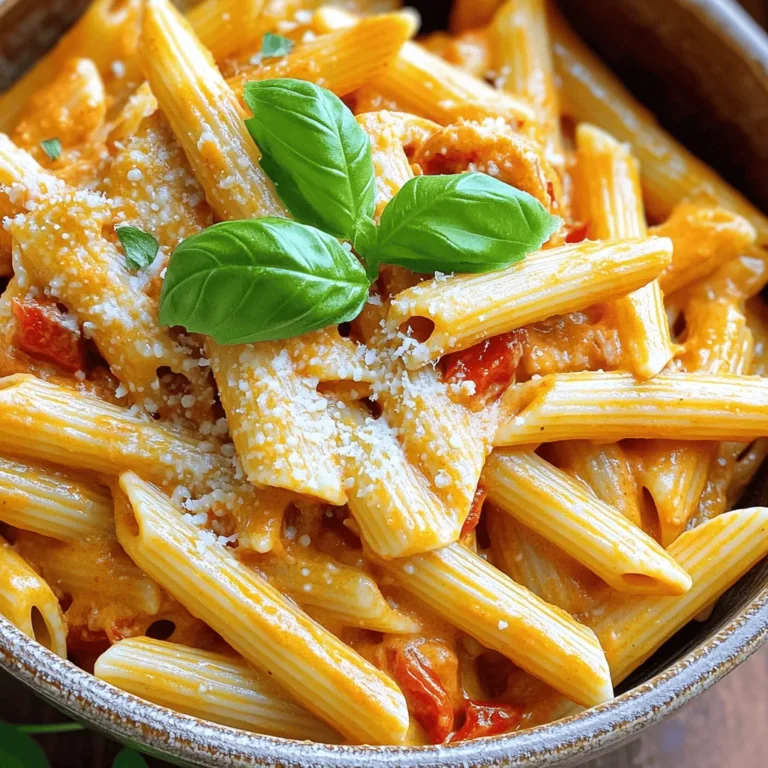
Creamy Roasted Red Pepper Pasta Delightful and Simple
PREV
1
…
23
24
25
…
56
NEXT