FREE DINNER EBOOK!
Get your copy!
Cookie Policy
GDPR Policy
Disclaimer
Terms Of Use
Visit my other site:
Fun Cookie Recipes
Home
Dinner
Desserts
Drinks
Appetizers
Contact
About
Privacy Policy
Home
Dinner
Desserts
Drinks
Appetizers
Contact
About
Privacy Policy
Cookie Policy
GDPR Policy
Disclaimer
Terms Of Use
Visit my other site:
Fun Cookie Recipes
HOME / CATEGORIES /
Latest
Air Fryer Chicken Egg Rolls Crispy and Tasty Treat
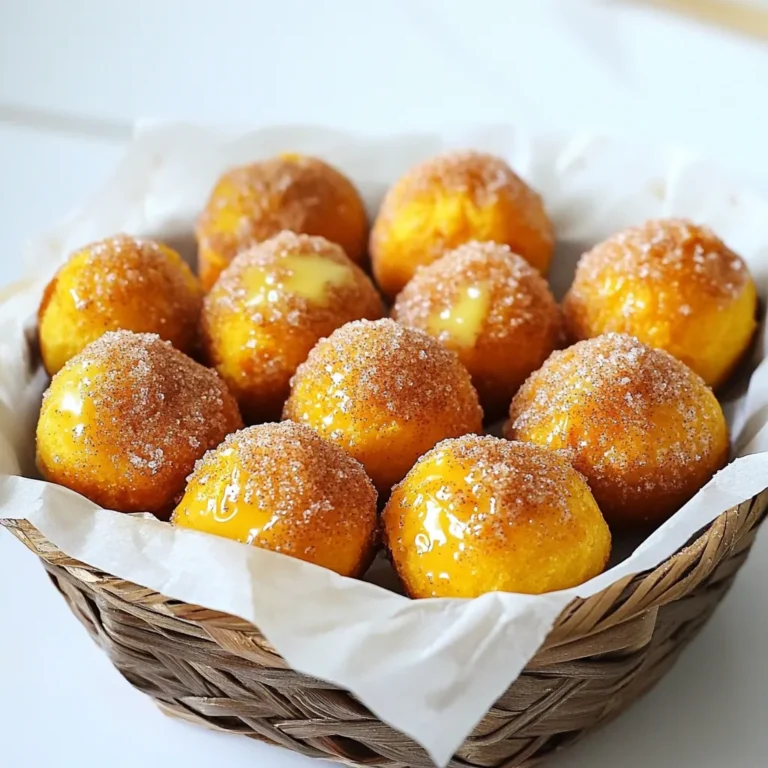
Cinnamon Sugar Pumpkin Donut Holes Irresistible Treat
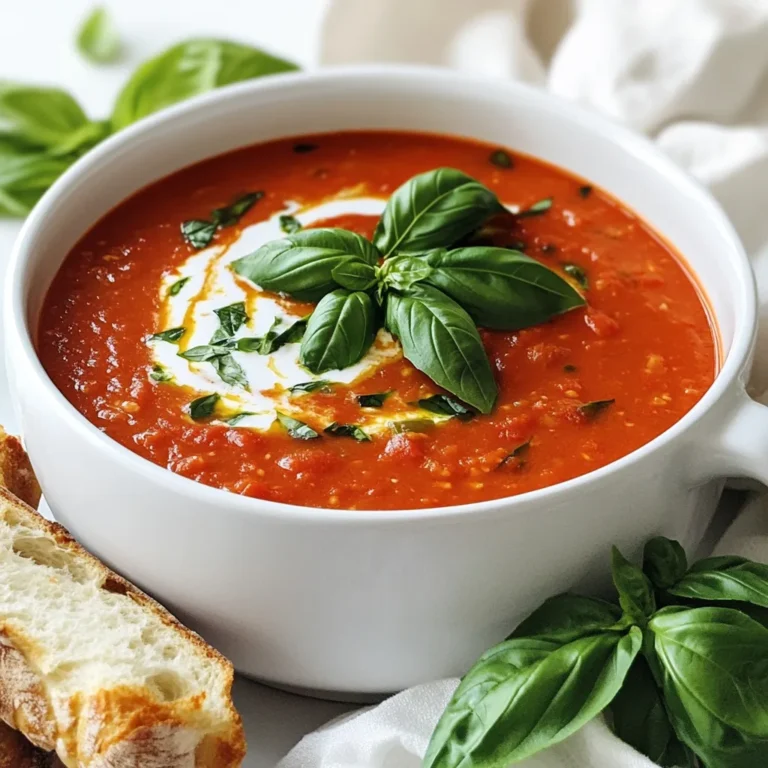
Slow Cooker Tomato Basil Bisque Flavorful Comfort Soup
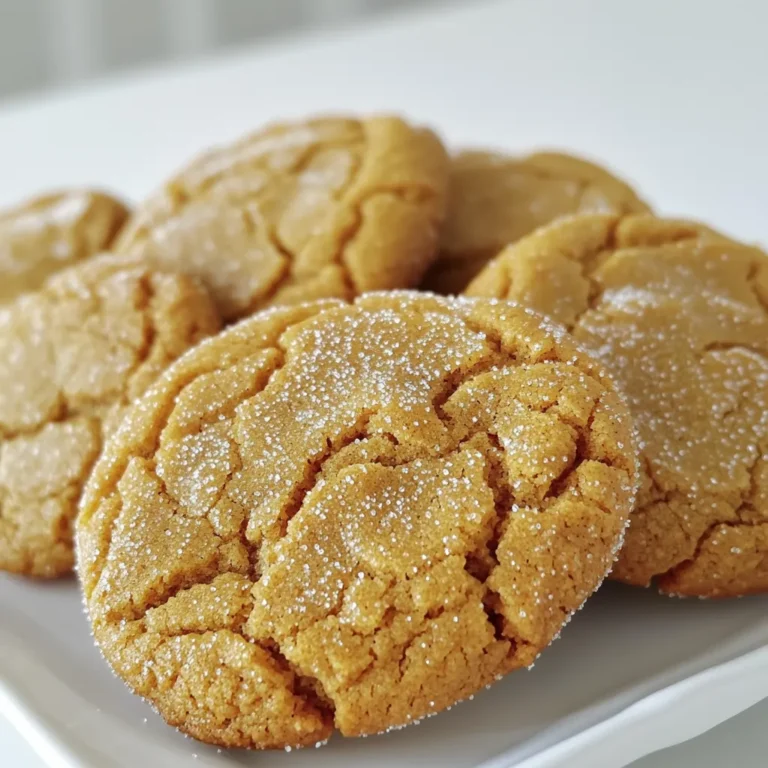
Chewy Molasses Ginger Cookies Irresistible Delight
Skillet Tuscan Chicken with Spinach Flavorful Dish
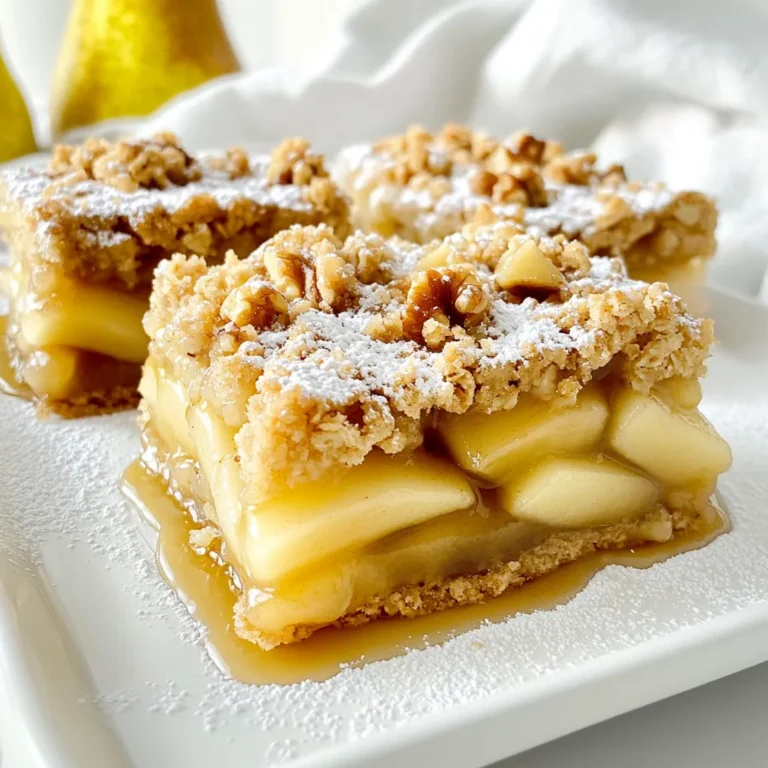
Maple Pear Crumble Bars Delicious Dessert Recipe
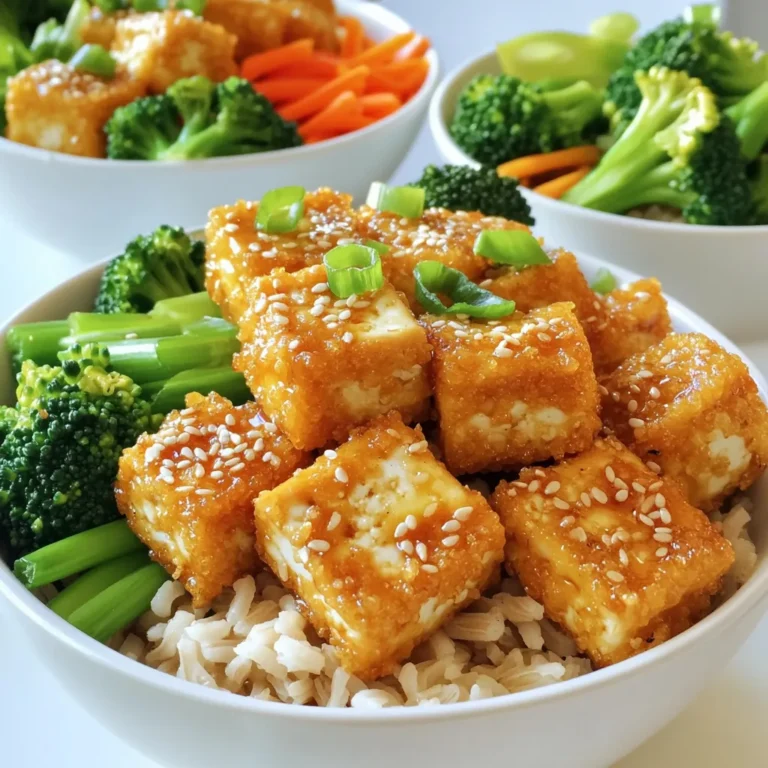
Minute Crispy Garlic Tofu Bowls Flavorful and Quick Meal
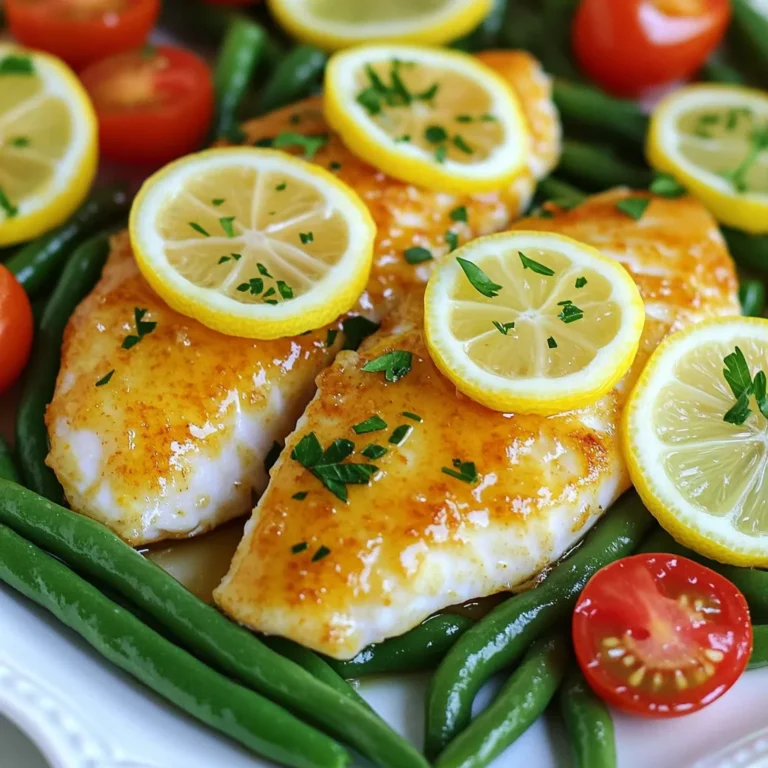
Lemon Garlic Tilapia Sheet Pan Healthy and Simple Dish
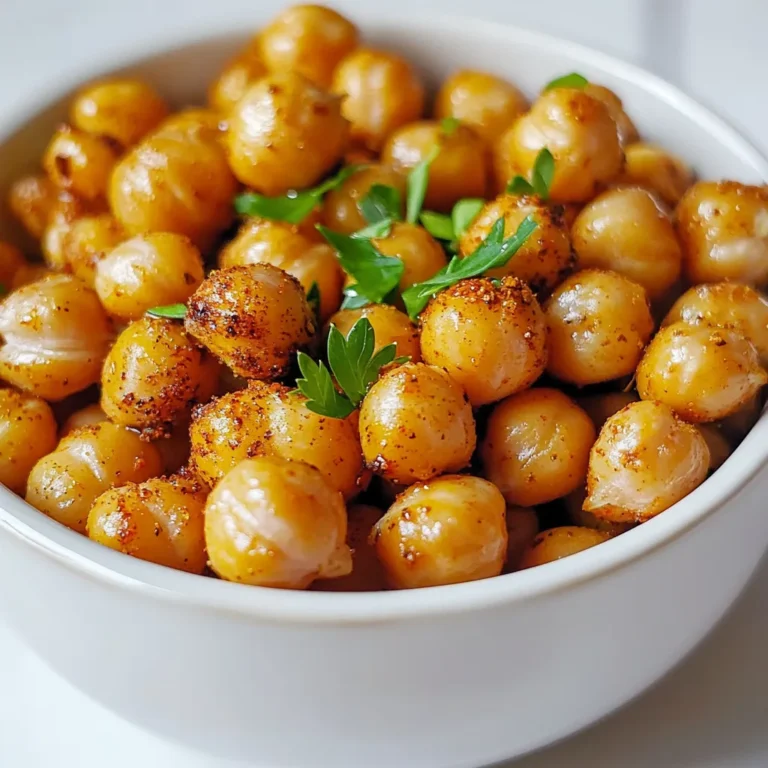
Crunchy Air Fryer Chickpeas for a Tasty Snack
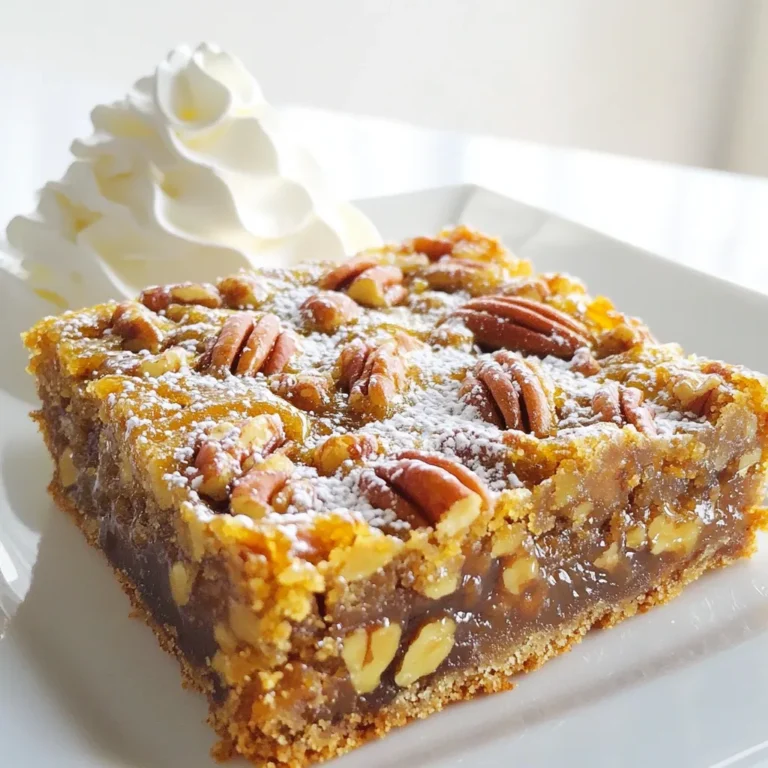
Bourbon Pecan Pie Bars Irresistible Dessert Delight
PREV
1
2
3
4
…
56
NEXT