FREE DINNER EBOOK!
Get your copy!
Cookie Policy
GDPR Policy
Disclaimer
Terms Of Use
Visit my other site:
Fun Cookie Recipes
Home
Dinner
Desserts
Drinks
Appetizers
Contact
About
Privacy Policy
Home
Dinner
Desserts
Drinks
Appetizers
Contact
About
Privacy Policy
Cookie Policy
GDPR Policy
Disclaimer
Terms Of Use
Visit my other site:
Fun Cookie Recipes
HOME / CATEGORIES /
Latest
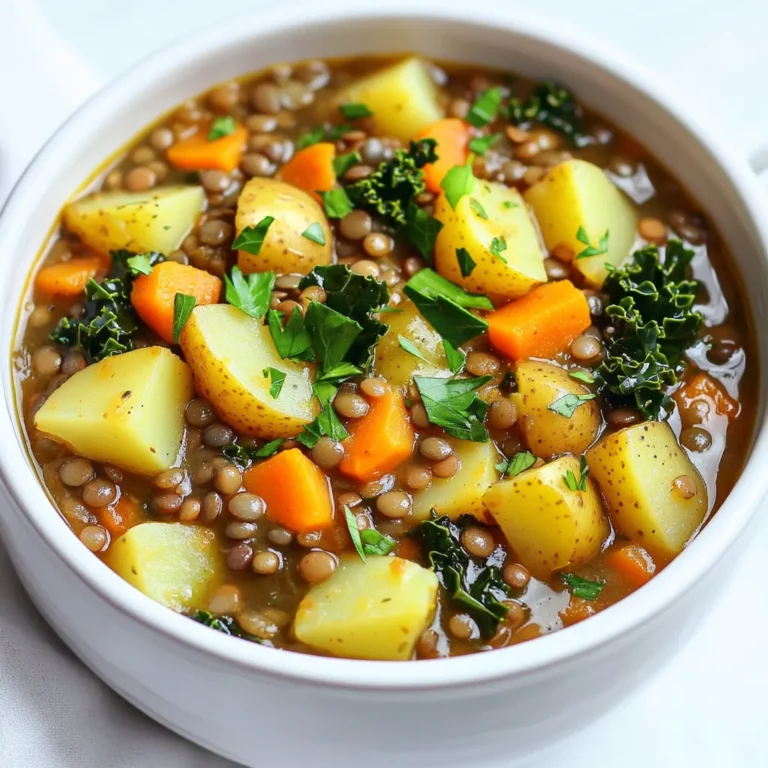
Slow Cooker Lentil Vegetable Stew Full of Flavor
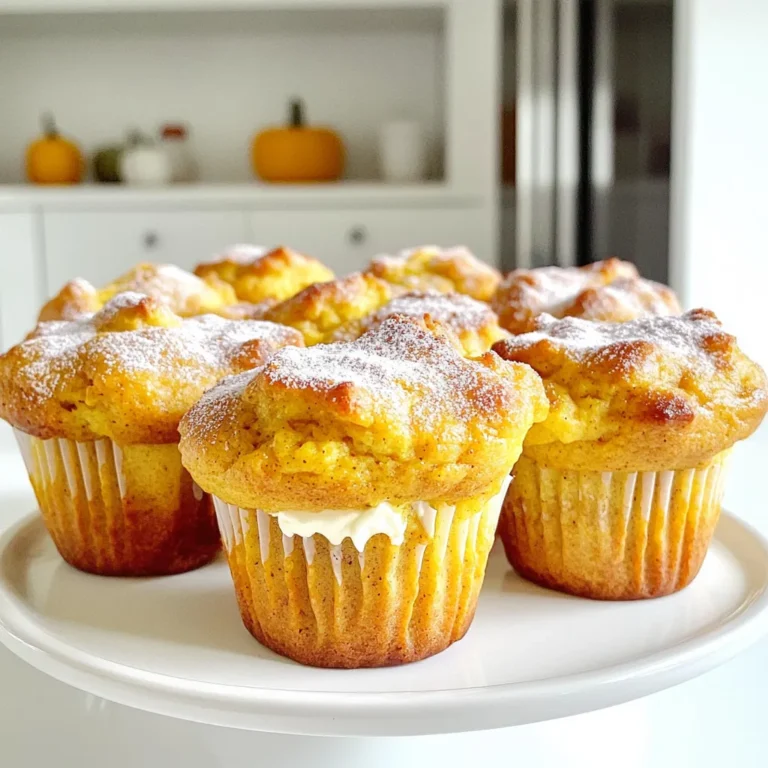
Pumpkin Cream Cheese Muffins Rich and Flavorful Delight
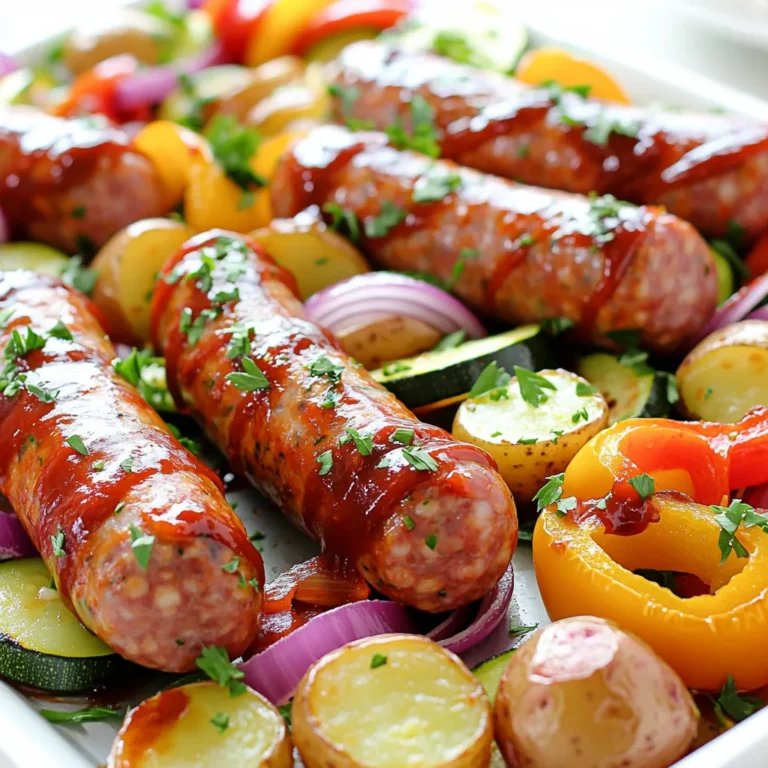
Sheet Pan BBQ Sausage Veggie Dinner Delight
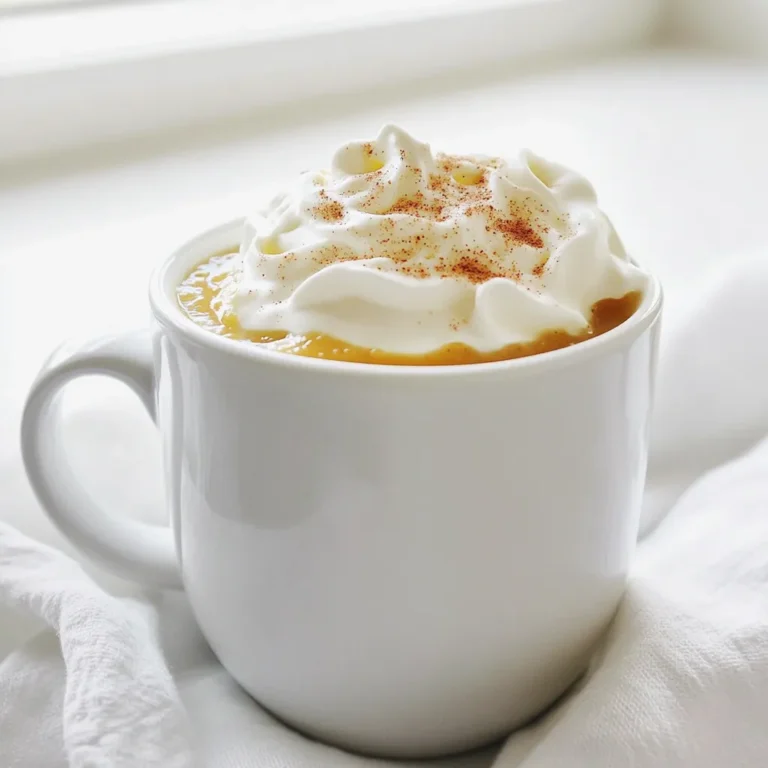
Apple Butter Chai Latte Warm and Cozy Delight
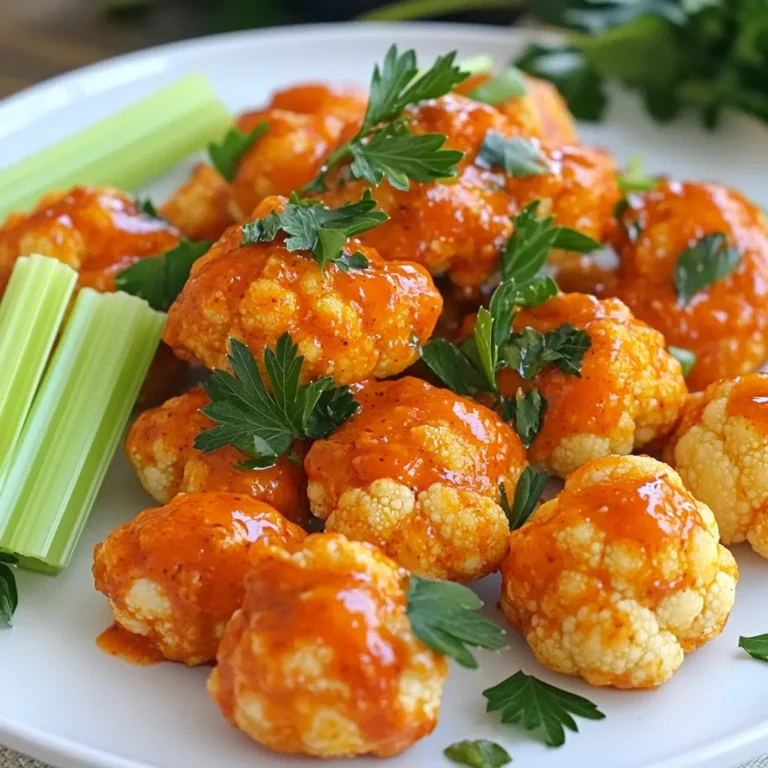
Air Fryer Buffalo Cauliflower Wings Crispy and Delicious
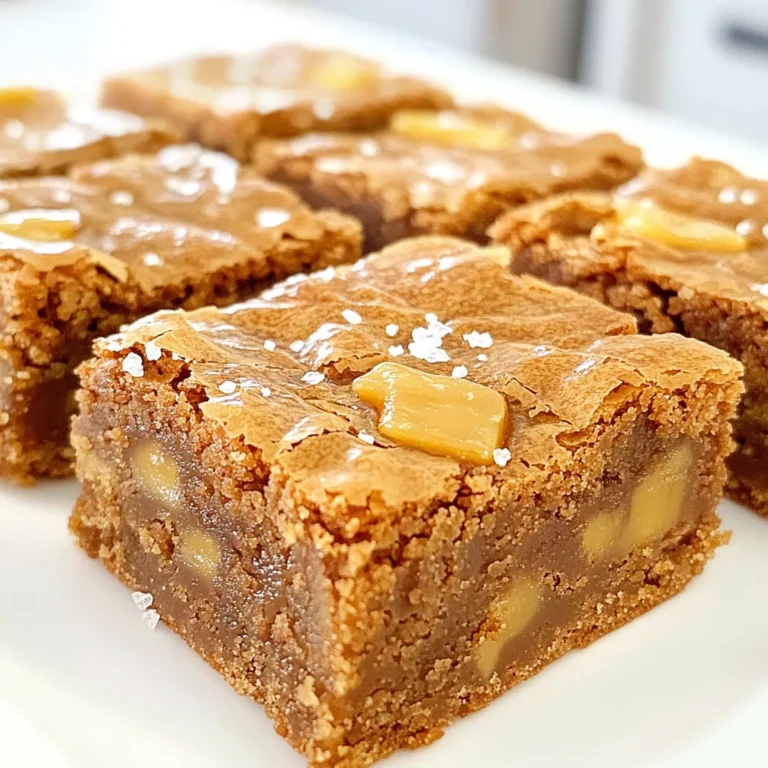
Brown Butter Salted Toffee Blondies Irresistible Treat
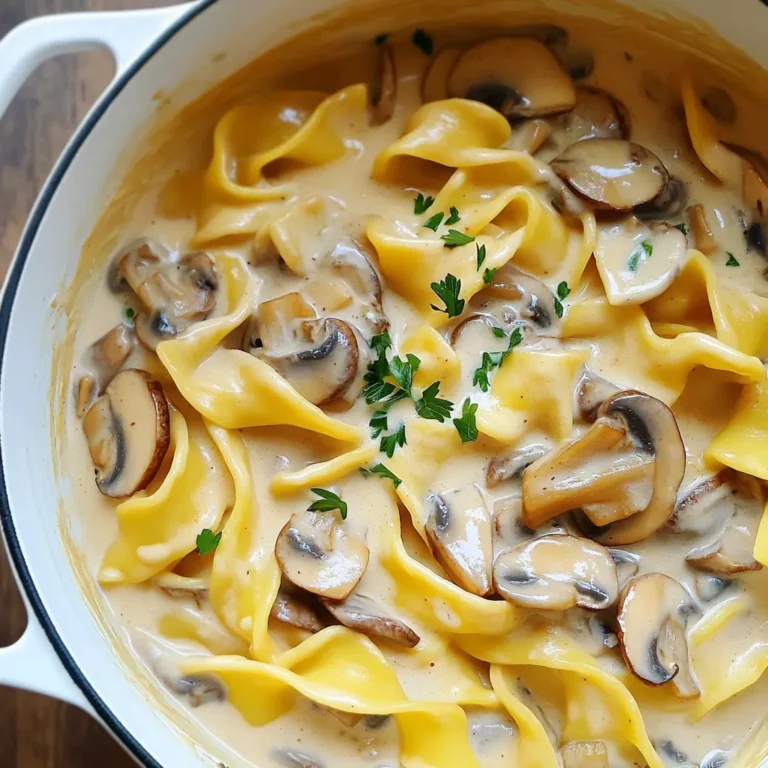
One Pot Creamy Mushroom Stroganoff Flavorful Delight
Brown Butter Maple Pecan Cookies Delightful Treat
Pumpkin Streusel Coffee Cake Delightful and Easy Recipe
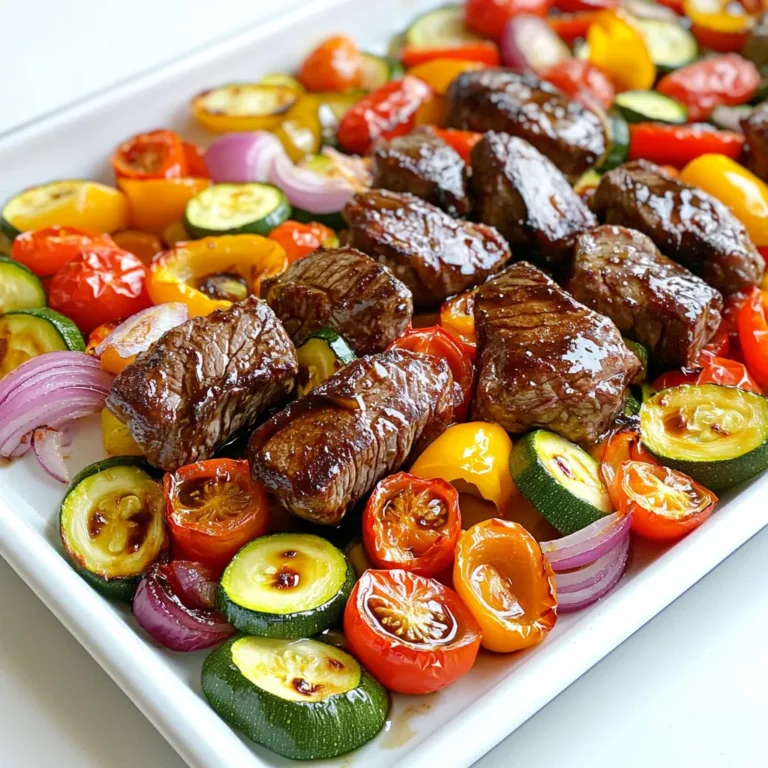
Balsamic Steak Tips Sheet Pan Dinner Delight
PREV
1
…
4
5
6
…
56
NEXT