FREE DINNER EBOOK!
Get your copy!
Cookie Policy
GDPR Policy
Disclaimer
Terms Of Use
Visit my other site:
Fun Cookie Recipes
Home
Dinner
Desserts
Drinks
Appetizers
Contact
About
Privacy Policy
Home
Dinner
Desserts
Drinks
Appetizers
Contact
About
Privacy Policy
Cookie Policy
GDPR Policy
Disclaimer
Terms Of Use
Visit my other site:
Fun Cookie Recipes
HOME / CATEGORIES /
Latest
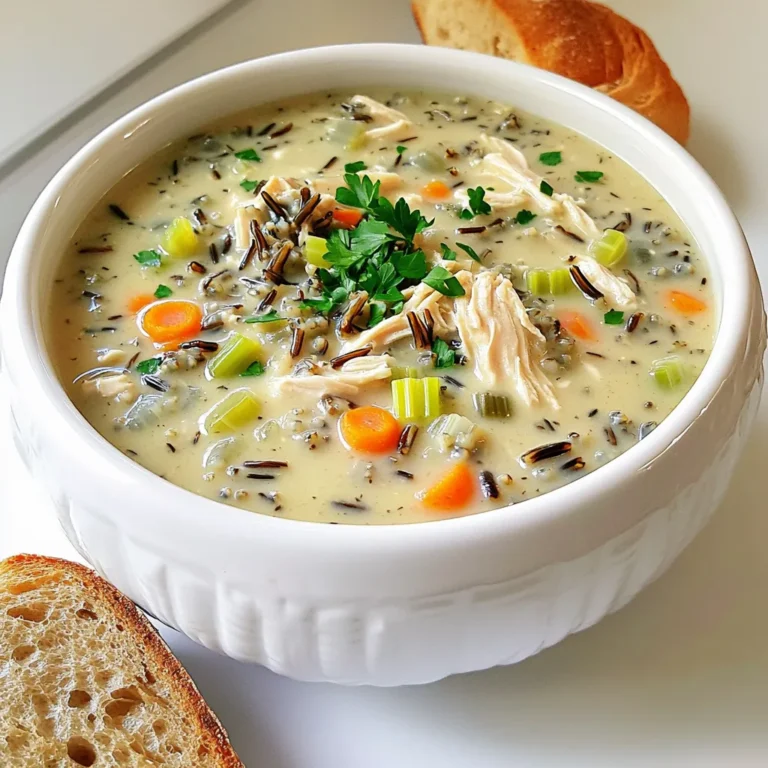
Creamy Chicken Wild Rice Soup Slow Cooker Delight
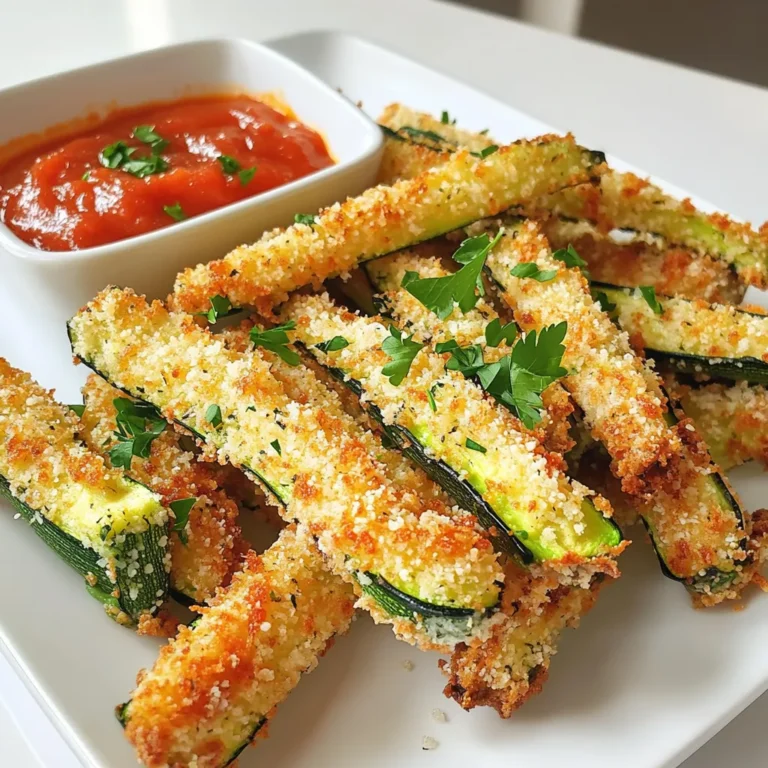
Parmesan Zucchini Fries Air Fryer Crispy Snack Guide
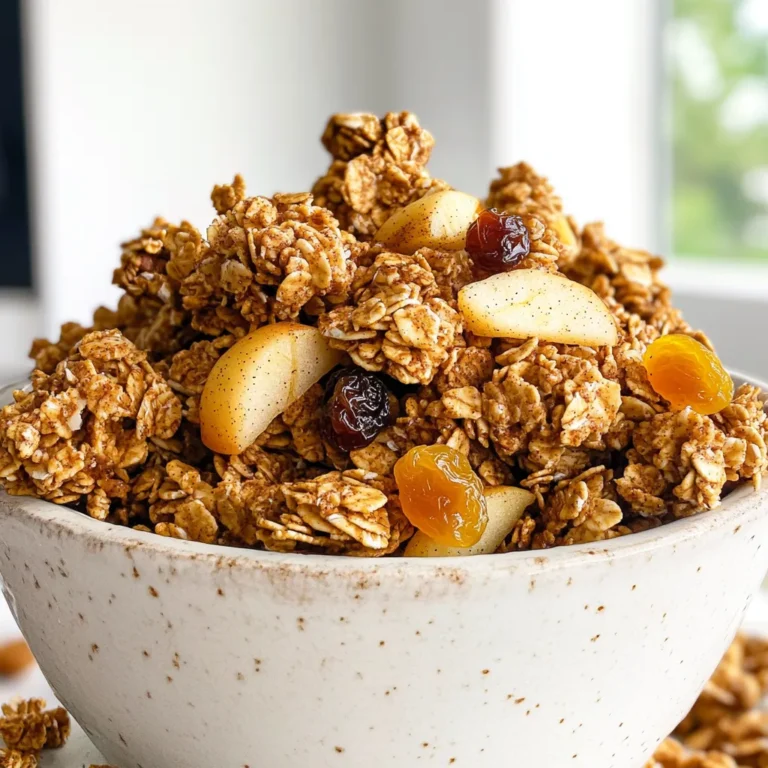
Apple Pie Granola Clusters Tasty and Crunchy Snack
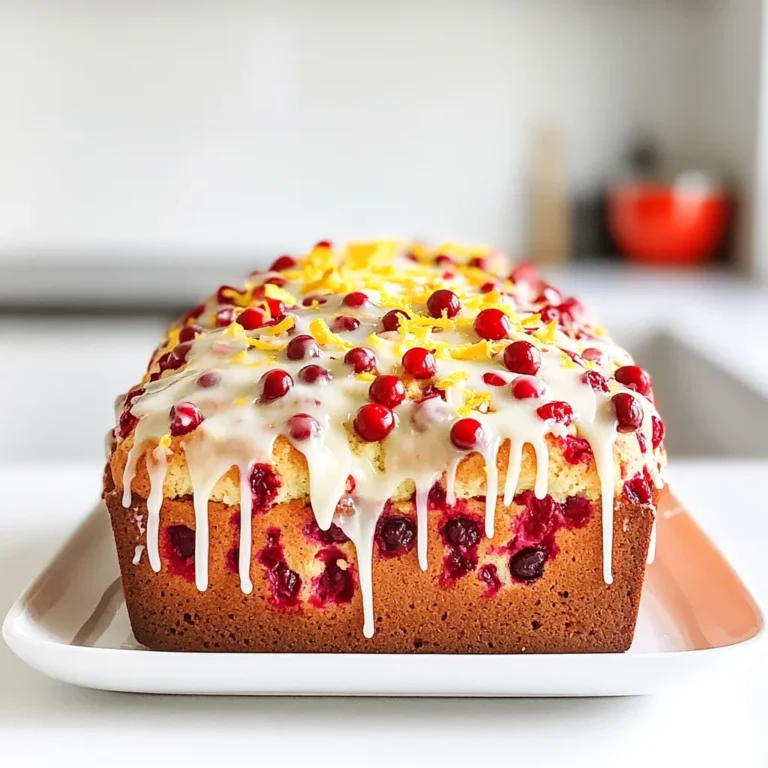
Cranberry Orange Bread with Vanilla Glaze Delight
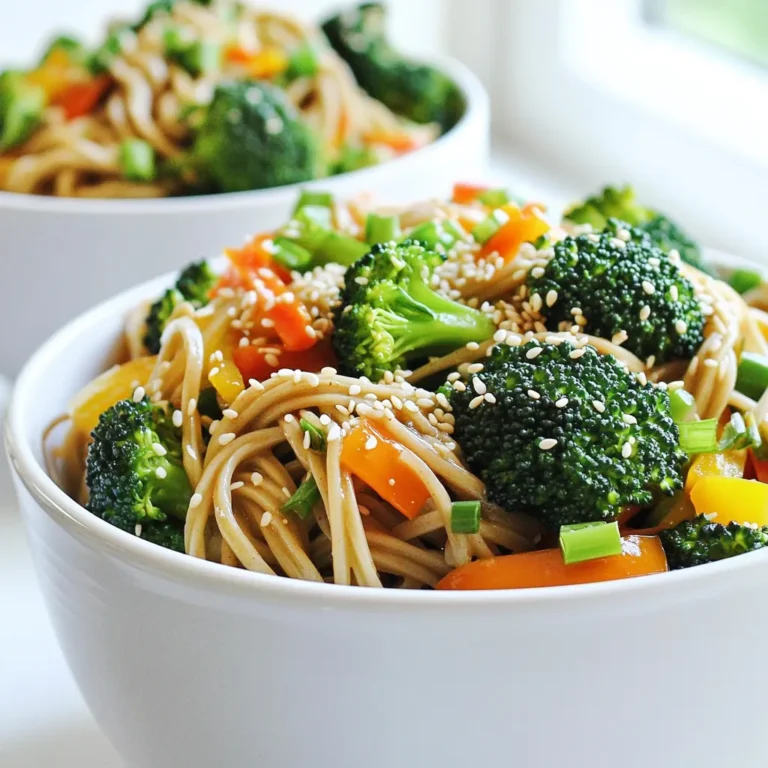
Garlic Sesame Soba Bowls Simple and Flavorful Meal
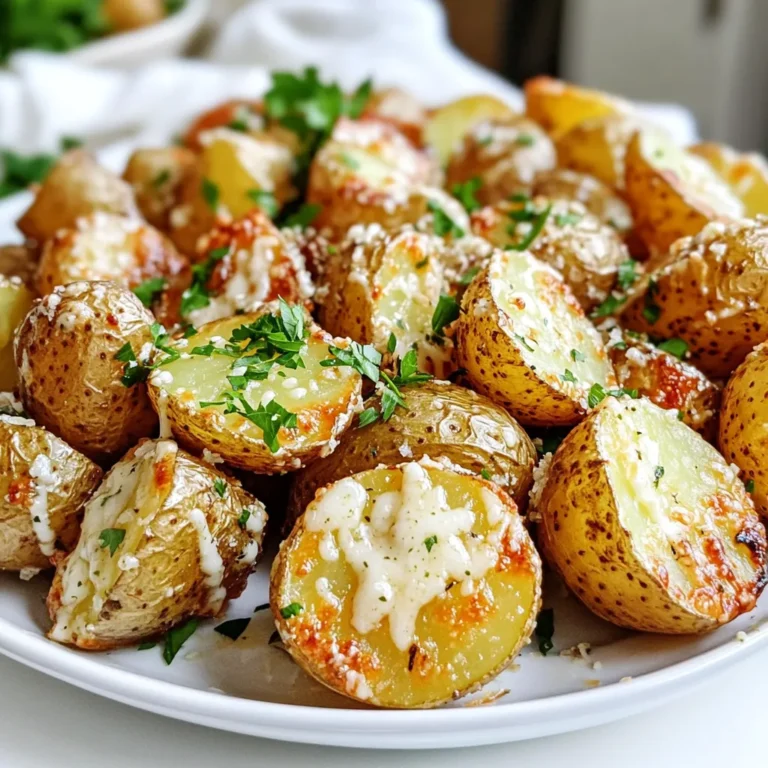
Air Fryer Garlic Parmesan Potatoes Crispy and Tasty
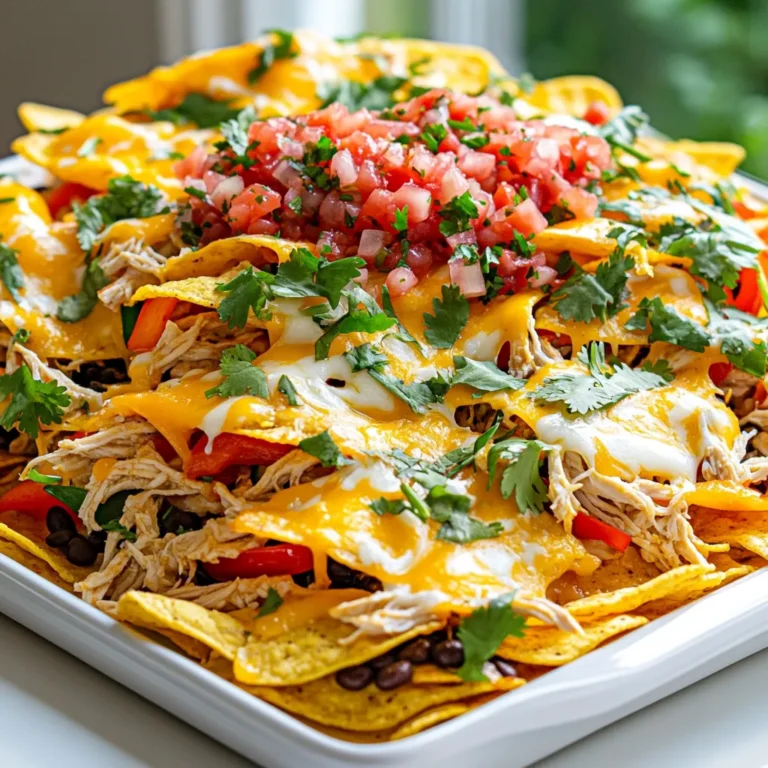
Sheet-Pan Chicken Fajita Nachos Flavorful and Quick
No-Bake Pumpkin Cheesecake Cups Easy and Delicious Delight
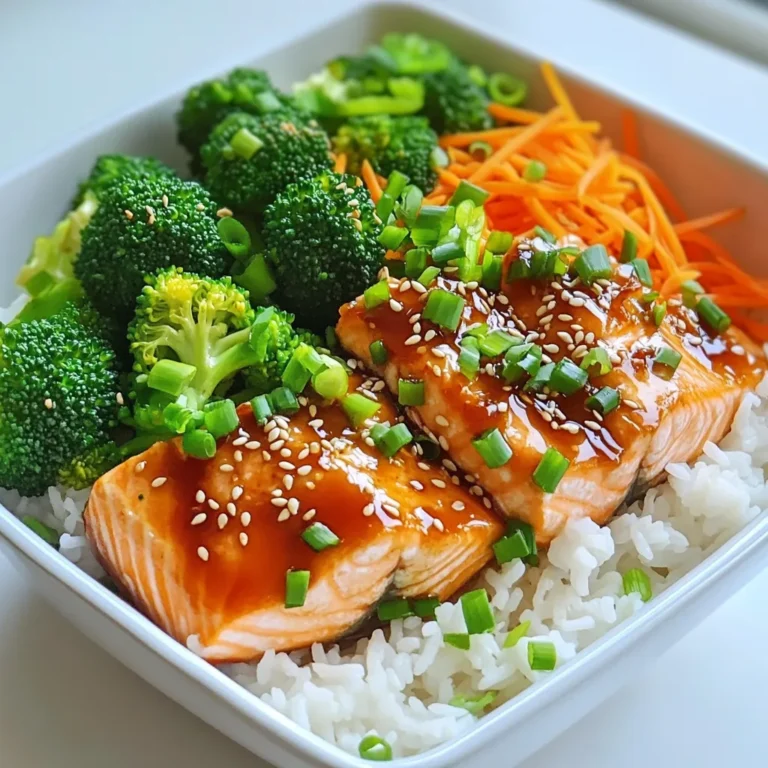
Minute Teriyaki Salmon Bowls Quick and Easy Recipe
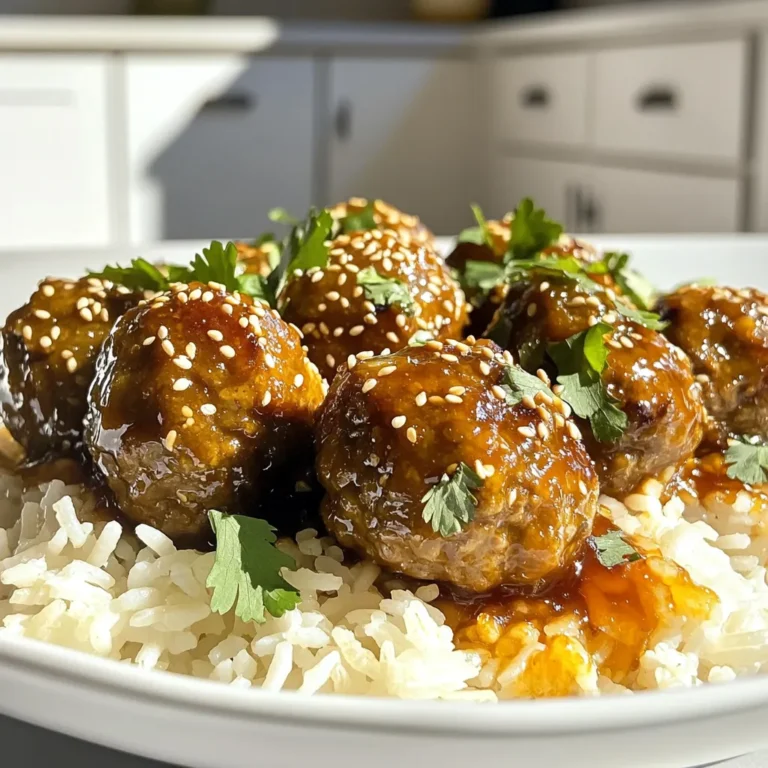
Slow Cooker Honey Garlic Meatballs Easy and Tasty Dish
PREV
1
…
5
6
7
…
56
NEXT