FREE DINNER EBOOK!
Get your copy!
Cookie Policy
GDPR Policy
Disclaimer
Terms Of Use
Visit my other site:
Fun Cookie Recipes
Home
Dinner
Desserts
Drinks
Appetizers
Contact
About
Privacy Policy
Home
Dinner
Desserts
Drinks
Appetizers
Contact
About
Privacy Policy
Cookie Policy
GDPR Policy
Disclaimer
Terms Of Use
Visit my other site:
Fun Cookie Recipes
HOME / CATEGORIES /
Latest
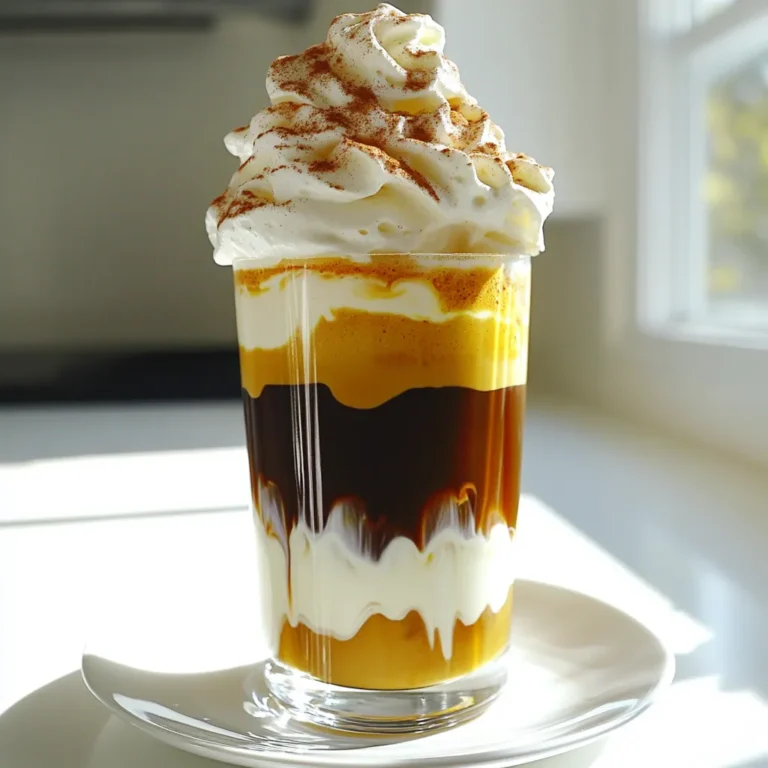
Pumpkin Cream Cold Brew Copycat Easy and Delicious Drink
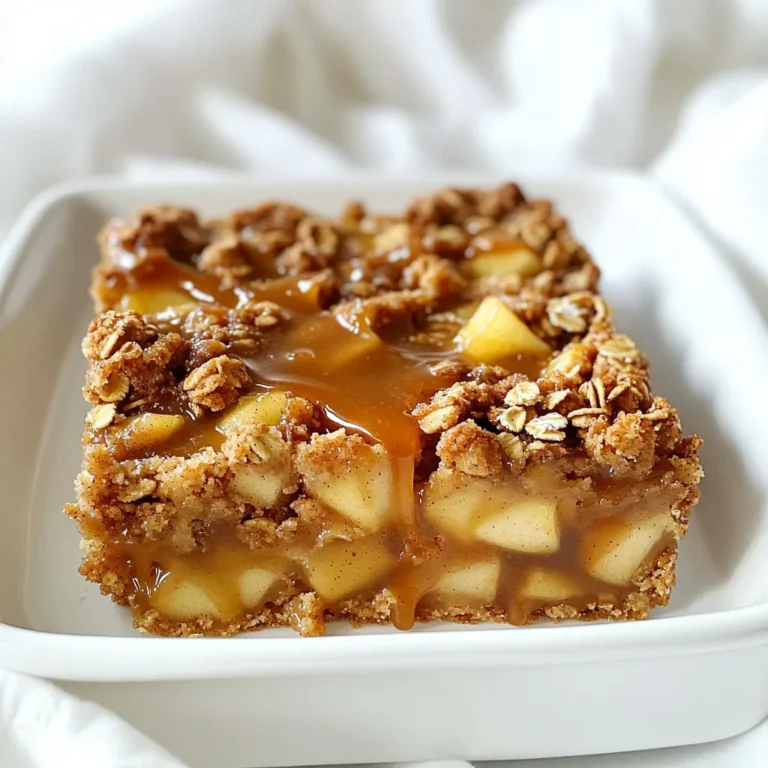
Caramel Apple Crisp Bars with Oat Crumble Delight
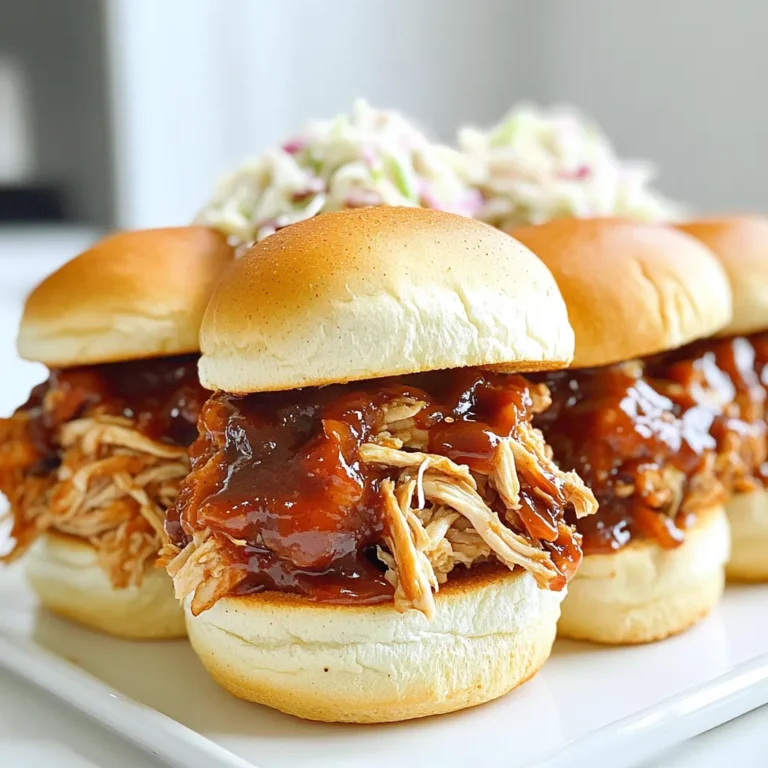
Slow Cooker BBQ Pulled Chicken Sliders Delight
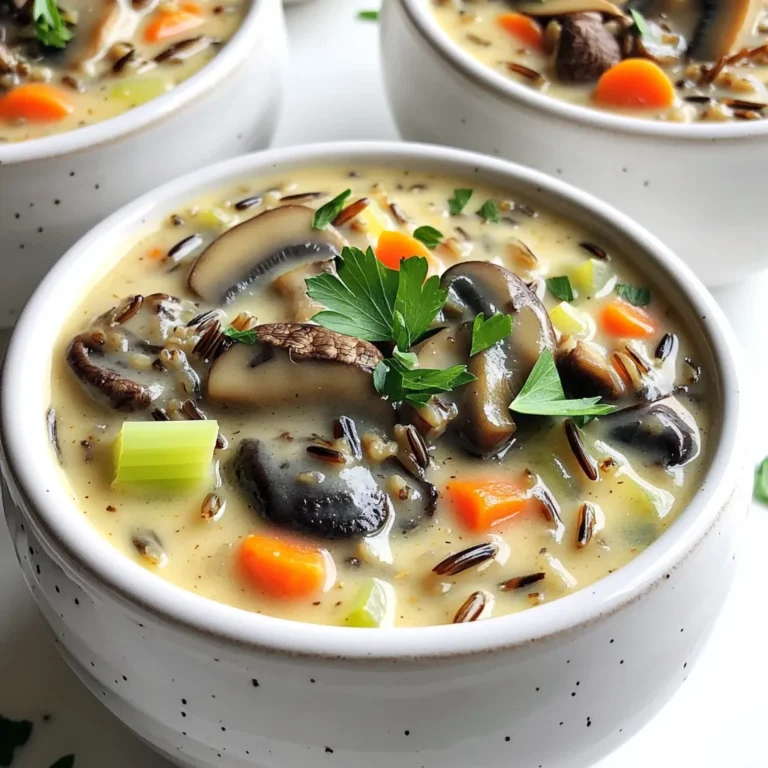
Cozy One-Pot Creamy Wild Rice Mushroom Soup Recipe
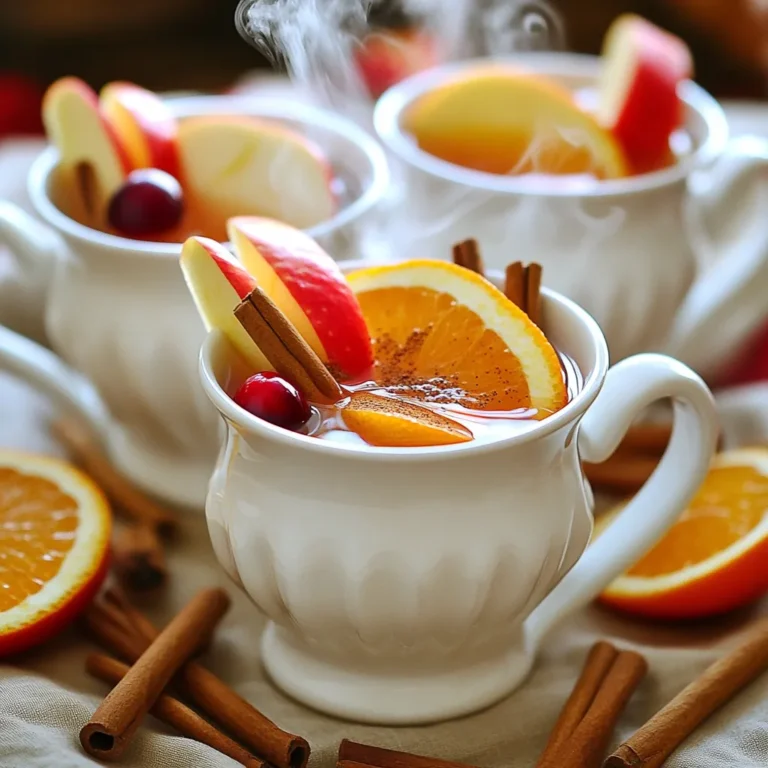
Warm Apple Cider Bourbon Punch Delightful Holiday Drink
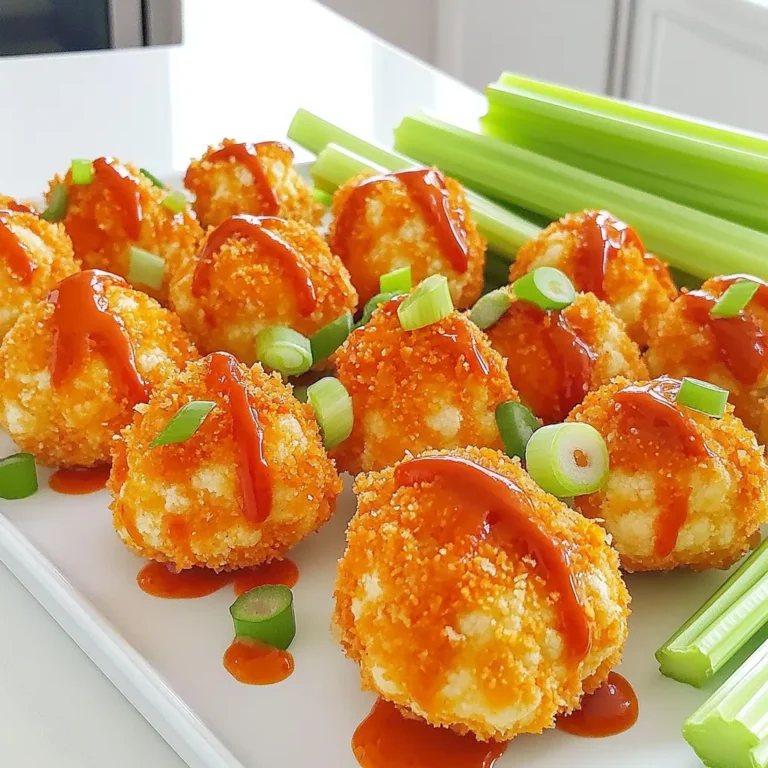
Air Fryer Crispy Buffalo Cauliflower Bites Delight
Lentil Tortilla Soup Flavorful Comfort Food Recipe
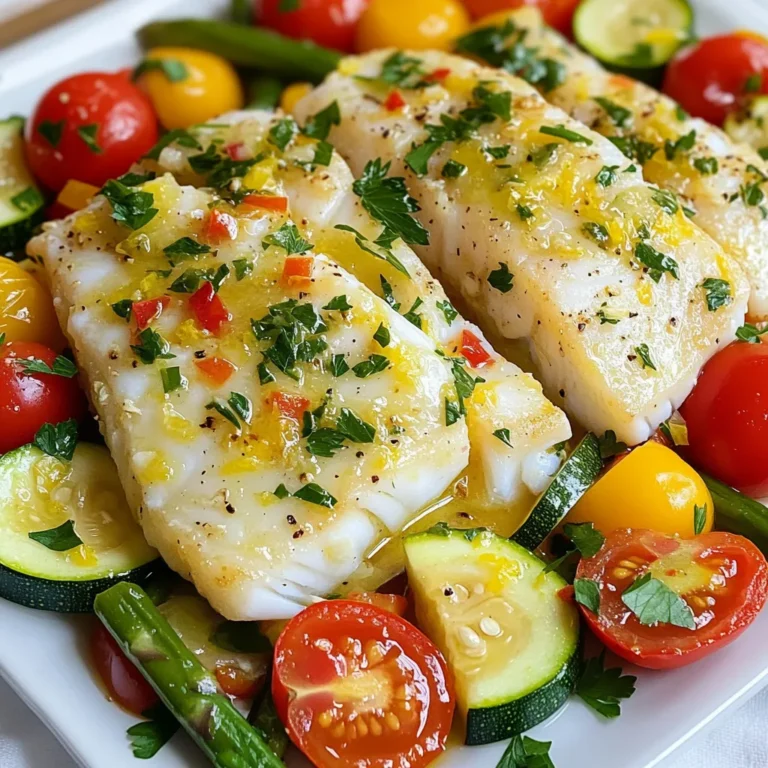
Lemon Garlic Cod and Veggies Sheet Pan Delight
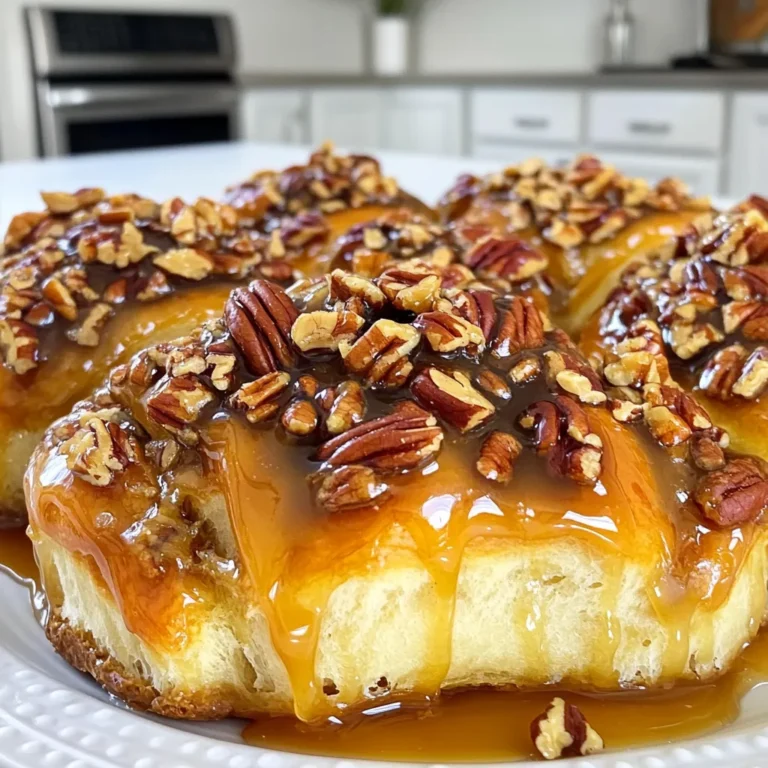
Caramel Pecan Sticky Buns Irresistible and Sweet Treat
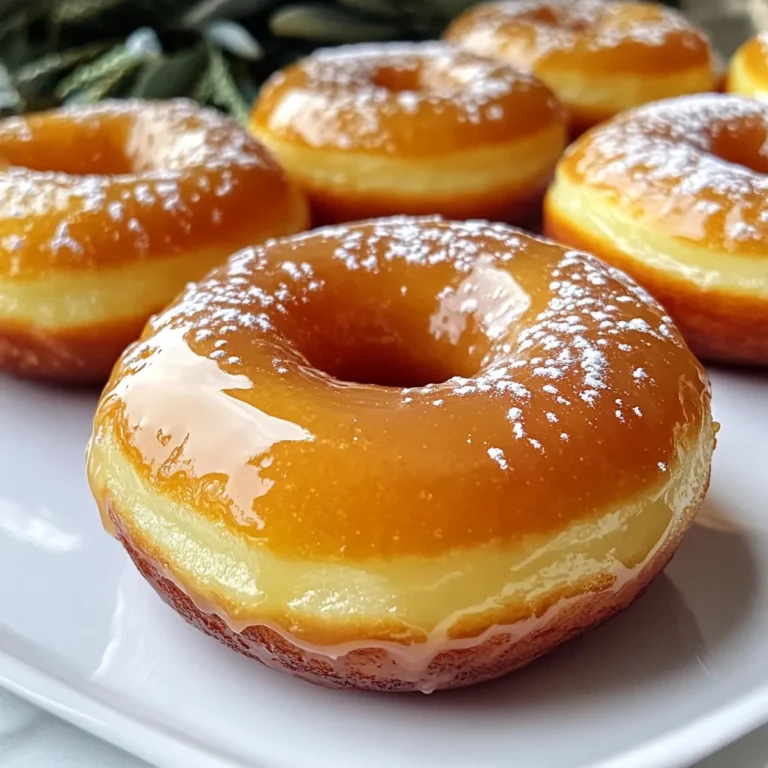
Maple Glazed Donuts Bakery Style Simple and Tasty Recipe
PREV
1
…
6
7
8
…
56
NEXT