Are you ready to whip up a comforting dish on a budget? Making meal prep easy and fun is possible with my simple and tasty chili recipe. I’ll guide you through essential ingredients, cooking steps, and some helpful tips. Whether you're feeding a family or just looking for quick meals, chili offers that warm feeling in every bite. Let’s dive in and get cooking!
Why I Love This Recipe
- Budget-Friendly: This chili recipe is perfect for meal prepping without breaking the bank, making it ideal for those on a budget.
- Versatile Ingredients: With options for meat and plant-based alternatives, you can customize this chili to suit your dietary preferences.
- Easy to Make: With simple steps and minimal prep time, this recipe is accessible for cooks of all skill levels.
- Delicious Leftovers: This chili tastes even better the next day, making it a great option for meal prep and leftovers!
Ingredients
Essential Ingredients for Chili
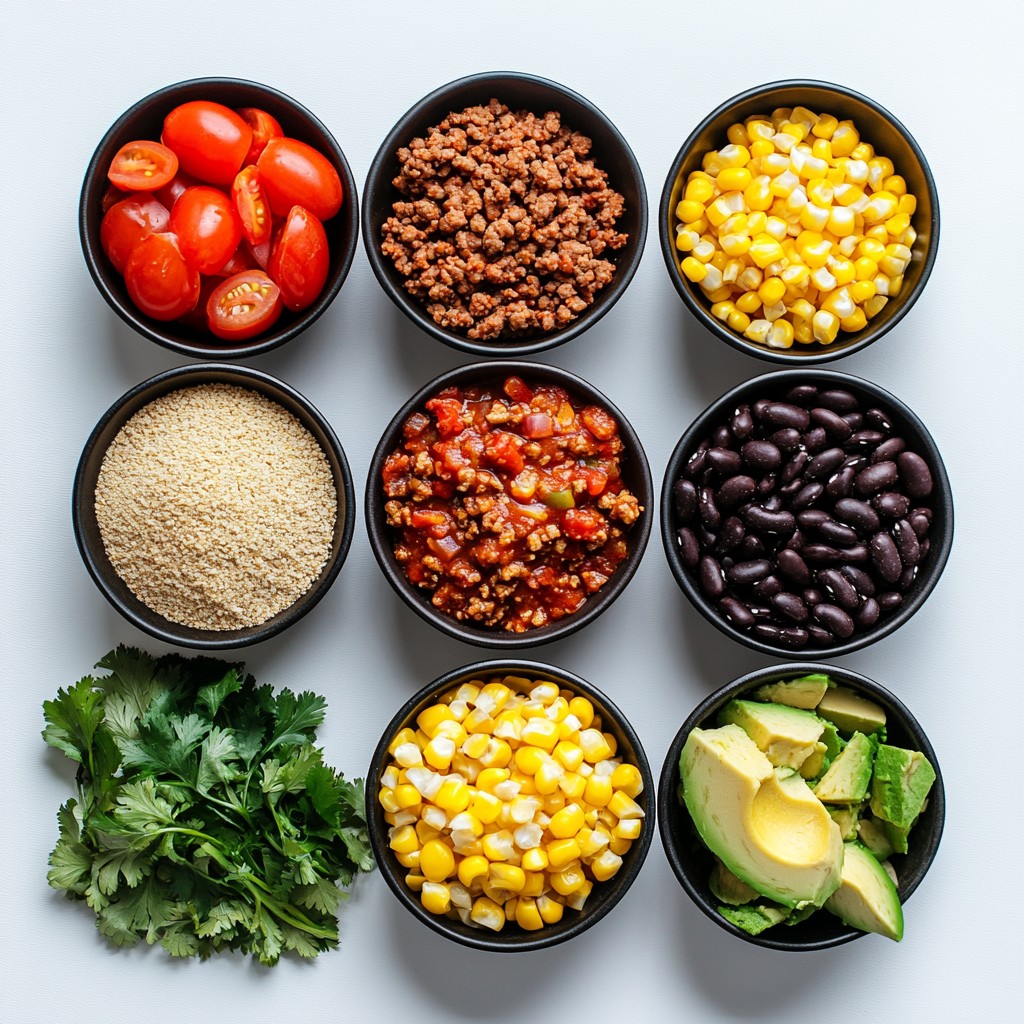
For a simple and tasty budget meal prep chili, you need some key ingredients. Here’s what you should gather:
- 1 pound ground turkey or beef (or a plant-based alternative)
- 1 can (15 oz) black beans, drained and rinsed
- 1 can (15 oz) kidney beans, drained and rinsed
- 1 can (28 oz) crushed tomatoes
- 1 medium onion, diced
- 2 cloves garlic, minced
- 1 bell pepper (any color), diced
- 1 tablespoon chili powder
- 1 teaspoon cumin
- 1 teaspoon smoked paprika
- Salt and pepper to taste
- 2 tablespoons olive oil
- 1 cup corn (fresh or frozen)
These ingredients work together to create a hearty and flavorful chili. The beans add protein and fiber, while the spices give it that warming kick.
Budget-Friendly Substitutions
You can easily swap some ingredients to save money. Here are a few ideas:
- Use lentils instead of ground meat for a plant-based option.
- Choose canned tomatoes with herbs to add extra flavor.
- Instead of fresh corn, use frozen corn, which is often cheaper.
- If you don’t have chili powder, try using taco seasoning.
These swaps keep your chili tasty while saving you a few dollars.
Optional Toppings for Extra Flavor
Toppings can make your chili even better. Here are some fun options you might like:
- Diced avocado
- Chopped cilantro
- Shredded cheese
- Sour cream
Adding these toppings can boost the flavor and presentation. Each topping brings its own twist to your chili. Enjoy customizing your bowl!
Step-by-Step Instructions
Preparing the Base
Start by heating 2 tablespoons of olive oil in a large pot or Dutch oven over medium heat. Add 1 medium diced onion and 1 diced bell pepper. Sauté for 5 to 7 minutes until they soften. This adds great flavor to your chili. Next, stir in 2 minced garlic cloves and cook for 1 more minute. This will make your kitchen smell amazing!
Cooking the Chili
Now, it’s time to add the meat. Use 1 pound of ground turkey, beef, or a plant-based option. Cook it for about 5 to 7 minutes. Break it up with a spoon as it cooks. Once browned, stir in 1 tablespoon of chili powder, 1 teaspoon of cumin, and 1 teaspoon of smoked paprika. Add salt and pepper to taste. Cook for 2 minutes to let the spices toast.
Next, pour in 1 can of 28 oz crushed tomatoes. Stir it well. Then, add 1 can of drained black beans, 1 can of drained kidney beans, and 1 cup of corn. Bring everything to a simmer over medium-high heat. Once it’s bubbling, reduce the heat to low. Cover the pot and let it cook for 20 to 30 minutes. Don’t forget to stir occasionally!
Adjusting Seasoning and Spiciness
After cooking, taste your chili. If you want it spicier, add diced jalapeños or a pinch of cayenne pepper. Adjust the salt and pepper as needed. Once it is perfect, remove it from the heat. Let it cool slightly before you pack it into meal prep containers. Enjoy your tasty, budget-friendly chili!
Tips & Tricks
How to Save on Ingredients
To save money on ingredients, buy in bulk. Look for sales on canned goods. Use store brands; they often taste just as good. You can swap fresh veggies for frozen ones. They cost less and last longer. Consider using dried beans instead of canned. They are cheaper and can be cooked ahead of time.
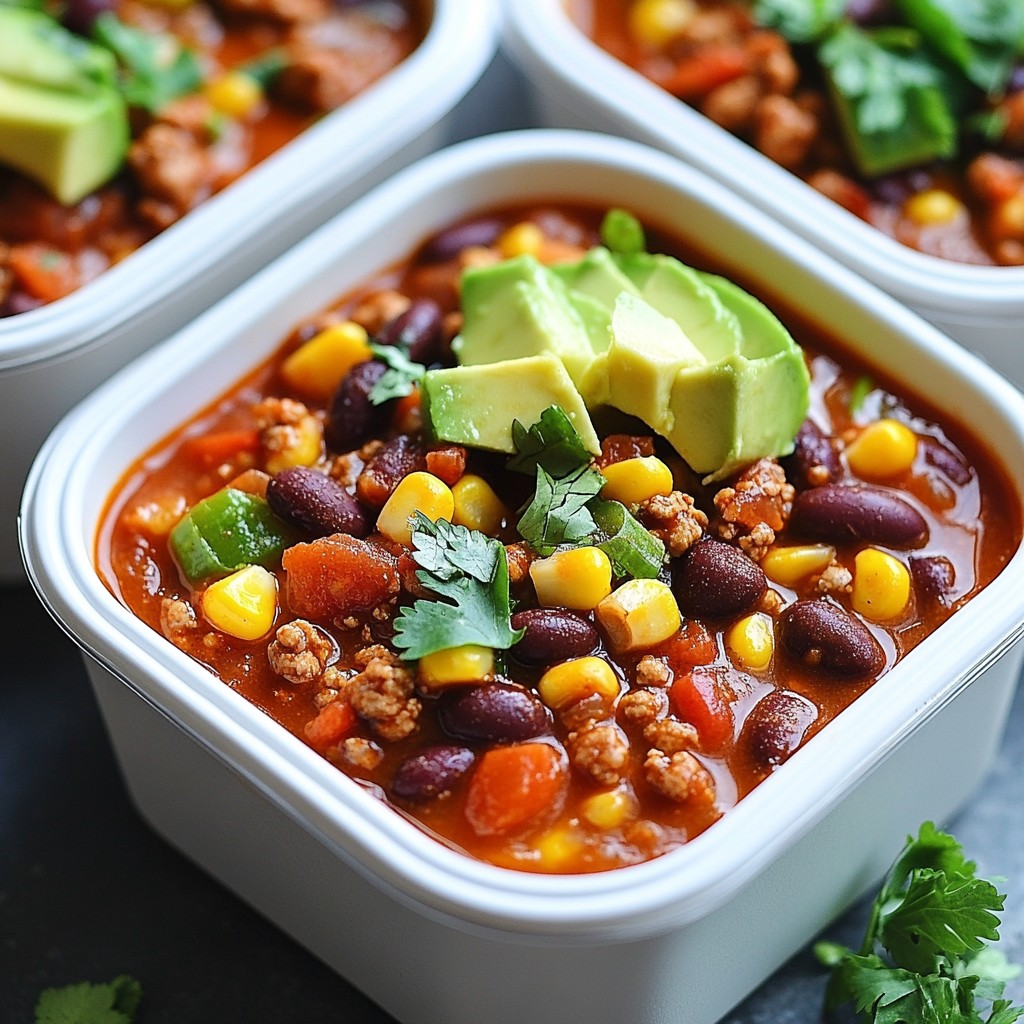
Best Practices for Meal Prepping
Start with clean containers. Glass or BPA-free plastic works best. Make sure they have tight lids to avoid spills. Divide the chili into portions right after cooking. This keeps it fresh and ready to eat. Label each container with the date. It helps to keep track of how long they last. Store your chili in the fridge for up to five days. If you want to keep it longer, freeze the portions. They can last for three months in the freezer.
Enhancing Flavor Profiles
To boost flavor, add extra spices like cayenne pepper or chili flakes. Fresh herbs like cilantro or parsley can make a big difference. You can also squeeze lime juice for brightness. For a smoky taste, toss in some smoked paprika. Don't forget to taste as you go. Adjust seasoning with salt and pepper as needed. If you love heat, add diced jalapeños or hot sauce. These simple tweaks can take your chili from good to great!
Pro Tips
- Use Fresh Ingredients: Fresh vegetables and herbs elevate the flavor of your chili. Opt for in-season produce for the best taste.
- Balance the Flavors: Taste your chili as it cooks. Adjust the seasoning and spice levels to find the perfect balance for your palate.
- Make it Ahead: Chili tastes even better the next day! Make it in advance and let the flavors meld in the fridge overnight.
- Customize Your Toppings: Personalize your chili with a variety of toppings like avocado, cheese, or sour cream to enhance the dish.
Variations
Vegetarian/Vegan Chili Options
If you want a vegetarian or vegan chili, it's easy! Just swap the ground turkey or beef with a plant-based option. You can use lentils or textured vegetable protein (TVP) for a meaty texture. This keeps the chili hearty and filling. Use extra beans like pinto or chickpeas for added protein. Don't forget to keep the spices and veggies the same. They add great flavor!
Spicy vs. Mild Chili Adaptations
Do you like your chili spicy? Add diced jalapeños or a pinch of cayenne pepper. This will kick up the heat! If you prefer mild chili, skip the spicy peppers. Instead, you can add a bit of honey or sugar. This balances the heat and gives a nice flavor. Taste your chili before serving. You can adjust the spices to fit your taste.
Ingredient Swaps for Dietary Preferences
Chili is flexible! If you're gluten-free, make sure to check the beans and tomatoes. They should be labeled gluten-free. You can also use quinoa instead of beans for a unique twist. If you want to cut calories, use lean turkey or chicken. For a low-carb option, replace beans with diced zucchini or cauliflower. Always feel free to mix and match based on what you have!
Storage Info
How to Properly Store Chili
To store your chili, let it cool to room temperature first. Use airtight containers for best results. Divide the chili into single servings. This makes it easy to grab when you're hungry. Store the containers in the fridge. Your chili will stay fresh for up to four days.
Freezing Tips for Long-Term Storage
If you want to freeze your chili, use freezer-safe containers or bags. Leave some space at the top of the container. The chili will expand as it freezes. Label your containers with the date. This helps you track how long it's stored. Frozen chili is best used within three months for great taste.
Reheating Instructions for Meal Prep
When you’re ready to eat, you can reheat chili in a few ways. For quick heating, use the microwave. Put the chili in a microwave-safe bowl. Cover it loosely, and heat in one-minute increments. Stir between heats to warm it evenly. If you prefer, you can also reheat on the stove. Pour the chili into a pot and heat over medium. Stir often until it's hot. Enjoy your meal!
FAQs
Can I use different meats for this chili?
Yes, you can use different meats in this chili. Ground turkey and beef work well. You can also use chicken or pork if you prefer. For a plant-based option, try lentils or a meat substitute. These choices give you a chance to mix flavors and textures. Each option will create a tasty dish!
How long does the chili last in the fridge?
Chili can last in the fridge for about 4 to 5 days. Make sure you store it in an airtight container. This keeps it fresh and tasty. If you want it to last longer, consider freezing it. Frozen chili can last up to 6 months. Just remember to label your containers with the date.
What can I serve with chili for a complete meal?
You can serve chili with many sides for a full meal. Cornbread is a classic choice. It pairs well with the spicy flavors. You can also serve rice for extra filling. Another option is a simple green salad for freshness. Don't forget to add toppings like diced avocado or cheese to make it even better!
In this post, we covered essential ingredients and fun ways to make chili your own. I shared tips for saving money and the best ways to prep meals. You learned about different chili variations, including vegetarian options and how to adjust spice levels. Storing chili properly keeps it fresh, and reheating it ensures long-lasting flavor.
As you cook, remember to experiment and make this dish your own. Enjoy the process!