Are you craving a delicious snack that's easy to make and fun to eat? Look no further! Cheesy Pepperoni Pizza Roll Ups are here to save the day. With their gooey cheese and savory pepperoni wrapped in flaky dough, these roll ups are perfect for any occasion. In this guide, I’ll share simple steps, helpful tips, and tasty variations to make your snack dreams come true. Let’s get rolling!
Why I Love This Recipe
- Quick and Easy: This recipe comes together in just 30 minutes, making it perfect for busy weeknights or last-minute gatherings.
- Customizable: You can easily swap out the pepperoni for your favorite toppings, like veggies or different cheeses, to suit your taste.
- Kid-Friendly: These roll-ups are a hit with kids and adults alike, making them a fun dinner option or party snack.
- Cheesy Goodness: With layers of gooey mozzarella and a sprinkle of Parmesan, every bite is a delicious cheesy delight.
Ingredients
Required Ingredients
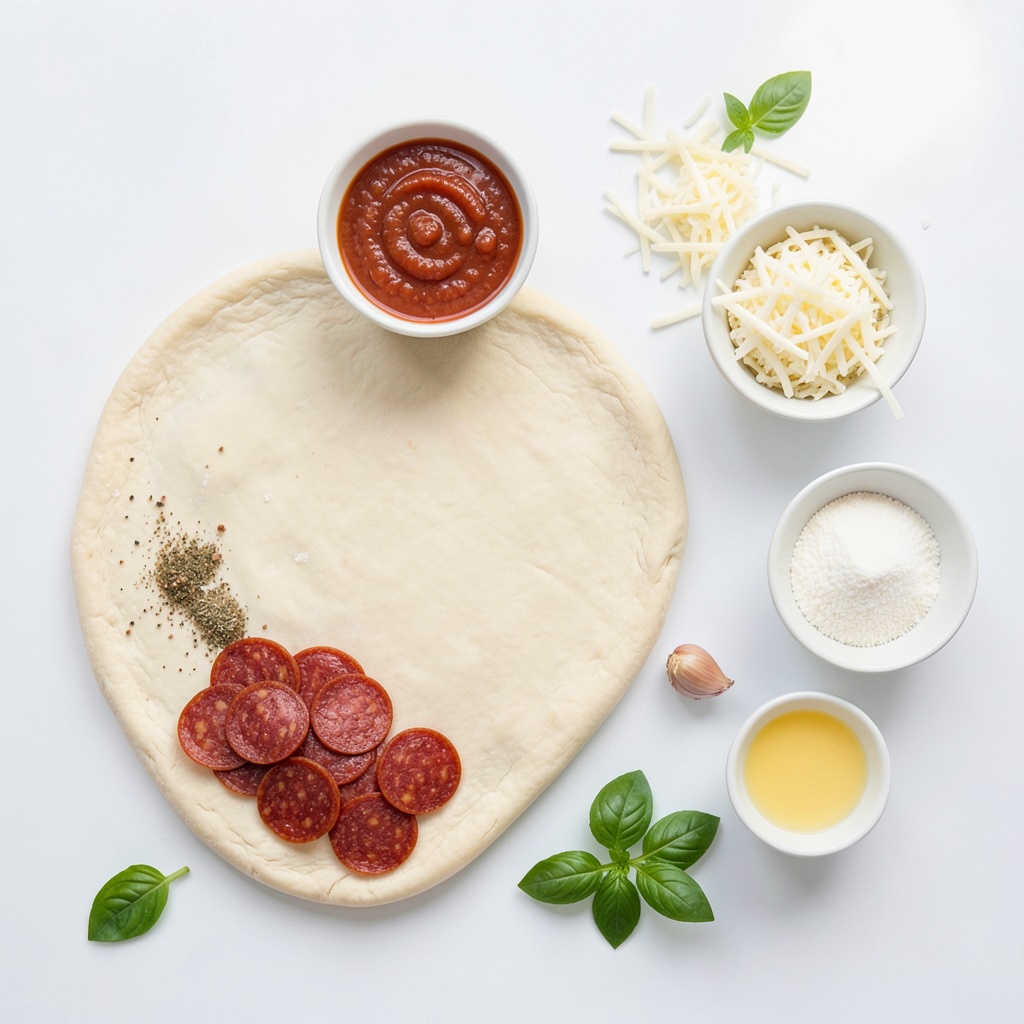
For Cheesy Pepperoni Pizza Roll Ups, you need:
- 1 package of refrigerated pizza dough
- 1 cup pizza sauce
- 1 ½ cups shredded mozzarella cheese
- 1 cup sliced pepperoni
- ½ teaspoon Italian seasoning
- ½ teaspoon garlic powder
- 1 egg, beaten (for egg wash)
- 2 tablespoons grated Parmesan cheese (for topping)
These ingredients create a tasty and cheesy snack that everyone loves.
Optional Ingredients
You can add some extra touches with these optional ingredients:
- Fresh basil leaves (for garnish)
- Extra cheese like cheddar or provolone
- Sliced olives or bell peppers
These additions can give your roll ups a unique twist.
Ingredient Substitutions
If you don’t have some ingredients, you can try these substitutions:
- Use homemade pizza dough if you prefer.
- Swap pizza sauce with marinara or pesto.
- Try any cheese you like, such as cheddar or gouda.
- Use turkey pepperoni for a leaner option.
These swaps keep the fun while changing the flavor a bit.
Step-by-Step Instructions
Preparation Steps
1. First, preheat your oven to 400°F (200°C). Line a baking sheet with parchment paper.
2. Next, on a lightly floured surface, roll out the pizza dough into a big rectangle. Aim for about ¼ inch thick.
3. Spread a thin layer of pizza sauce over the dough. Leave a little space around the edges.
4. Evenly sprinkle the mozzarella cheese over the sauce. Make sure to cover all areas.
5. Layer the sliced pepperoni on top of the cheese. Use as many slices as you like.
6. Sprinkle the Italian seasoning and garlic powder over the toppings. This adds great flavor.
7. Now, starting from one long edge, roll the dough tightly to form a log shape.
8. Cut the log into 1-inch thick slices. Place them cut-side up on the baking sheet.
Baking Process
9. Brush the tops of the roll-ups with the beaten egg. This will give them a nice golden finish.
10. Sprinkle grated Parmesan cheese on top of each roll-up for an extra cheesy taste.
11. Bake in the oven for 15-18 minutes. Watch for a golden brown color and bubbling cheese.
12. Once done, remove from the oven and let them cool slightly.
Serving Suggestions
Serve these cheesy pepperoni pizza roll-ups warm. They pair well with extra pizza sauce for dipping. You can also add fresh basil leaves on top for a nice touch. Enjoy them as a snack or a fun meal!
Tips & Tricks
Perfecting Your Pizza Roll Ups
To make the best cheesy pepperoni pizza roll ups, follow these tips. First, roll the pizza dough to about ¼ inch thick. This thickness helps the roll ups bake evenly. Spread the sauce evenly, but don’t overdo it. A thin layer keeps the dough crisp. When adding cheese, use fresh mozzarella for the best stretch. Layer the pepperoni generously, but don’t stack too high. This keeps the roll ups from bursting open.
Common Mistakes to Avoid
Many cooks make a few common mistakes. One big mistake is using too much sauce. It can make the dough soggy. Another mistake is not sealing the edges of the dough tightly. This can cause the filling to leak out during baking. Lastly, don’t skip the egg wash. It gives the roll ups a shiny, golden crust.
How to Ensure Flaky Dough
Flaky dough is a must for great pizza roll ups. Start with cold dough straight from the fridge. If your dough is warm, it can become tough. Use a light touch when rolling it out. Press gently, and don’t overwork the dough. Finally, let the roll ups chill for a few minutes before baking. This helps keep them flaky and light.
Pro Tips
- Chill the Dough: Keeping the pizza dough chilled before rolling makes it easier to handle and prevents it from becoming too sticky.
- Customize Your Fillings: Feel free to swap out pepperoni for other toppings like sausage, bell peppers, or olives to suit your taste.
- Don’t Overfill: Avoid overfilling the roll-ups to prevent the toppings from spilling out while baking.
- Serve with Dipping Sauce: Pair these roll-ups with extra pizza sauce or ranch dressing for a delicious dipping experience!
Variations
Other Fillings for Pizza Roll Ups
You can change the filling in your pizza roll ups for fun. Try adding cooked sausage or ham for a meaty twist. You could also use cooked chicken for a different flavor. For a spicy kick, add jalapeños or banana peppers. You can even swap the cheese. Cheddar or pepper jack cheese adds a nice zing.
Gluten-Free Alternatives
If you need gluten-free options, use gluten-free pizza dough. Many stores sell ready-made gluten-free dough. You can also make your own with gluten-free flour. Just follow the same steps in the recipe. Your roll ups will still taste great while meeting dietary needs.
Vegetarian Options
For a veggie-packed roll up, skip the pepperoni and add your favorite vegetables. Spinach, mushrooms, or bell peppers work well. You can sauté them first for extra flavor. Use a mix of cheeses, like mozzarella and feta, for a rich taste. This way, everyone can enjoy a tasty snack, no matter their diet.
Storage Info
How to Store Leftovers
After you enjoy your pizza roll ups, let them cool down. Place them in an airtight container. This keeps them fresh for up to three days in the fridge. If you want them to last longer, consider freezing them.
Reheating Instructions
To reheat your pizza roll ups, preheat your oven to 350°F (175°C). Arrange the roll ups on a baking sheet. Heat them for about 10-15 minutes. This will help them regain their crispiness. You can also use a microwave, but they may not be as crispy.
Freezing Pizza Roll Ups
To freeze your pizza roll ups, follow these steps:
- First, let them cool completely.
- Next, wrap each roll up tightly in plastic wrap.
- Place the wrapped roll ups in a freezer-safe bag.
- They can stay frozen for up to three months.
When you're ready to eat, just thaw them in the fridge overnight and reheat as directed. Enjoy every cheesy bite!
FAQs
How to make pizza roll ups from scratch?
To make pizza roll ups from scratch, start with pizza dough. You can use store-bought or make your own. Roll out the dough into a rectangle about ¼ inch thick. Spread a thin layer of pizza sauce on the dough, leaving a border. Next, sprinkle shredded mozzarella cheese evenly over the sauce. Add sliced pepperoni and season with Italian seasoning and garlic powder. Then, roll the dough tightly from one edge to the other. Cut the roll into 1-inch thick slices. Place them cut-side up on a baking sheet. Brush the tops with egg wash and sprinkle with grated Parmesan. Bake at 400°F for 15-18 minutes until golden brown.
Can I use different cheeses?
Yes, you can use different cheeses! Mozzarella is classic, but feel free to mix it up. Cheddar, provolone, or even pepper jack can add great flavor. Try a blend of cheeses for a fun twist. Just remember, different cheeses melt differently. This can change the texture and taste of your roll ups.
What can I serve with pizza roll ups?
Pizza roll ups pair well with many sides. You can serve them with extra pizza sauce for dipping. A fresh salad can balance the meal. You might also enjoy them with garlic bread or cheesy breadsticks. For a fun twist, try serving them with ranch or marinara sauce for dipping.
You’ve learned about making delicious pizza roll ups. We covered all the key parts: ingredients, step-by-step instructions, and tips. You now know how to choose and store your ingredients, perfect the baking process, and explore fun variations.
These roll ups can be a tasty treat for any meal. Enjoy making them your own with different flavors. Experiment and have fun in the kitchen!