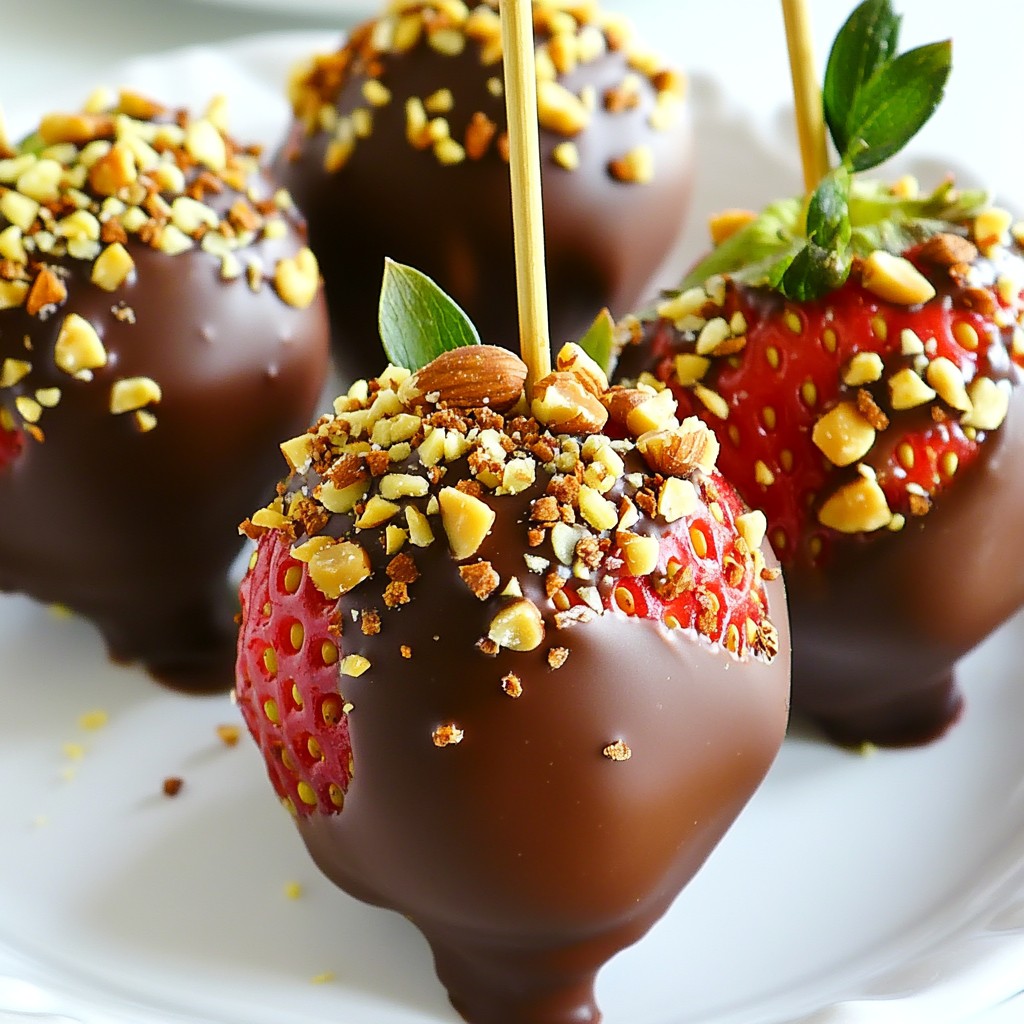
Are you ready to enjoy a sweet treat that's simple and fun? Chocolate Covered Strawberry Pops are a great way to impress your friends and family. With just a few fresh ingredients and your favorite chocolate, you can whip up these delicious pops in no time. I’ll walk you through easy steps, tips, and fun variations. Let’s dive in and make some tasty treats you’ll love!
Why I Love This Recipe
- Delicious Combination: The sweet and juicy strawberries, combined with rich chocolate, create a perfect balance of flavors that everyone loves.
- Customizable Toppings: You can easily personalize your pops with a variety of toppings, from nuts to sprinkles, making them fun and unique!
- Simple and Quick: This recipe is easy to follow and takes only 45 minutes from start to finish, perfect for last-minute treats!
- Great for Any Occasion: Whether it’s a party, a snack, or a special dessert, these chocolate-covered strawberry pops are always a hit!
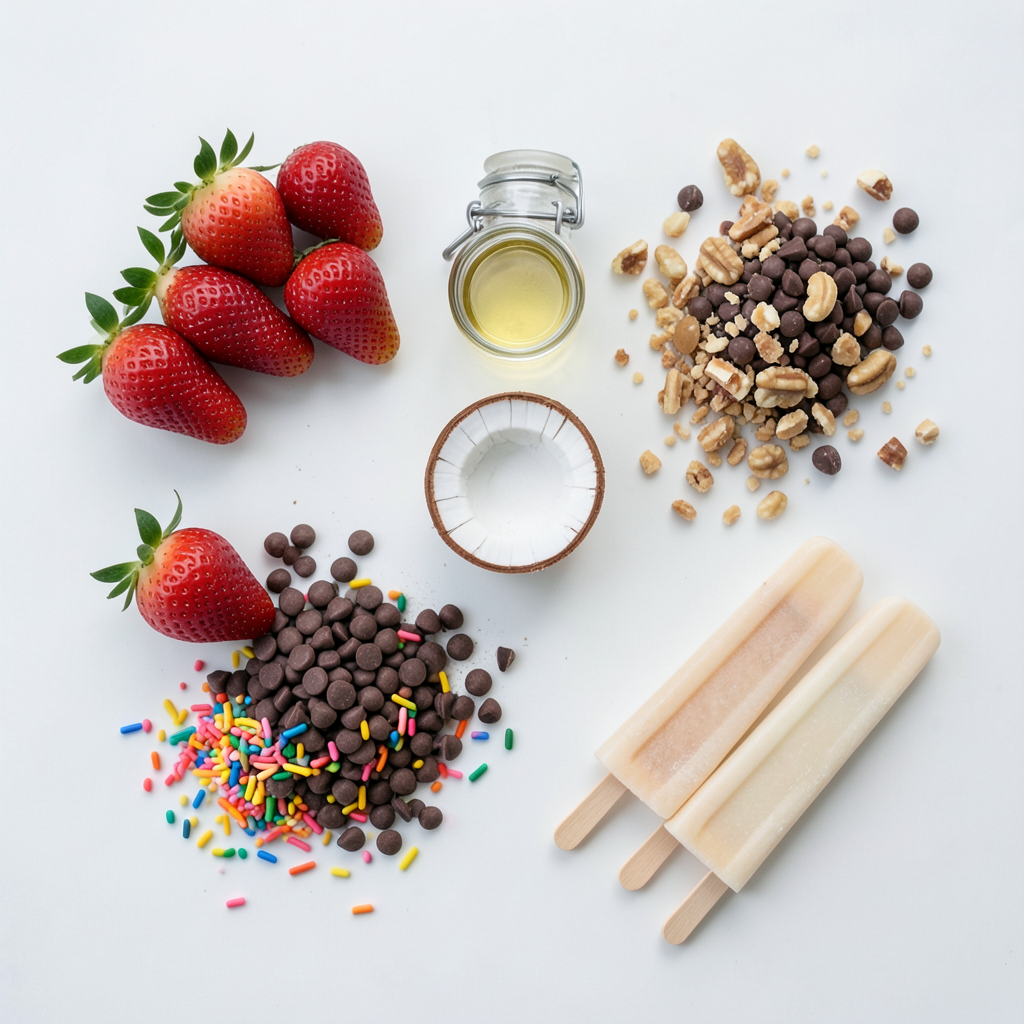
Ingredients
Fresh Ingredients
To make chocolate covered strawberry pops, you need fresh strawberries. You will need:
- 1 pound fresh strawberries, hulled
Choosing ripe strawberries is key. Look for bright red berries that feel firm. These will taste the best. Wash them gently under cold water. Pat them dry with a paper towel. This helps the chocolate stick better.
Chocolate Coating
For the chocolate coating, you will need:
- 1 cup semi-sweet chocolate chips
- 1 tablespoon coconut oil
The coconut oil helps make the chocolate smooth and shiny. Melt the chocolate chips with the coconut oil in the microwave. Stir after every 30 seconds until it is fully melted. This step is important for a nice coating.
Optional Toppings
You can make your pops even more fun with toppings. Here are some ideas:
- 1/2 cup crushed nuts (e.g., almonds or pistachios)
- 1/2 cup sprinkles (optional)
Rolling the chocolate-covered strawberries in crushed nuts adds a nice crunch. Colorful sprinkles can make them more festive. You can get creative and choose your favorite toppings.
Step-by-Step Instructions
Preparing the Strawberries
First, rinse the strawberries under cold water. This step washes away dirt and germs. Next, gently pat them dry with a paper towel. It is very important that they are completely dry. If they are wet, the chocolate won't stick. After drying, take each strawberry and insert a popsicle stick into the top. Push it in about halfway. This makes it easy to dip later. Set them aside on a plate.
Melting the Chocolate
Now it’s time to melt the chocolate. In a microwave-safe bowl, add the semi-sweet chocolate chips and coconut oil. The coconut oil helps the chocolate stay smooth. Heat the bowl in the microwave in 30-second intervals. After each interval, take it out and stir well. Keep heating and stirring until the chocolate is fully melted and smooth. Be careful not to overheat it.
Dipping and Decorating
Hold a strawberry by the stick and dip it into the melted chocolate. Make sure the whole strawberry gets coated. Lift it out and gently shake off any extra chocolate. This keeps it from getting too thick. Before the chocolate hardens, you can roll the strawberry in crushed nuts or add sprinkles for a fun touch. Place the finished pops on a parchment-lined baking sheet. Repeat this for all strawberries. Once done, put the baking sheet in the fridge for about 30 minutes to let the chocolate set. Enjoy your tasty treats!
Tips & Tricks
Ensuring a Smooth Chocolate Coating
To get a smooth coating, use high-quality chocolate chips. I like semi-sweet chips, but you can use dark or milk chocolate too. Add a tablespoon of coconut oil when melting. This helps the chocolate flow better. Heat it slowly in the microwave. Stir every 30 seconds until it is smooth. If it gets too thick, add a tiny bit more oil.
Best Practices for Assembly
Start with clean and dry strawberries. Water makes it hard for the chocolate to stick. Push the sticks into the strawberries halfway. This gives you a good grip when dipping. Dip each strawberry all the way into the chocolate. Make sure to lift it straight up. Shake off the extra chocolate gently. Don’t rush this part; a little patience goes a long way.
Serving Suggestions
These pops are great for any occasion. Serve them on a platter for a party. Kids love them as a fun snack. You can also wrap them in clear bags as gifts. If you want extra fun, add colorful sprinkles or nuts. They look pretty and taste amazing! Enjoy them fresh, or store them in the fridge for later.
Pro Tips
- Choose the Right Strawberries: Select strawberries that are ripe, firm, and free of blemishes for the best flavor and texture.
- Keep Chocolate Warm: If the chocolate starts to harden while dipping, you can reheat it in the microwave in 10-second intervals to keep it smooth.
- Experiment with Toppings: Try different toppings like shredded coconut or crushed cookies for a unique twist on your pops!
- Storage Tips: Store the pops in a single layer in an airtight container to prevent them from sticking together.
Variations
Different Chocolate Types
You can try various types of chocolate for your pops. Semi-sweet chocolate is a classic choice. Dark chocolate gives a rich flavor. Milk chocolate offers a sweet touch. White chocolate adds a creamy taste. Each type brings a unique twist to the treat. You can even mix chocolates for a fun look.
Alternative Toppings
Get creative with toppings! Crushed nuts add a nice crunch. Almonds or pistachios work great. You can also use colorful sprinkles for a festive look. Shredded coconut gives a tropical vibe. For a gourmet touch, drizzle melted chocolate over the pops. These options make each pop special and fun.
Seasonal Flavor Ideas
Seasonal flavors can elevate your chocolate-covered strawberry pops. In spring, try adding mint or lime zest. For summer, use fresh herbs like basil. Fall calls for spices like cinnamon or nutmeg. Winter is perfect for peppermint or orange zest. These flavors can make your pops stand out and fit the season.
Storage Information
How to Store Chocolate Strawberry Pops
To keep your chocolate-covered strawberry pops fresh, place them in an airtight container. Use parchment paper to separate layers if needed. Store the container in the fridge. This helps keep the chocolate from getting soft. Avoid placing them near strong-smelling foods.
Shelf Life
These pops last up to two days in the fridge. After that, they may lose their taste and texture. Enjoy them fresh for the best flavor. If you see any signs of spoilage, toss them out.
Freezing Tips
You can freeze chocolate strawberry pops for longer storage. First, place them on a baking sheet and freeze until solid. Once frozen, transfer them to a freezer-safe bag. Remove as much air as possible. They can last up to a month in the freezer. When ready to eat, thaw them in the fridge overnight. Avoid thawing at room temperature to keep the chocolate smooth.
FAQs
How to keep chocolate from cracking on strawberries?
To stop chocolate from cracking, use coconut oil in the melted chocolate. The oil helps the chocolate stay smooth and shiny as it cools. Make sure your strawberries are dry before dipping. Any water can cause the chocolate to crack. If you chill the pops after dipping, let them cool slowly. This will help reduce cracks too.
Can I use other fruits for pops?
Yes, you can use many fruits for chocolate pops. Bananas, apple slices, and pineapple chunks work great. Just make sure the fruit is firm and dry. Cut the fruit into bite-sized pieces if needed. You can even use dried fruits like apricots or figs. Each fruit adds a unique taste and texture.
What’s the best way to melt chocolate?
The best way to melt chocolate is in the microwave. Use a microwave-safe bowl and place the chocolate chips inside. Add a bit of coconut oil for smoothness. Heat the chocolate in short bursts of 30 seconds. Stir after each burst until it is fully melted. You can also melt chocolate on the stove using a double boiler. This method uses gentle heat to prevent burning.
You learned how to make delicious chocolate strawberry pops. We explored fresh ingredients, melting the chocolate, and adding fun toppings. You can try different chocolate types and seasonal flavors. I shared storage tips and answered common questions.
Remember, making these treats is easy and fun. Enjoy creating and sharing them with friends. Your kitchen can be a place of joy and tasty treats!