If you love the rich taste of chocolate paired with the refreshing kick of mint, then this Chocolate Mint Cookies recipe is for you! I’ll guide you through each easy step. With just a handful of ingredients, you’ll create a treat that’s perfect for any occasion. Get ready to impress family and friends with cookies that are both fun to make and delicious to eat! Let’s dive into the details.
Why I Love This Recipe
- Decadent Flavor: The combination of rich chocolate and refreshing mint creates an irresistible flavor that delights the palate.
- Easy to Make: This cookie recipe is straightforward and requires minimal effort, making it perfect for bakers of all skill levels.
- Perfect for Sharing: With 24 cookies per batch, these are ideal for parties, gatherings, or simply sharing with friends and family.
- Customizable: You can easily adjust the mint flavor or add toppings like crushed candy canes for a festive twist!
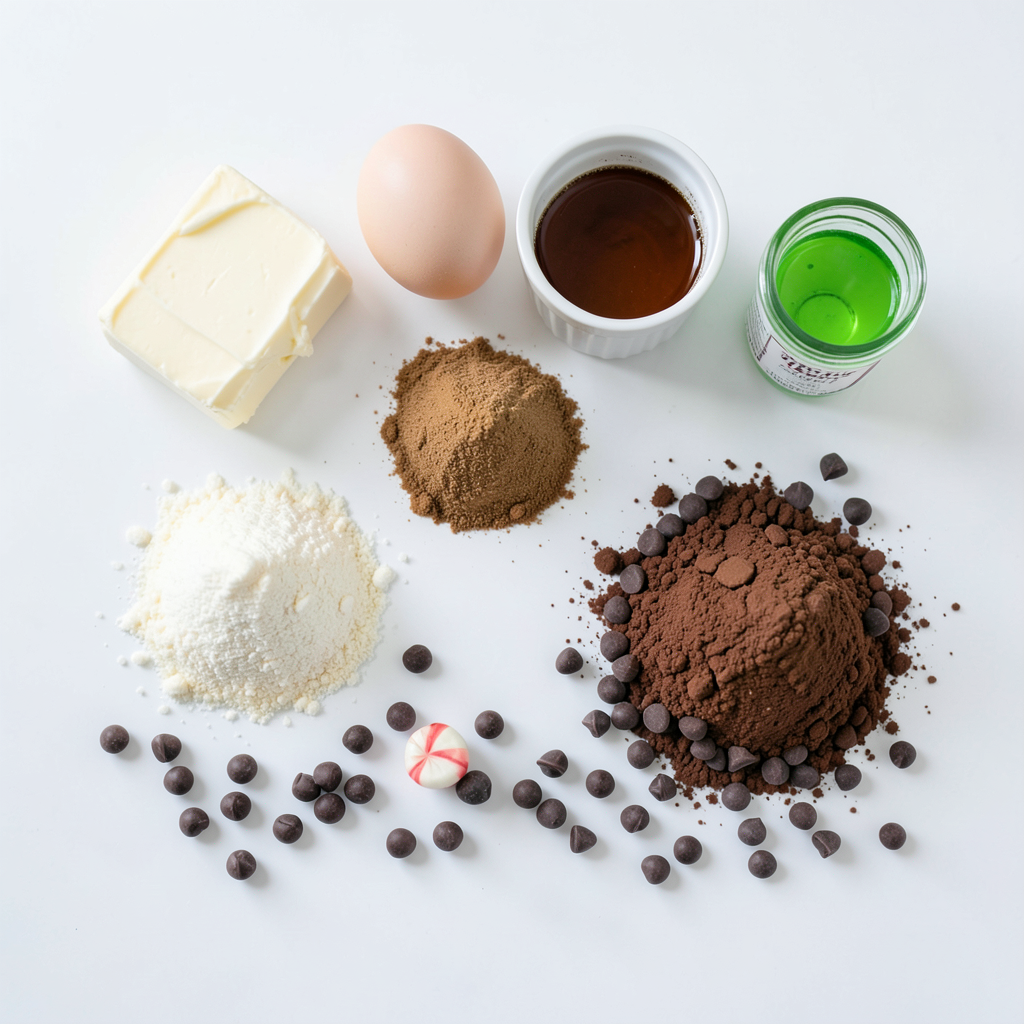
Ingredients
List of Essential Ingredients
- 1 cup unsalted butter, softened
- 1 cup granulated sugar
- 1 cup brown sugar, packed
- 2 large eggs
- 2 teaspoons vanilla extract
To make these cookies, you start with unsalted butter. It helps control the saltiness. Next, you need granulated sugar and brown sugar. These sugars add sweetness and moisture. Don't forget the eggs; they bind the dough together. Finally, vanilla extract adds a warm flavor that balances the mint.
Dry Ingredients Overview
- 2 ¾ cups all-purpose flour
- ¾ cup unsweetened cocoa powder
- 1 teaspoon baking soda
- ½ teaspoon salt
Now, let’s look at the dry ingredients. All-purpose flour gives the cookies structure. Unsweetened cocoa powder brings that rich chocolate flavor. Baking soda helps the cookies rise and gives them a nice texture. Salt enhances all the flavors and brings out the sweetness.
Flavor Enhancers
- 1 cup chocolate chips (semi-sweet or dark)
- 1 teaspoon peppermint extract
- Green food coloring (optional)
For extra flavor, we add chocolate chips. You can use semi-sweet or dark chocolate, depending on your taste. Peppermint extract is key for that minty kick. If you want fun, add a few drops of green food coloring. It gives the cookies a festive look!
Step-by-Step Instructions
Preparation Steps
1. Preheating the oven: Start by preheating your oven to 350°F (175°C). This step is key. A hot oven helps cookies bake evenly.
2. Mixing the wet ingredients: In a large bowl, cream together 1 cup of softened unsalted butter, 1 cup of granulated sugar, and 1 cup of brown sugar. Beat these until fluffy. Next, add 2 large eggs, one at a time. Mix well after each egg. Stir in 2 teaspoons of vanilla extract and 1 teaspoon of peppermint extract. If you want a fun green color, add a few drops of green food coloring.
3. Combining dry and wet ingredients: In another bowl, whisk together 2 ¾ cups of all-purpose flour, ¾ cup of unsweetened cocoa powder, 1 teaspoon of baking soda, and ½ teaspoon of salt. Gradually mix these dry ingredients into the wet ingredients. Stop mixing when they just combine. Fold in 1 cup of chocolate chips until spread evenly in the dough.
Baking Process
1. Forming the cookie dough: Use a cookie scoop or a tablespoon to drop dough balls onto the baking sheets. Space them about 2 inches apart.
2. Placement on baking sheets: Make sure to line your baking sheets with parchment paper. This helps with easy removal and keeps cookies from sticking.
3. Timing and checking doneness: Bake the cookies in the preheated oven for 10 to 12 minutes. The edges should be set, but the centers will look soft. They will firm up as they cool.
Cooling and Storing
1. Cooling on wire racks: Once baked, let the cookies cool on the baking sheets for about 5 minutes. Then, transfer them to a wire rack to cool completely. This step keeps cookies from getting soggy.
2. Best practices for cooling cookies: Avoid stacking warm cookies. Let them cool fully to keep their shape and texture. Store cooled cookies in an airtight container for best freshness.
Tips & Tricks
Baking Tips for Perfect Cookies
To get the best texture, use room temperature butter. Softened butter blends well with sugars, making a fluffy mix. This helps the cookies rise and stay soft.
Ingredient temperature matters. Cold eggs can make mixing hard. Let them sit out for a bit to warm up. This small step helps your cookies bake evenly.
Presentation Tips
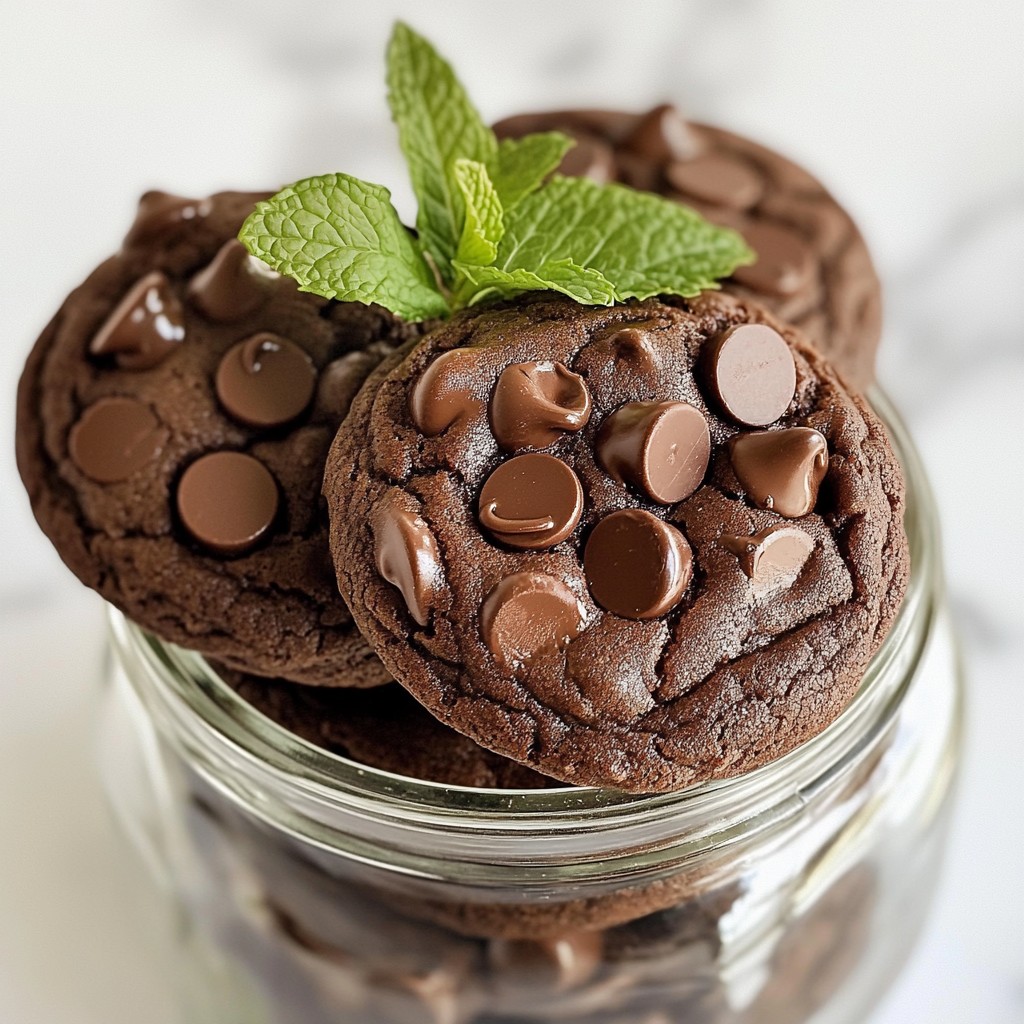
Display cookies in a clear glass jar. It looks great and shows off your work. You can also stack them with a sprig of fresh mint on top for a fun touch.
Add a drizzle of chocolate over the cookies. This makes them look fancy and taste even better. A sprinkle of crushed peppermint candies adds color and crunch.
Common Mistakes to Avoid
Avoid overmixing the dough. Mix just until combined to keep the cookies tender. If you mix too much, they can turn tough.
Baking at the wrong temperature can ruin your cookies. Always preheat your oven to 350°F (175°C). Use an oven thermometer for accuracy. This ensures your cookies bake perfectly every time.
Pro Tips
- Chill the Dough: For a firmer texture and to prevent spreading, chill the cookie dough in the refrigerator for at least 30 minutes before baking.
- Use Quality Chocolate: Opt for high-quality chocolate chips to enhance the flavor and richness of your cookies.
- Experiment with Mint: Adjust the amount of peppermint extract to your taste; start with less if you're unsure, as it can be quite potent.
- Storage Tips: Store cookies in an airtight container at room temperature for up to a week, or freeze for longer freshness.
Variations
Add-Ins and Substitutions
You can make your chocolate mint cookies even more fun with some add-ins. Try using different types of chocolate. Dark chocolate gives a rich flavor. Milk chocolate adds sweetness, while white chocolate adds a creamy touch.
Adding nuts can also change the game. Chopped walnuts or pecans add crunch. You can even try adding crushed peppermint candies for an extra minty kick. This will make your cookies pop with flavor and texture.
Alternate Recipes
If you need a gluten-free option, swap all-purpose flour for a gluten-free blend. You can use almond flour or coconut flour, but remember to adjust the amounts.
For a vegan version, replace the butter with coconut oil. Use flax eggs instead of real eggs. Mix one tablespoon of flaxseed meal with three tablespoons of water to make one flax egg. This will keep your cookies soft and tasty.
Seasonal Variations
Make your cookies festive for the holidays! Decorate them with icing and sprinkles. You can use red and green colors for Christmas. For Halloween, add some orange sprinkles or mini chocolate bats.
You can even twist the flavors for different occasions. Try adding orange zest for a spring vibe. For summer, add a touch of lime for a fresh taste. Each season brings new fun to your chocolate mint cookies!
Storage Info
Best Practices for Storing Cookies
To keep your chocolate mint cookies fresh, store them in an airtight container. This keeps moisture out and helps maintain their soft texture. You can layer them with parchment paper to prevent sticking. If you want to freeze the cookie dough, scoop it into balls and place them on a baking sheet. Freeze until solid, then transfer the dough balls to a freezer bag. This method allows you to bake fresh cookies anytime.
Shelf Life of Chocolate Mint Cookies
When stored at room temperature, these cookies last about one week. If you keep them in the fridge, they can stay fresh for up to two weeks. For long-term storage, frozen cookies can last for about three months. Just remember to label your containers with the date for easy tracking.
Reheating Tips
To refresh your cookies, preheat the oven to 300°F (150°C). Place the cookies on a baking sheet lined with parchment paper. Heat for about 5 to 10 minutes. This will bring back their soft texture and warm chocolatey flavor. Enjoy them with a glass of milk or a cup of tea for a delightful treat!
FAQs
How do I achieve a minty flavor?
To get a strong mint flavor, I suggest using peppermint extract. This extract gives your cookies a fresh and vibrant taste. You can also use mint oil, but remember, it's stronger. Start with a small amount, about half a teaspoon, and adjust to your liking. If you want a fun twist, add a few drops of green food coloring to give your cookies a festive look.
Can I make these cookies in advance?
Yes, you can prep these cookies ahead of time. Make the dough and shape it into balls. Place them on a baking sheet and freeze them for about an hour. Once frozen, transfer the dough balls to a zip-top bag. They can stay in the freezer for up to three months. When you're ready to bake, just take them out and bake straight from the freezer. You may need to add a minute or two to the baking time.
What's the best way to serve these cookies?
These cookies pair well with milk or hot chocolate. You can also serve them with a scoop of vanilla ice cream for a delicious dessert. If you're feeling fancy, try drizzling some melted chocolate on top. For a fun touch, add fresh mint leaves as a garnish. They look great stacked in a clear jar, making them perfect for a treat display!
This article covered essential ingredients, step-by-step baking, tips, variations, and storage for chocolate mint cookies. You learned about key ingredients, mixing methods, and how to avoid common baking mistakes.
To make the best cookies, remember to use fresh ingredients and follow the steps precisely. With these tips and variations, you can create cookies for any occasion. Enjoy experimenting and sharing your tasty treats!