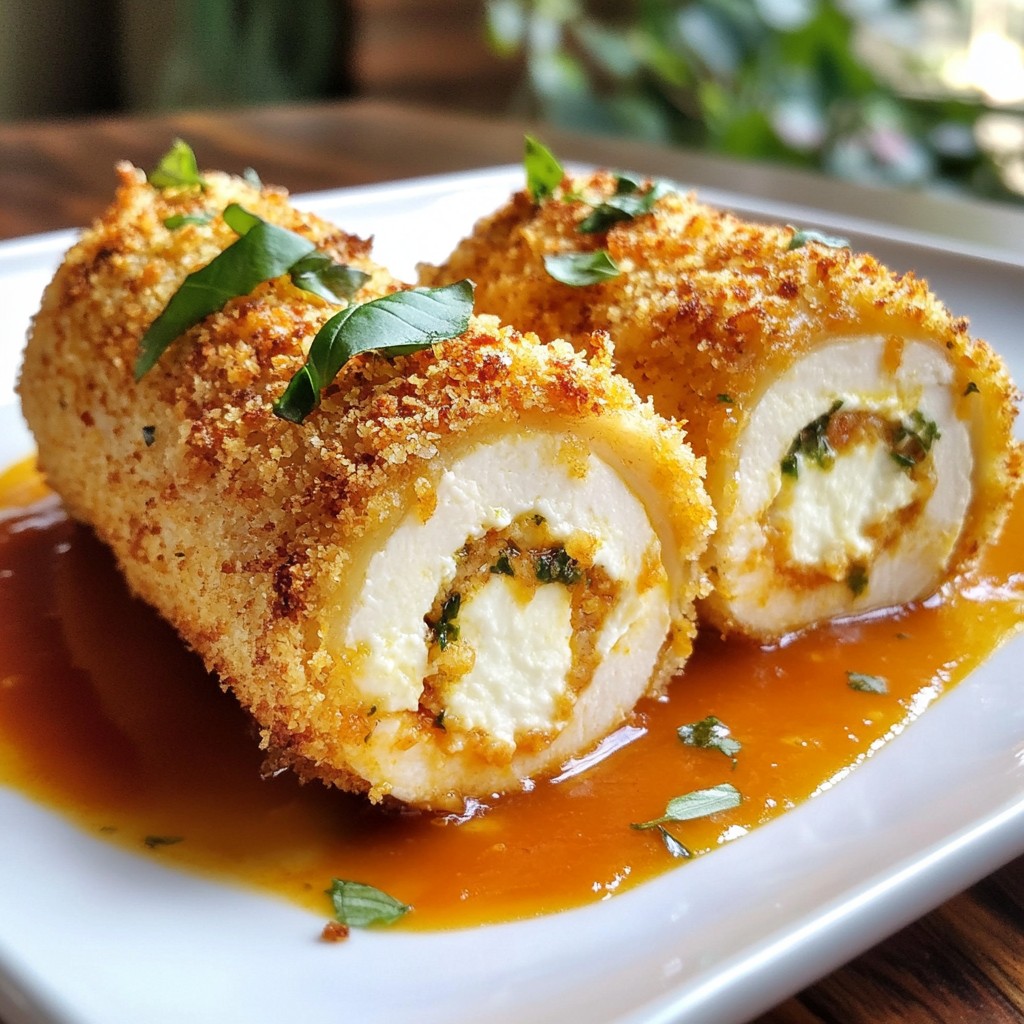
If you crave a dish that’s both simple and tasty, try my Herbed Ricotta Stuffed Chicken Rolls! This delight combines juicy chicken with creamy, flavorful herbed ricotta. You’ll impress your family and friends without spending hours in the kitchen. Follow my easy steps to create this mouthwatering meal. Let’s dive in and discover how to make this delicious dish!
Why I Love This Recipe
- Delicious Flavor Profile: The combination of ricotta and fresh herbs creates a creamy and aromatic filling that elevates the chicken to new heights.
- Impressive Presentation: These stuffed chicken rolls look elegant on the plate, making them perfect for dinner parties or special occasions.
- Easy to Make: With simple ingredients and straightforward steps, this recipe is accessible for both novice and experienced cooks.
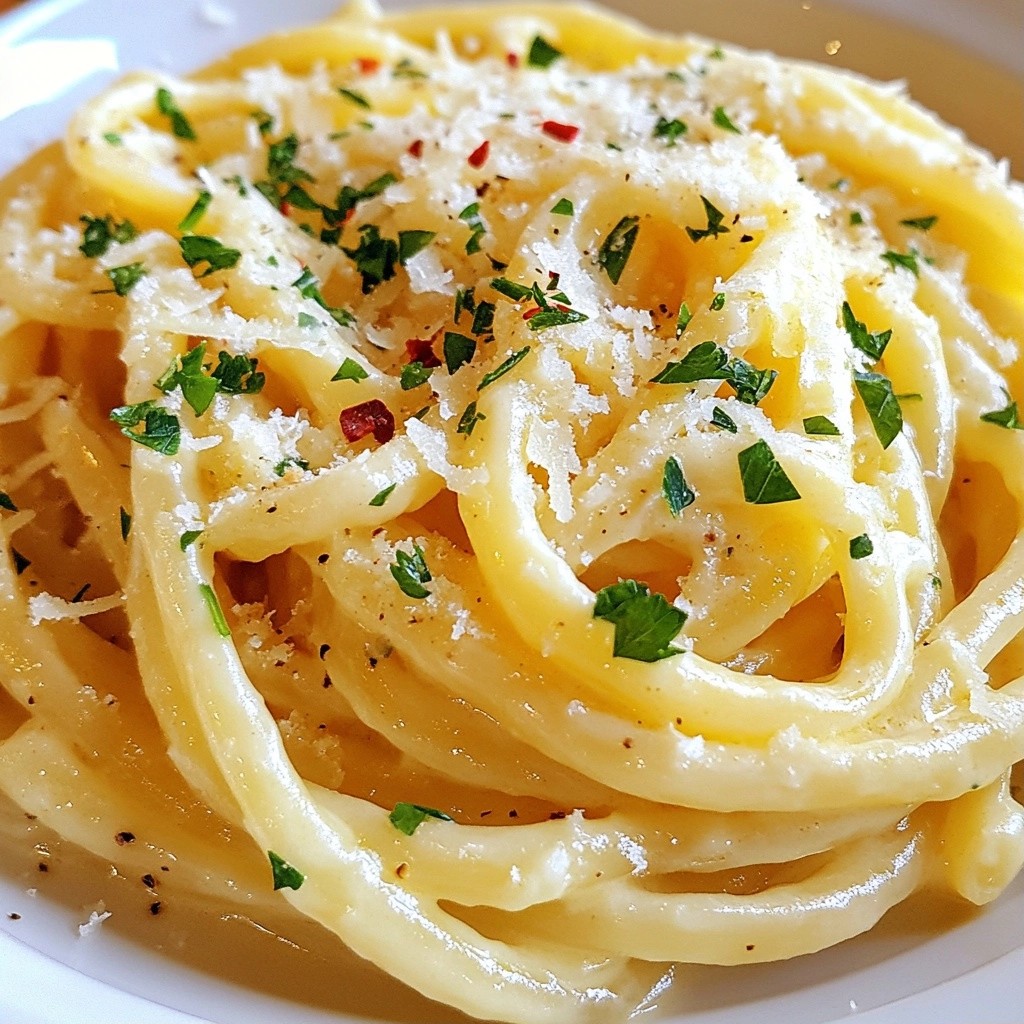
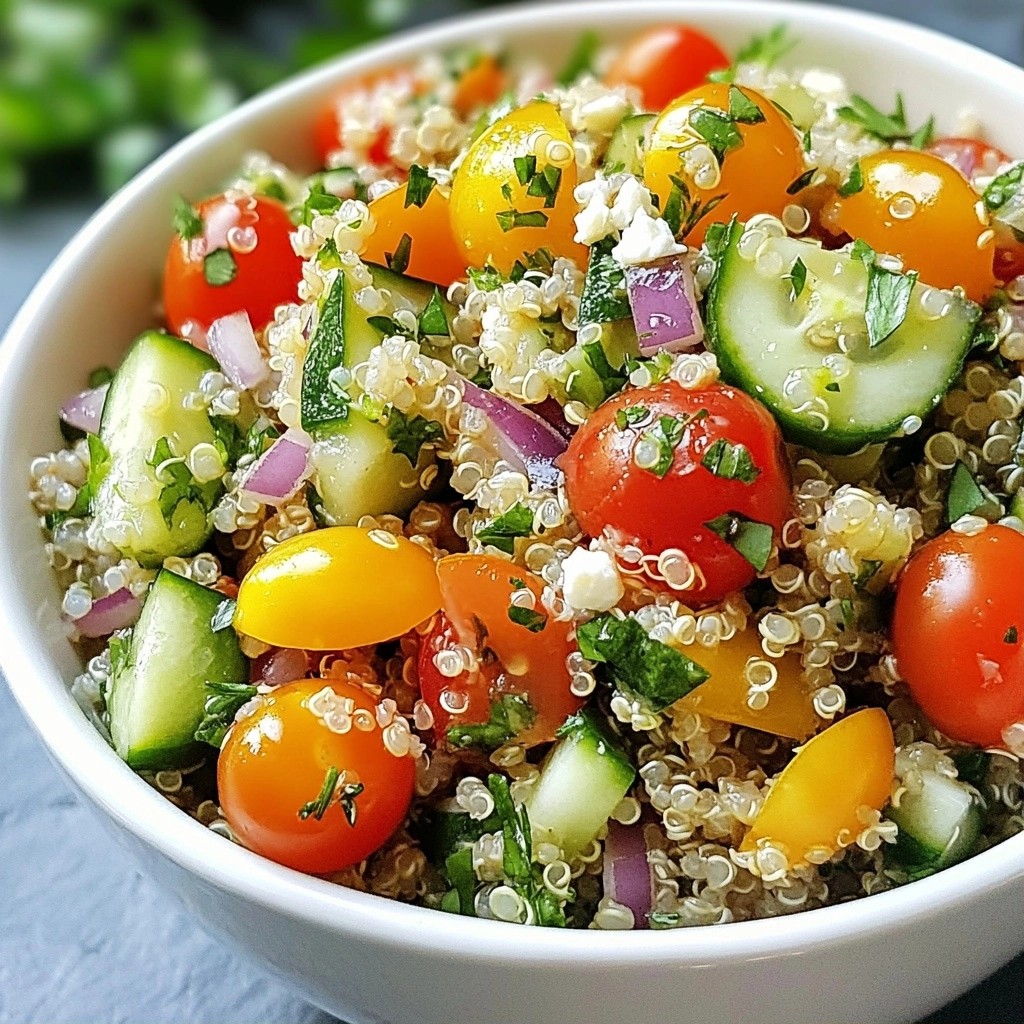
- Versatile Serving Options: Pair these rolls with marinara sauce, or serve them with a side salad or pasta for a complete meal.
Ingredients
List of Main Ingredients
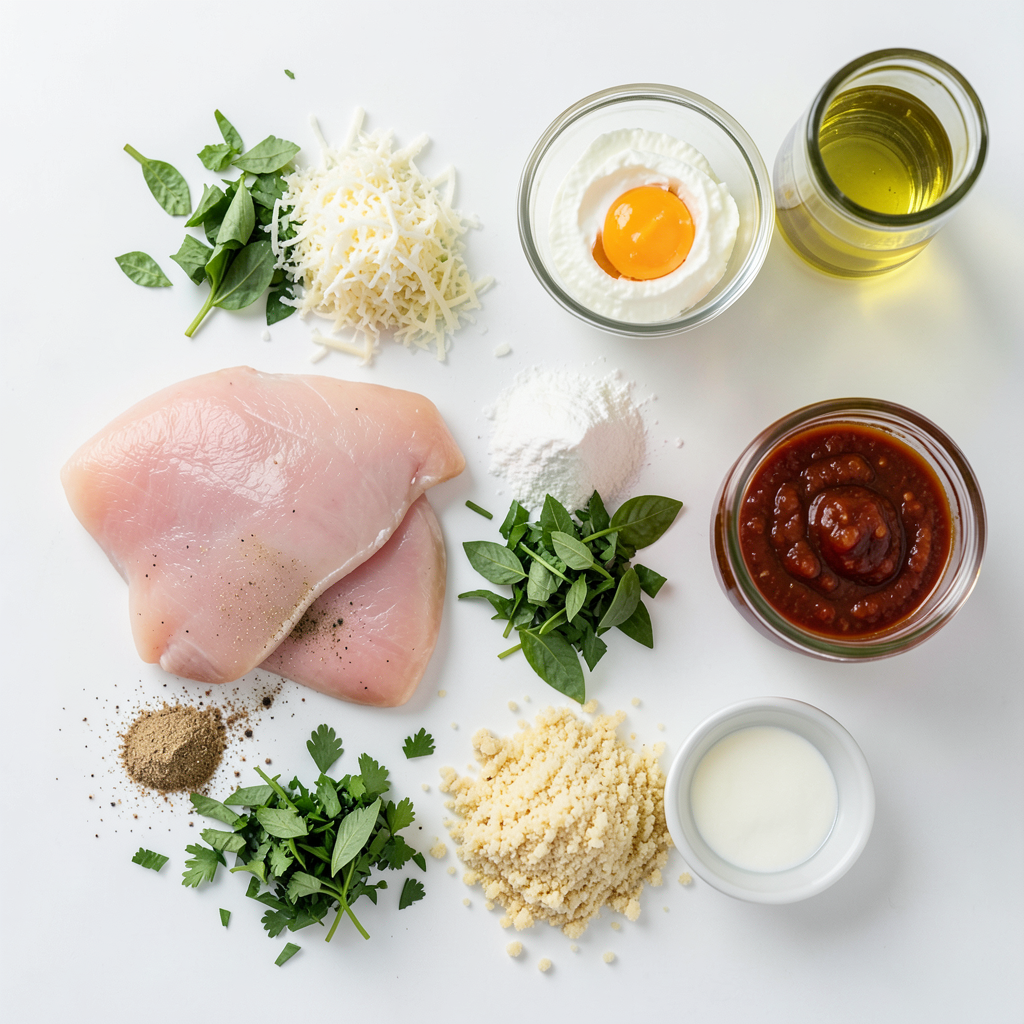
For Herbed Ricotta Stuffed Chicken Rolls, you will need:
- 4 boneless, skinless chicken breasts
- 1 cup ricotta cheese
- 1/2 cup grated Parmesan cheese
- 1/4 cup fresh basil, chopped
- 1/4 cup fresh parsley, chopped
- 1 teaspoon garlic powder
- 1 teaspoon onion powder
- Salt and pepper to taste
- 1/2 cup all-purpose flour (for dredging)
- 2 eggs, beaten
- 1 cup breadcrumbs (Panko for extra crunch)
- 2 tablespoons olive oil
- 1 cup marinara sauce (for serving)
Optional Ingredients for Extra Flavor
You can add a few more items to boost the taste:
- Red pepper flakes for heat
- Lemon zest for a fresh twist
- Sun-dried tomatoes for sweetness
- Spinach for added nutrition
Kitchen Tools and Equipment Needed
To make this dish, gather these tools:
- Meat mallet or rolling pin
- Mixing bowl
- Skillet (oven-proof)
- Measuring cups and spoons
- Plastic wrap
- Toothpicks or kitchen twine
- Baking dish or pan
Step-by-Step Instructions
Prepping the Chicken Breasts
Start with four boneless, skinless chicken breasts. Lay each breast between two pieces of plastic wrap. This keeps things clean. Use a meat mallet to pound the chicken. Aim for about a quarter inch thick. This makes rolling easier and cooks evenly.
Making the Herbed Ricotta Filling
In a mixing bowl, add one cup of ricotta cheese. Next, include half a cup of grated Parmesan cheese. Toss in a quarter cup of chopped fresh basil and a quarter cup of chopped fresh parsley. Add one teaspoon of garlic powder and one teaspoon of onion powder. Season with salt and pepper to your taste. Mix all these ingredients until they blend well. This filling adds a creamy, herb flavor to each bite.
Rolling and Coating the Chicken
Take each chicken breast and spoon some herbed ricotta filling onto the center. Roll the chicken tightly, starting from one side. Secure the roll with toothpicks or kitchen twine. Next, dredge each roll in flour. Shake off any extra flour. Dip them into two beaten eggs, then coat with breadcrumbs. This creates a crispy outer layer. Heat two tablespoons of olive oil in an oven-proof skillet over medium heat. Sear the chicken rolls for 2-3 minutes on each side until golden brown. Transfer the skillet into a preheated oven at 375°F (190°C). Bake for 20-25 minutes or until the chicken is fully cooked, reaching 165°F (75°C).
Tips & Tricks
Getting the Chicken Roll to Stay Closed
To keep the chicken roll closed, use toothpicks or kitchen twine. Secure the roll tightly. Make sure to tuck the filling inside well. Pounding the chicken thin helps it roll better. If you find the filling leaking, reduce the amount you use. This method keeps everything neat and tasty.
Achieving the Perfect Golden Brown Crust
A golden brown crust makes the dish more inviting. To get this, heat the olive oil in your skillet well. Carefully place the chicken rolls in the hot oil. Sear them for 2-3 minutes per side. This helps form a nice crust. Don’t rush this step; it’s key for flavor and texture.
Serving Suggestions and Pairings
Herbed ricotta stuffed chicken rolls pair well with marinara sauce. Serve them over pasta or with a fresh salad. You can also add garlic bread for a complete meal. For a colorful plate, include roasted veggies or steamed green beans. These sides enhance the flavors and make your meal more appealing.
Pro Tips
- Use Fresh Herbs: Fresh herbs significantly enhance the flavor of the ricotta filling. Don't substitute with dried herbs for the best results.
- Properly Pound the Chicken: Ensure the chicken breasts are evenly pounded to 1/4 inch thickness for uniform cooking and tender texture.
- Rest Before Slicing: Allow the chicken rolls to rest for a few minutes after baking. This helps retain the juices, making the chicken moist and flavorful.
- Experiment with Cheese: Add different cheeses like mozzarella or feta to the ricotta mixture for a unique flavor twist.
Variations
Spinach and Feta Stuffed Chicken Rolls
You can change the filling for a fresh twist. Add spinach and feta cheese for a tasty option. Start by mixing 1 cup of chopped spinach with 1 cup of crumbled feta cheese. Then, add your herbs and spices, just like in the original recipe. This version offers a nice balance of flavors. The spinach adds color and nutrients. Feta gives a salty kick that pairs well with chicken.
Sun-Dried Tomato and Goat Cheese Version
For a Mediterranean flair, try sun-dried tomatoes and goat cheese. Use about 1 cup of chopped sun-dried tomatoes and 1 cup of crumbled goat cheese. Mix these with garlic powder, salt, and pepper. This filling bursts with flavor. It adds a rich, tangy taste that brightens each bite. Serve it with a drizzle of balsamic reduction for extra zing.
Vegan Alternatives for the Ricotta Filling
If you prefer a vegan option, you can swap the ricotta. Use 1 cup of blended tofu or cashew cream. Add lemon juice, garlic powder, and herbs for taste. Nutritional yeast can give a cheesy flavor. This version keeps the dish light and healthy. It’s perfect for those who follow a plant-based diet. You won’t miss the dairy, and your meal stays delicious!
Storage Info
Refrigeration Guidelines
After making your herbed ricotta stuffed chicken rolls, let them cool. Place them in an airtight container. Store them in the fridge for up to three days. This keeps them fresh and tasty. To enjoy them later, just reheat before serving.
Freezing Instructions
If you want to save them for later, freezing is a good option. Wrap each chicken roll tightly in plastic wrap. Then, place them in a freezer bag or container. They can stay in the freezer for up to three months. When ready to eat, thaw them in the fridge overnight before reheating.
Reheating Tips for Leftovers
To reheat your chicken rolls, use the oven for the best result. Preheat your oven to 350°F (175°C). Place the rolls in an oven-safe dish. Cover them with foil to keep them moist. Bake for 20-25 minutes until heated through. You can also use a microwave, but the oven keeps them crispy. Enjoy your flavorful chicken rolls!
FAQs
Can I use chicken thighs instead of breasts?
Yes, you can use chicken thighs. They add extra flavor and stay juicy. Thighs are more forgiving if you cook them slightly longer. Just be sure to pound them flat, like the breasts. This helps the filling stay inside and cooks evenly.
What can I substitute for ricotta cheese?
If you don’t have ricotta, try cottage cheese. Blend it until smooth for a creamy texture. Cream cheese works too, but it will be richer. You can also use Greek yogurt for a tangy taste, but remember it may change the dish's flavor.
How do I know when the chicken is fully cooked?
The best way to check chicken is with a meat thermometer. Insert it into the thickest part. Look for a temperature of 165°F (75°C). If you don’t have a thermometer, cut into the chicken; the juices should run clear, not pink. Always let cooked chicken rest for a few minutes before slicing.
In this article, we explored how to make delicious stuffed chicken rolls. We covered the key ingredients and helpful kitchen tools to use. I shared step-by-step instructions and my best tips for success. You also discovered fun variations and essential storage tips. Always remember, cooking is about trying new things. Enjoy the process, and don’t be afraid to experiment! Happy cooking!