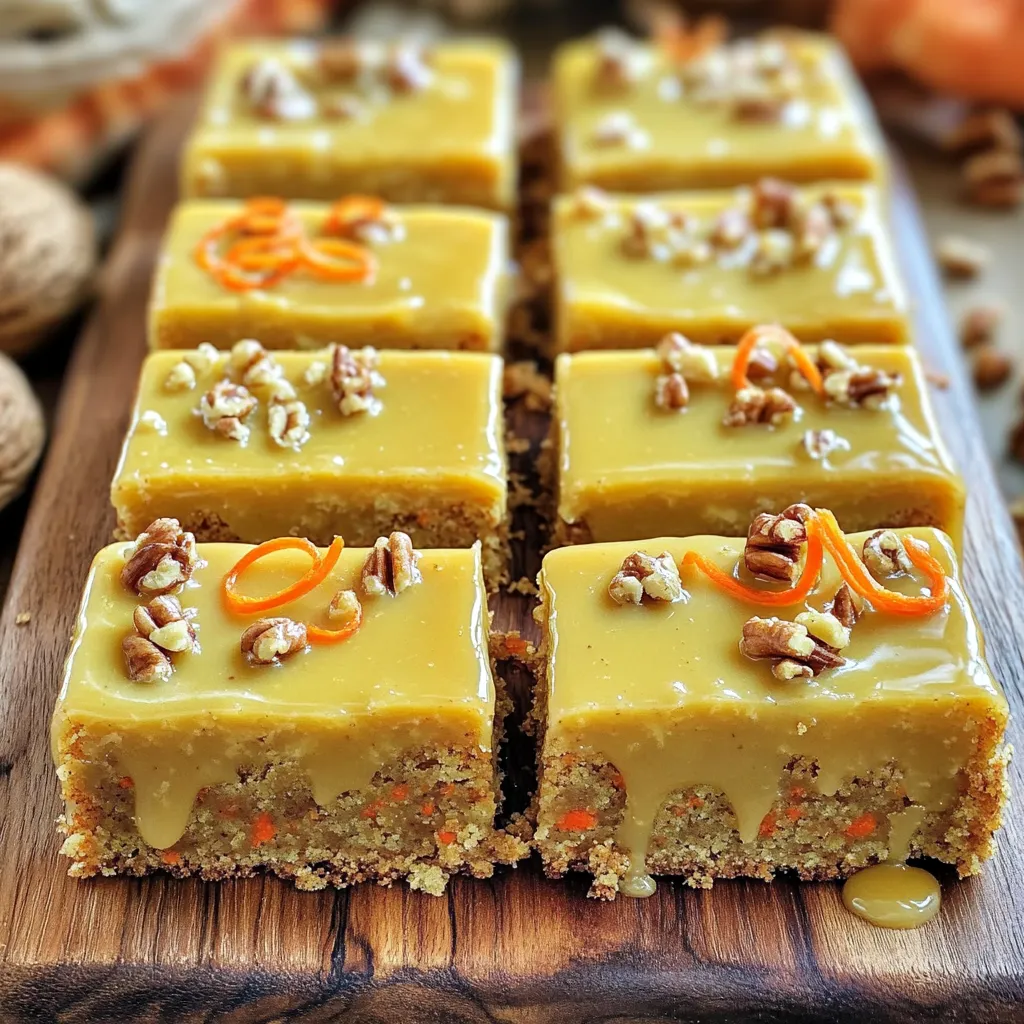
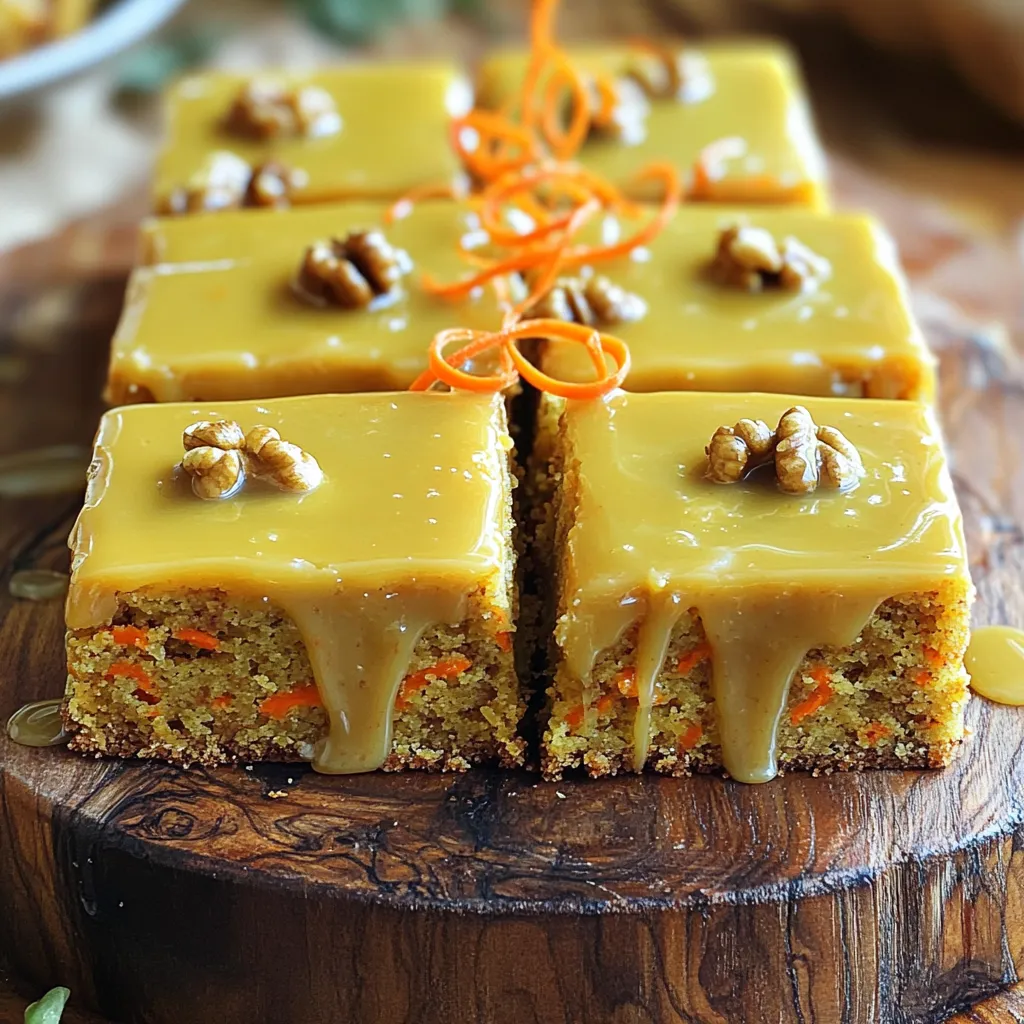
Are you ready to bake something special? Maple Glazed Carrot Cake Bars are simple and tasty! They combine soft carrots and sweet maple glaze for a treat everyone loves. In this post, I’ll share easy steps, tips, and fun variations. Whether you want to impress guests or just enjoy a sweet snack, this recipe is for you. Let’s get started on your delicious baking adventure!
Ingredients
Dry Ingredients
– 2 cups all-purpose flour
– 1 teaspoon baking powder
– 1 teaspoon baking soda
– 1 teaspoon ground cinnamon
– 1/2 teaspoon ground nutmeg
– 1/4 teaspoon salt
– 1 cup granulated sugar
– 1 cup brown sugar, packed
For our Maple Glazed Carrot Cake Bars, we start with dry ingredients. The all-purpose flour gives structure. Baking powder and baking soda help the cake rise. Cinnamon and nutmeg add warmth and spice. Salt enhances sweetness, while granulated and brown sugars provide rich sweetness.
Wet Ingredients
– 1 cup vegetable oil
– 4 large eggs
– 2 cups grated carrots (about 4 medium carrots)
– 1/2 cup crushed pineapples, drained
– 1 teaspoon vanilla extract
Next, we focus on the wet ingredients. Vegetable oil keeps our bars moist. Eggs bind everything together and add richness. Grated carrots bring natural sweetness and texture. Crushed pineapples add moisture and a hint of tang. Vanilla extract rounds out the flavors.
Optional Add-ins
– 1/2 cup chopped walnuts or pecans (optional)
– For the Maple Glaze:
– 1/2 cup powdered sugar
– 2 tablespoons maple syrup
– 1 tablespoon milk (or dairy-free alternative)
You can add nuts for crunch and flavor. Walnuts or pecans work well. For the maple glaze, mix powdered sugar, maple syrup, and milk until smooth. This glaze adds a sweet finish to your bars.
Step-by-Step Instructions
Preparing the Pan
First, preheat your oven to 350°F (175°C). This ensures even baking. Next, grab a 9×13-inch baking pan. Grease the pan with a little oil or butter. Then, line it with parchment paper. This helps with easy removal later.
Mixing the Dry Ingredients
In a big bowl, whisk together the dry ingredients. Combine 2 cups of all-purpose flour, 1 teaspoon of baking powder, and 1 teaspoon of baking soda. Add 1 teaspoon of ground cinnamon, 1/2 teaspoon of ground nutmeg, and 1/4 teaspoon of salt. Mixing these well makes sure you get all the flavors. Set this bowl aside for now.
Preparing the Batter
In another bowl, mix the wet ingredients. Start with 1 cup of granulated sugar and 1 cup of packed brown sugar. Add 1 cup of vegetable oil and whisk until smooth. Now, add 4 large eggs one at a time. Mix well after each egg. Stir in 2 cups of grated carrots, 1/2 cup of drained crushed pineapples, and 1 teaspoon of vanilla extract. If you like nuts, feel free to add 1/2 cup of chopped walnuts or pecans.
Next, take your dry mix and add it to the wet mix. Stir gently until just combined. Be careful not to overmix. Pour the batter into your prepared pan, spreading it evenly. Bake this in your preheated oven for about 25-30 minutes. To check if it’s done, insert a toothpick into the center. It should come out clean.
Once baked, take it out and let it cool in the pan for about 10 minutes. After that, transfer the cake to a wire rack to cool completely before adding the glaze.
Tips & Tricks
Baking Tips
To ensure even baking, spread the batter flat in the pan. Use a spatula to smooth the top. This helps the bars bake evenly. Always preheat your oven to 350°F (175°C). This step is key for proper rising.
To test for doneness, insert a toothpick into the center. If it comes out clean, your bars are ready. If not, bake for a few more minutes. Remember, each oven is different.
Glaze Consistency
Adjusting the maple glaze is simple. If it’s too thick, add a bit more milk. If it’s too thin, add more powdered sugar. Aim for a drizzle that holds its shape but flows nicely.
For drizzling, use a spoon or a squeeze bottle. Start at the center and move outward. This technique creates a lovely pattern on your bars.
Serving Suggestions
For presentation, cut the bars into squares. Serve them on a rustic wooden board. A sprinkle of chopped nuts adds texture and looks appealing.
You can also garnish with carrot curls or edible flowers. These add a pop of color and make your dish stand out. Pair the bars with a cup of tea or coffee for a delightful treat.
Variations
Substitutions
You can change oils in this recipe. Try using melted coconut oil or apple sauce. These swaps can add unique flavors. For sweeteners, use honey or agave syrup instead of sugar. This will create a different taste and texture.
You can also add fruits like raisins or dried cranberries. These will give a sweet burst in each bite. Try using diced apples or pears for a fresh twist. These options keep the bars moist and tasty.
Dietary Adjustments
For a gluten-free option, use almond flour or a gluten-free blend. This makes the cake bars safe for those avoiding gluten. Ensure that all other ingredients are also gluten-free.
You can replace milk in the glaze with almond or oat milk. This keeps the recipe dairy-free. Coconut cream also works well for a creamy texture.
Flavor Enhancements
To boost flavor, add spices like ginger or cloves. A pinch can make a big difference. You can also use extracts like almond or orange for a unique taste. This adds depth to the carrot cake bars.
If you like nuts, try using pecans or hazelnuts. Chopped nuts can add crunch and richness. You could even toast the nuts for extra flavor. These simple changes can elevate the dish.
Storage Info
Room Temperature Storage
To keep your Maple Glazed Carrot Cake Bars fresh, store them at room temperature. Place the bars in an airtight container. This helps prevent them from drying out. They can last up to three days this way. If you want to keep them longer, consider refrigerating.
Refrigeration Tips
For longer storage, you can refrigerate the bars. Wrap them well in plastic wrap or foil. This keeps moisture in and prevents the bars from absorbing odors. When stored in the fridge, they last up to a week. Just remember to bring them to room temperature before serving.
Freezing Instructions
Freezing your carrot cake bars is easy! First, let them cool completely. Then, cut them into squares. Wrap each piece in plastic wrap, then place them in a freezer bag. They can stay in the freezer for up to three months. To thaw, simply move them to the fridge overnight or let them sit at room temperature for a few hours. Enjoy them later without any fuss!
FAQs
How long do Maple Glazed Carrot Cake Bars last?
These bars can last up to five days. Store them in an airtight container. Keep them at room temperature for the best taste. If you want them to last longer, refrigerate them. They may dry out slightly in the fridge, so add a slice of bread to keep them moist.
Can I make these bars ahead of time?
Yes, you can make these bars ahead of time. Bake them a day or two in advance. Just cover them well and store them at room temperature. The flavors will meld together, making them even tastier.
Is there a vegan option for this recipe?
You can make a vegan version of these bars. Substitute the eggs with flax eggs or applesauce. Use a plant-based milk for the glaze. The rest of the ingredients work well as is. This way, you still enjoy the same great taste without animal products.
What can I use instead of crushed pineapples?
If you do not have crushed pineapples, you can use applesauce. It adds moisture and sweetness. You may also use grated zucchini, which works well. Just make sure to drain any excess liquid before adding it to the mix.
How can I make the glaze thicker?
To make a thicker glaze, add more powdered sugar. Start with a tablespoon at a time until you reach the desired thickness. You can also reduce the amount of milk in the glaze recipe. This will help it stick better to the bars when you drizzle it.
You learned about making delicious Maple Glazed Carrot Cake Bars. We covered the ingredients, from dry to wet, and optional add-ins. Next, I shared step-by-step instructions for baking these treats. I included helpful tips for perfecting your bars and ideas for variations and storage. Finally, the FAQs answered common questions.
In the end, these bars are fun to make and share. Enjoy trying different flavors, and don’t forget to store leftovers properly! Your baking journey can lead to sweet rewards.