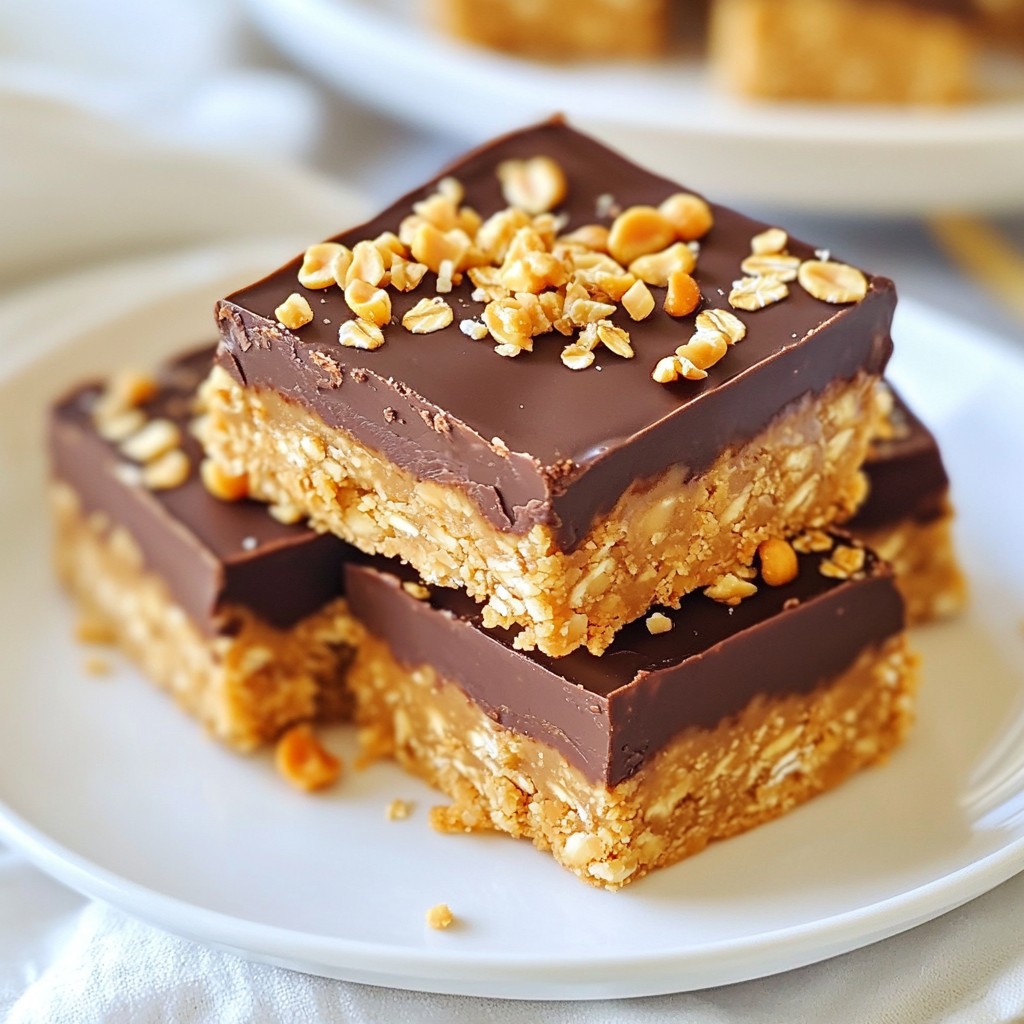
Looking for a simple, tasty treat? You’re in the right place! These No-Bake Peanut Butter Bars are easy to make and perfect for any craving. With just a few ingredients, you can whip up a delicious dessert that satisfies your sweet tooth. Plus, I'll share tips to avoid common mistakes and creative ways to customize your bars. Let’s dive in and make these yummy treats together!
Error: Connection error.
Ingredients
List of Ingredients for No-Bake Peanut Butter Bars
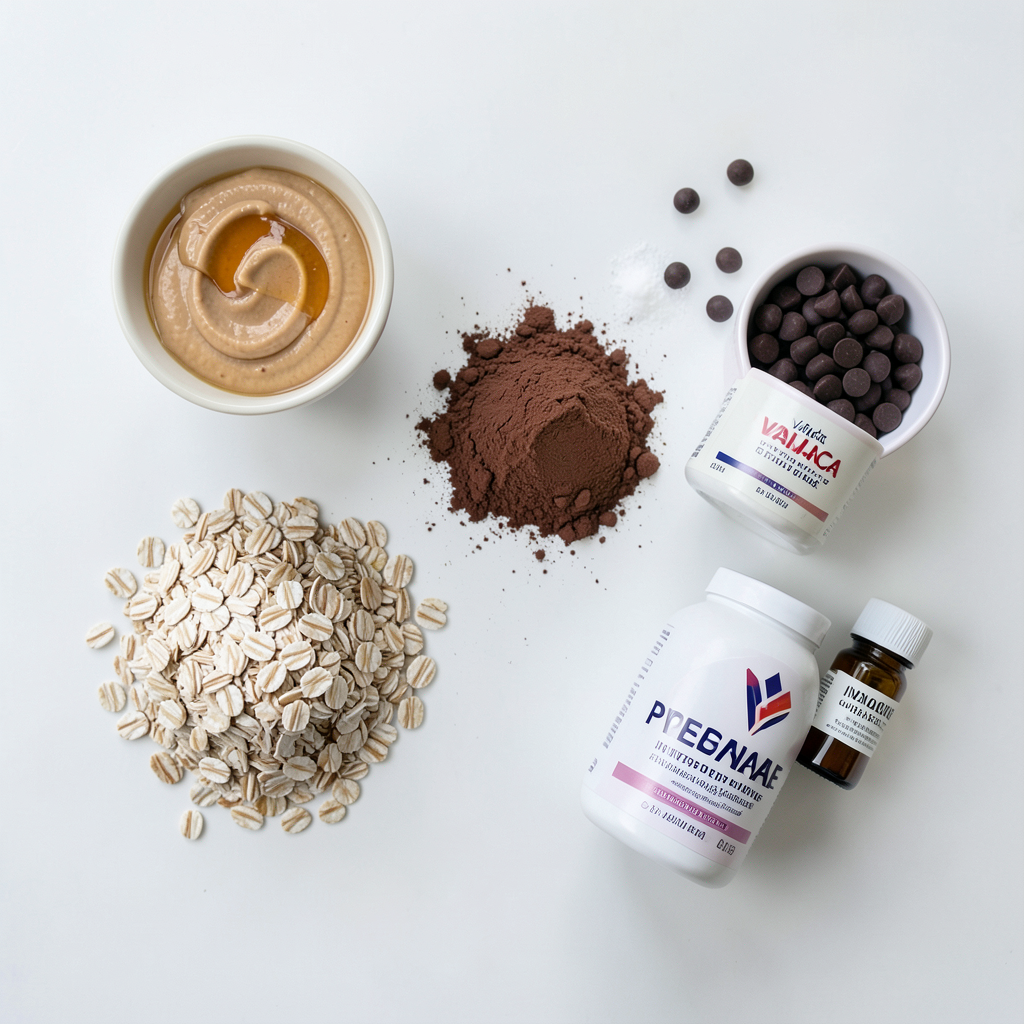
To make these no-bake peanut butter bars, gather these simple ingredients:
- 1 cup creamy peanut butter
- 1/2 cup honey or maple syrup
- 1 cup rolled oats
- 1/2 cup unsweetened cocoa powder
- 1/4 cup coconut oil, melted
- 1/2 cup vanilla protein powder (optional)
- 1/4 teaspoon salt
- 1/2 teaspoon vanilla extract
- 1/3 cup dark chocolate chips (for topping)
These ingredients make a rich and tasty treat. The peanut butter gives a creamy texture, while the oats add a nice bite.
Alternative Sweeteners: Honey vs. Maple Syrup
You can choose between honey and maple syrup for sweetness. Honey is thick and sweet, while maple syrup has a unique flavor.
- Honey: It binds well and adds moisture.
- Maple Syrup: It offers a hint of caramel taste.
Both work great in this recipe. Choose what you like best!
Nutritional Benefits: Peanut Butter and Oats
Peanut butter and oats are packed with nutrients.
- Peanut Butter: It is rich in protein and healthy fats. This helps keep you full longer.
- Oats: They provide fiber, which aids digestion and helps control blood sugar.
Together, these ingredients create a tasty and satisfying snack. Enjoy the flavors and health benefits of these no-bake peanut butter bars!
Step-by-Step Instructions
Detailed Instructions to Prepare No-Bake Peanut Butter Bars
1. Start with a large mixing bowl. Add 1 cup of creamy peanut butter and 1/2 cup of honey or maple syrup. Mix until smooth.
2. Next, add in 1 cup of rolled oats, 1/2 cup of unsweetened cocoa powder, and 1/4 cup of melted coconut oil. If you want extra protein, add 1/2 cup of vanilla protein powder. Don't forget 1/4 teaspoon of salt and 1/2 teaspoon of vanilla extract.
3. Mix everything together until it’s well blended. You want no dry spots or lumps. This step is key for a great texture.
Tips for Mixing Ingredients Thoroughly
- Use a sturdy spatula for mixing. This helps break up clumps and ensures even blending.
- Don’t rush! Take your time to mix well. The better you mix, the better the bars will taste.
- If the mixture feels too thick, you can add a bit more melted coconut oil. This helps it combine better.
How to Create the Perfect Base Layer
- Line an 8x8 inch baking pan with parchment paper. Let some paper hang over the edges. This makes it easy to lift out later.
- Pour the peanut butter mixture into the pan. Use your spatula or hands to press it down firmly. Make sure it’s even and packed tightly.
- A good base layer is key to holding everything together. If it’s loose, the bars will fall apart.
These steps will help you create delicious no-bake peanut butter bars that everyone will love. Enjoy making them!
Tips & Tricks
Common Mistakes to Avoid When Making No-Bake Bars
When making no-bake peanut butter bars, avoid these common mistakes:
- Not measuring ingredients accurately. Even a small difference can change the taste.
- Rushing the mixing process. Make sure everything is well combined for the best flavor.
- Using the wrong type of peanut butter. Stick to creamy peanut butter for a smooth texture.
How to Choose the Best Peanut Butter
Choosing the right peanut butter is key. Look for:
- Natural ingredients only. The best peanut butter has peanuts and maybe salt.
- Creamy texture. This helps the bars hold together well.
- No added sugars or oils. Pure peanut butter gives a clean taste.
Storing and Cutting Tips for Perfectly Shaped Bars
To store and cut your bars perfectly, follow these tips:
- Use parchment paper. Line your pan with it for easy removal.
- Cut when cold. Chill the bars for at least two hours before slicing.
- Use a sharp knife. This helps achieve clean cuts without crumbling.
By avoiding common mistakes, selecting the best peanut butter, and using smart storage tips, your no-bake peanut butter bars will shine every time.
Error: Connection error.
Variations
Healthy Swaps: Low-Sugar and Dairy-Free Options
You can make no-bake peanut butter bars healthier. Try these easy swaps. Use a sugar substitute like stevia or erythritol. This will lower the sugar content. For a dairy-free option, choose coconut oil. It gives a nice texture and flavor without dairy. You can also skip the chocolate topping or use dairy-free chocolate chips to keep it dairy-free.
Flavor Variations: Adding Ingredients like Coconut or Nuts
Want to change the flavor? Adding fun ingredients makes these bars special. You can mix in shredded coconut. It adds a nice chew and sweetness. Chopped nuts like almonds or walnuts give crunch and protein. Dried fruits like raisins or cranberries add natural sweetness. Just make sure to adjust the amounts. Too many add-ins can change the texture.
Protein Packed: Using Different Protein Powders
To boost the protein, swap out the vanilla protein powder. You can use chocolate or plant-based protein powder. This not only adds flavor but helps with nutrition. If you want a nutty taste, try almond protein powder. It works great in these bars. Just remember, adding protein powder might change the texture a bit. Adjust the liquid ingredients if needed for the right consistency.
Storage Info
Best Practices for Storing No-Bake Peanut Butter Bars
To keep your no-bake peanut butter bars fresh, store them in an airtight container. Use parchment paper between layers to avoid sticking. This helps preserve their texture and flavor. Make sure to keep them in the fridge. The cool temperature prevents them from becoming too soft.
How Long Do They Last in the Fridge?
When stored properly, these bars last about one week in the fridge. After that, they may lose flavor and texture. Always check for any signs of spoilage before enjoying them. If they smell off or look strange, it’s best to toss them.
Freezing for Extended Storage: Tips and Instructions
If you want to keep them longer, freezing is a great option. Cut the bars into squares before freezing. Wrap each square in plastic wrap, then place them in a freezer bag. This helps avoid freezer burn. They stay good for up to three months in the freezer. When you’re ready to eat one, simply take it out and let it thaw in the fridge for a few hours.
FAQs
Can I Use Crunchy Peanut Butter Instead of Creamy?
Yes, you can use crunchy peanut butter. The bars will have added texture and crunch. This change will not affect the taste. Just remember that the mixture may be less smooth but still delicious. If you love crunch, go for it!
How Do I Make These Bars Vegan-Friendly?
To make these bars vegan, substitute honey with maple syrup. Use a plant-based protein powder if you choose to include it. Ensure that the dark chocolate chips are dairy-free. This way, you can enjoy a tasty treat while keeping it vegan.
What Can I Use Instead of Protein Powder?
If you don’t have protein powder, you can leave it out. The bars will still be tasty and nutritious. As a substitute, try adding ground flaxseed or chia seeds. These options boost nutrition without changing the flavor too much.
You now know how to make tasty no-bake peanut butter bars. We covered key ingredients and health benefits, like oats and peanut butter’s protein. I shared tips for mixing and creating a perfect base. You learned to fix common mistakes and storage advice.
These bars can suit many diets with a few easy swaps. Enjoy your no-bake bars as a healthy snack. Your choices can make them fit your needs and taste. Get creative and have fun!