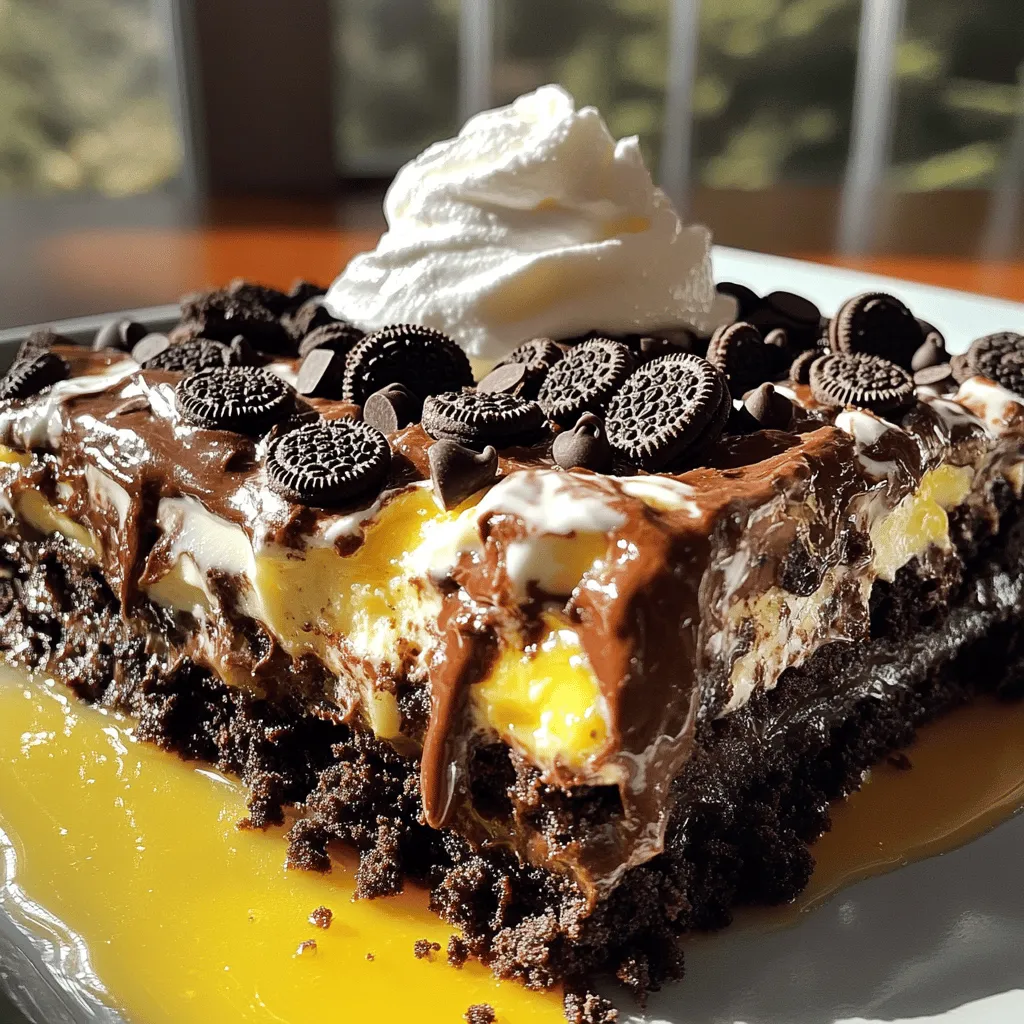
Are you ready for a dessert that’s both easy and delicious? Oreo Dump Cake combines rich flavors and simple steps for a sweet treat that everyone will love. Picture warm layers of chocolate cake, creamy fillings, and tasty Oreo cookies. This recipe is perfect for any occasion, making it a hit with friends and family. Let’s dive into how to create this delightful dessert that will have everyone asking for seconds!
Ingredients
To make Oreo Dump Cake, you need some simple and tasty ingredients. Here’s what you will need:
– 1 package (15.25 oz) chocolate cake mix
– 1 package (14.3 oz) Oreo cookies, roughly crushed
– 1 cup unsalted butter, melted
– 1 package (8 oz) cream cheese, softened
– 1 cup powdered sugar
– 1 teaspoon vanilla extract
– 1 cup milk
– 1 cup chocolate chips (optional)
– Whipped cream or ice cream for serving (optional)
These ingredients create a rich and sweet dessert. The chocolate cake mix gives the base its fluffy texture. The crushed Oreo cookies add a crunchy layer and a burst of flavor. Cream cheese and powdered sugar make a smooth filling. With melted butter drizzled on top, the cake forms a golden crust while baking. Optional chocolate chips can enhance the chocolate flavor, and whipped cream or ice cream makes a perfect topping.
The combination is delightful and easy to make. Each bite offers layers of taste and texture. So gather your ingredients, and let’s start baking!
Step-by-Step Instructions
Preheating and Preparation
– Preheat your oven to 350°F (175°C).
– Grease a 9×13 inch baking dish with butter or non-stick spray.
I always find that preheating the oven first helps save time. Greasing the dish well keeps the cake from sticking.
Mixing Ingredients
– Prepare the cream cheese filling.
– Combine crushed Oreos and cake mix.
In a big bowl, mix the cream cheese, powdered sugar, and vanilla. Beat it until smooth and creamy. This filling adds a nice touch! In another bowl, combine the chocolate cake mix with half of the crushed Oreos. This mix will be the base of your cake.
Layering in the Baking Dish
– Layer crushed Oreos.
– Pour the cake batter and cream cheese mixture.
– Top with remaining Oreos and butter drizzle.
Spread the crushed Oreos evenly at the bottom of your baking dish. Pour the cake batter on top, smoothing it out. Spoon dollops of the cream cheese mixture over the batter. Use a spatula to swirl it gently. Finally, sprinkle the rest of the crushed Oreos and drizzle melted butter on top. Don’t mix; it creates a nice crust while baking.
Baking and Cooling
– Bake time and indicators.
– Cooling before serving.
Bake in the preheated oven for 35-40 minutes. Look for a set top and bubbly edges. Once done, let the cake cool for 10-15 minutes. This cooling time makes it easier to serve.
Tips & Tricks
Perfecting the Oreo Dump Cake
To get the best Oreo Dump Cake, set your oven to 350°F (175°C). This is the key temperature for baking. Bake for 35-40 minutes. You want the top to be set and the edges bubbly.
To avoid a soggy bottom, layer the crushed Oreos well. Spread them evenly across the bottom. The melted butter on top helps create a nice crust. Don’t stir the butter into the batter.
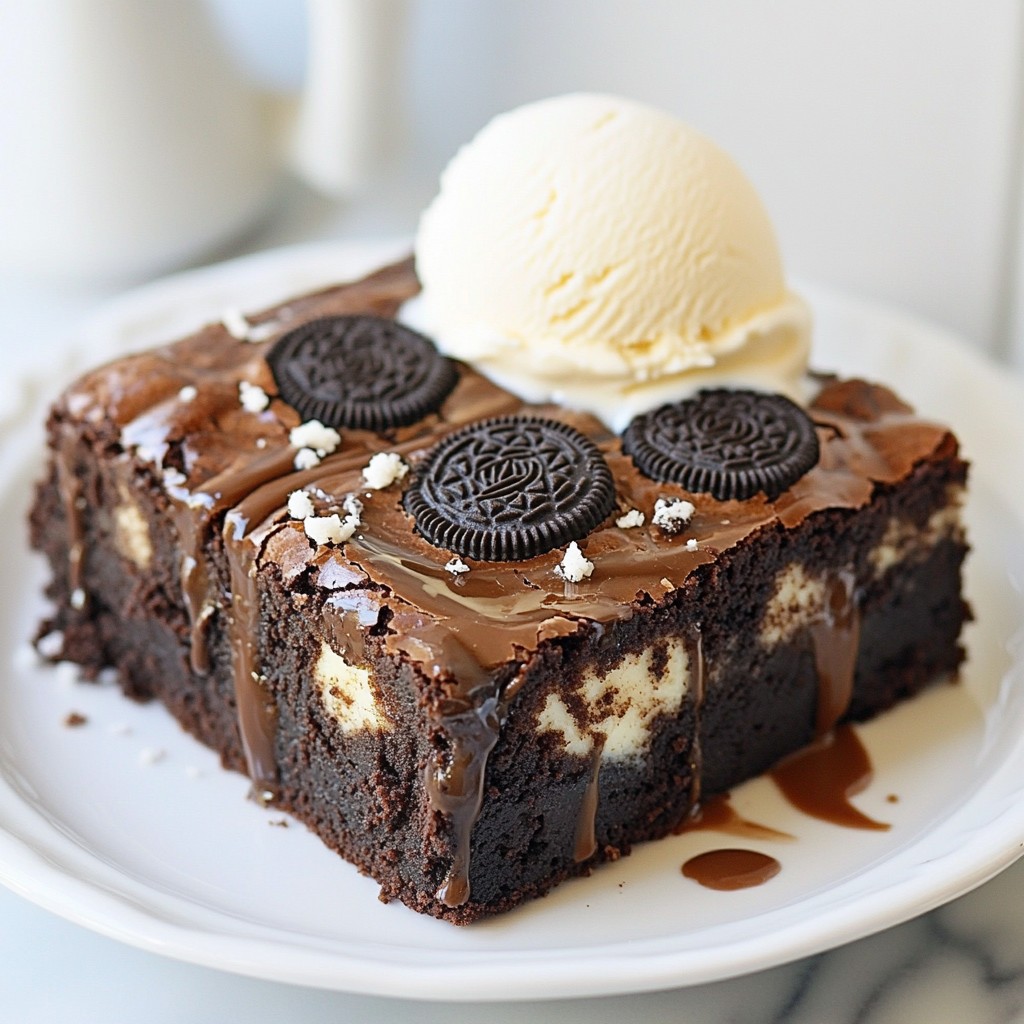
Serving Suggestions
You can top your cake with whipped cream or ice cream. This adds a nice creamy touch. For extra flair, add some whole Oreos on top. Serve it warm for the best taste. It’s perfect for a cozy dessert after dinner.
Kitchen Tools Needed
You’ll need a few basic tools. A large mixing bowl is a must. An electric mixer helps make the cream cheese mixture smooth. You’ll also need a spatula for swirling.
For baking, use a 9×13 inch baking dish. Grease it well with butter or non-stick spray. This helps with easy serving later.

Variations
Flavor Adjustments
You can change the flavors of your Oreo Dump Cake easily.
– Try using a vanilla or red velvet cake mix instead of chocolate.
– Add chopped nuts, like walnuts or pecans, for a crunch.
– Mix in some peanut butter or Nutella for a fun twist.
These small changes can make your cake unique and tasty.
Dietary Adjustments
If you need gluten-free options, use gluten-free chocolate cake mix.
Also, use gluten-free Oreo cookies. This way, everyone can enjoy it.
For a dairy-free version, swap the cream cheese for a dairy-free spread.
You can also use almond or coconut milk instead of regular milk.
These swaps let you enjoy the cake while meeting dietary needs.
Seasonal Variations
You can make this cake special for any holiday.
– For Halloween, add orange and black sprinkles on top.
– For Christmas, mix in crushed peppermint candies or sprinkle on some red and green.
– Try adding festive spices like cinnamon or nutmeg for fall.
Seasonal touches make this cake fit for any celebration.
Experiment with these ideas to make your cake stand out!
Storage Info
Storing Leftovers
After you enjoy your Oreo dump cake, store any leftovers in the fridge. Use an airtight container to keep it fresh. This helps prevent the cake from drying out. Your cake will stay good for about 3 to 5 days. Make sure to check for any signs of spoilage before eating.
Freezing the Oreo Dump Cake
You can freeze your Oreo dump cake if you have extra. To freeze it properly, let the cake cool completely. Then, wrap it tightly in plastic wrap or foil. Place it in a freezer-safe container. It will stay fresh for about 2 to 3 months. When you want to eat it, move it to the fridge to thaw overnight. You can also reheat slices in the microwave for a few seconds.
Serving After Storage
When you serve your cake after storage, warm it up slightly. This brings back its ooey-gooey texture. You can top it with whipped cream or ice cream for extra sweetness. The taste will still be rich and chocolatey, but the texture may be a bit denser. Enjoying it warm makes it even better!
FAQs
How long does Oreo Dump Cake last?
Oreo Dump Cake stays fresh in the fridge for about four to five days. Just cover it tightly with plastic wrap or foil. This keeps it moist and tasty. After a few days, it may start to lose some flavor and texture.
Can I make Oreo Dump Cake ahead of time?
Yes, you can prepare Oreo Dump Cake in advance. Make it a day before you plan to serve. Just bake it and let it cool. Once cool, cover it and place it in the fridge. When you’re ready, you can serve it cold or warm it up in the oven.
What kind of cake mix is best for this recipe?
I like using chocolate cake mix for this dump cake. It pairs well with the Oreo flavor. You can also try German chocolate or dark chocolate mixes for a twist. Each will add its own taste to the cake.
Can I use gluten-free cookies for a gluten-free version?
Absolutely! You can use gluten-free Oreo cookies. They work just as well in this recipe. Make sure the cake mix is also gluten-free. This way, you can enjoy a delicious dessert with no gluten.
This article covered how to make a delicious Oreo Dump Cake. You learned the ingredients, step-by-step instructions, and helpful tips. We explored variations and storage methods to enjoy your cake any way you like. Remember, every bite should be enjoyable. Get creative with flavors and toppings! With these guidelines, you can bake a treat that impresses everyone. Happy baking with your new Oreo Dump Cake recipe!