

LATEST RECIPES


LET'S GET COOKING!
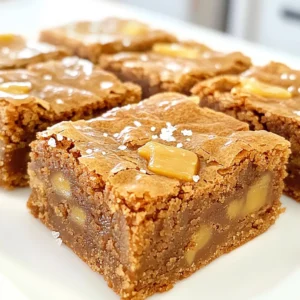
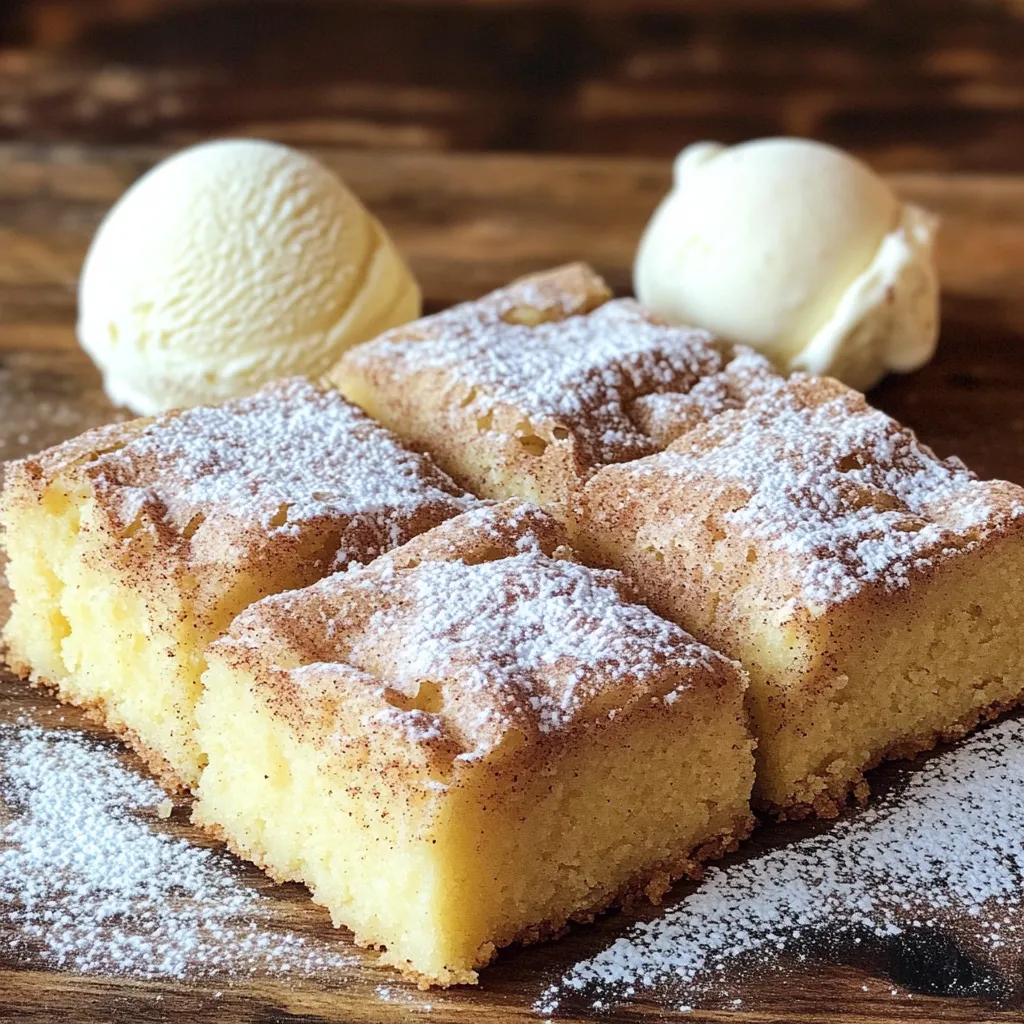
Snickerdoodle Blondies Delightful and Easy Recipe
Are you ready to bake something delicious? Snickerdoodle Blondies offer a perfect mix of soft, chewy goodness with a sprinkle of cinnamon. This easy recipe...
Read Full Recipe →