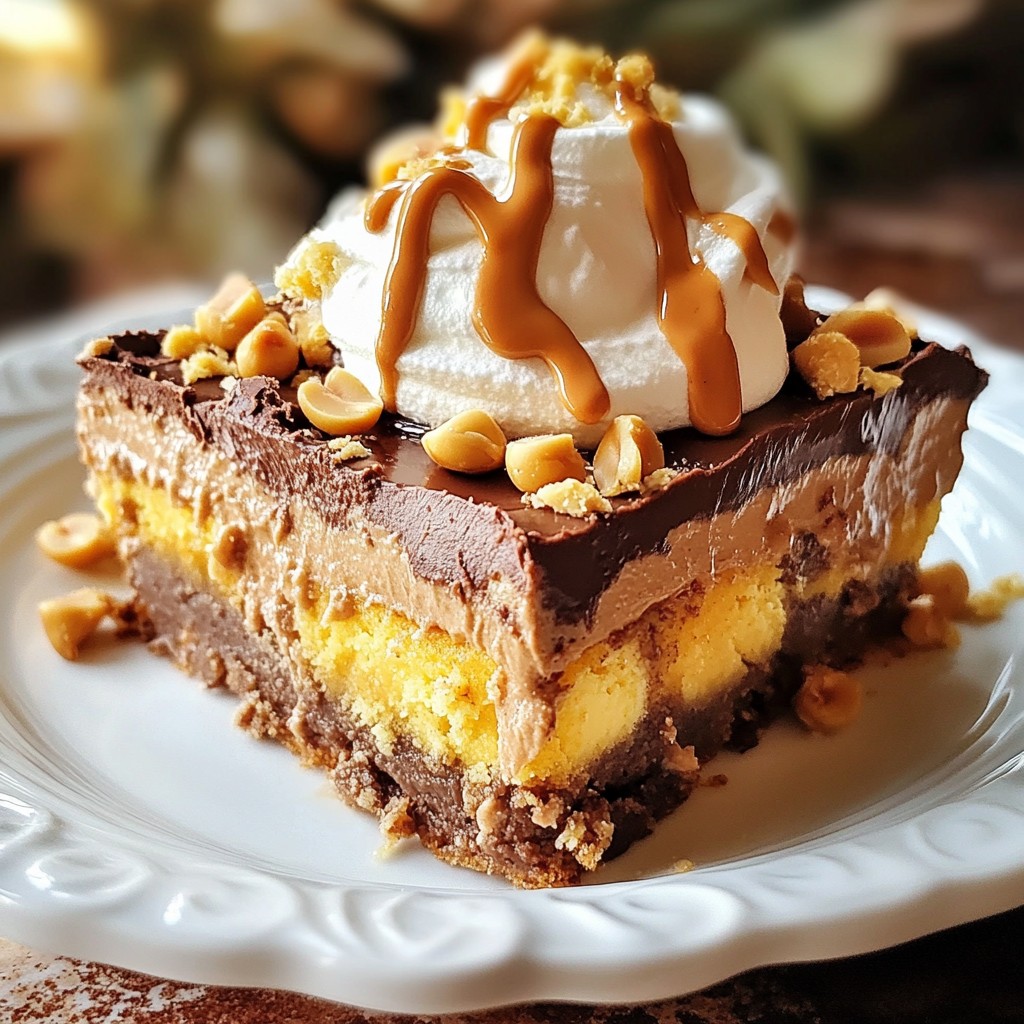
If you love rich desserts, you need to try this Peanut Butter Cup Dump Cake. This easy recipe combines the creamy taste of peanut butter with gooey chocolate for a pure treat. It’s quick to make and calls for just a few simple ingredients. Whether you’re hosting a party or satisfying a sweet tooth, this decadent dessert will amaze your taste buds. Let’s dive into the recipe and get baking!
Why I Love This Recipe
- Easy Preparation: This dump cake requires minimal effort, making it perfect for busy days or spontaneous cravings.
- Decadent Flavor: The combination of chocolate and creamy peanut butter creates a rich and indulgent dessert that everyone will love.
- Versatile Toppings: Customize with your favorite nuts or serve with whipped cream for an extra touch of sweetness.
- Perfect for Sharing: This recipe yields 12 servings, making it ideal for parties, potlucks, or family gatherings.
Ingredients
List of Ingredients
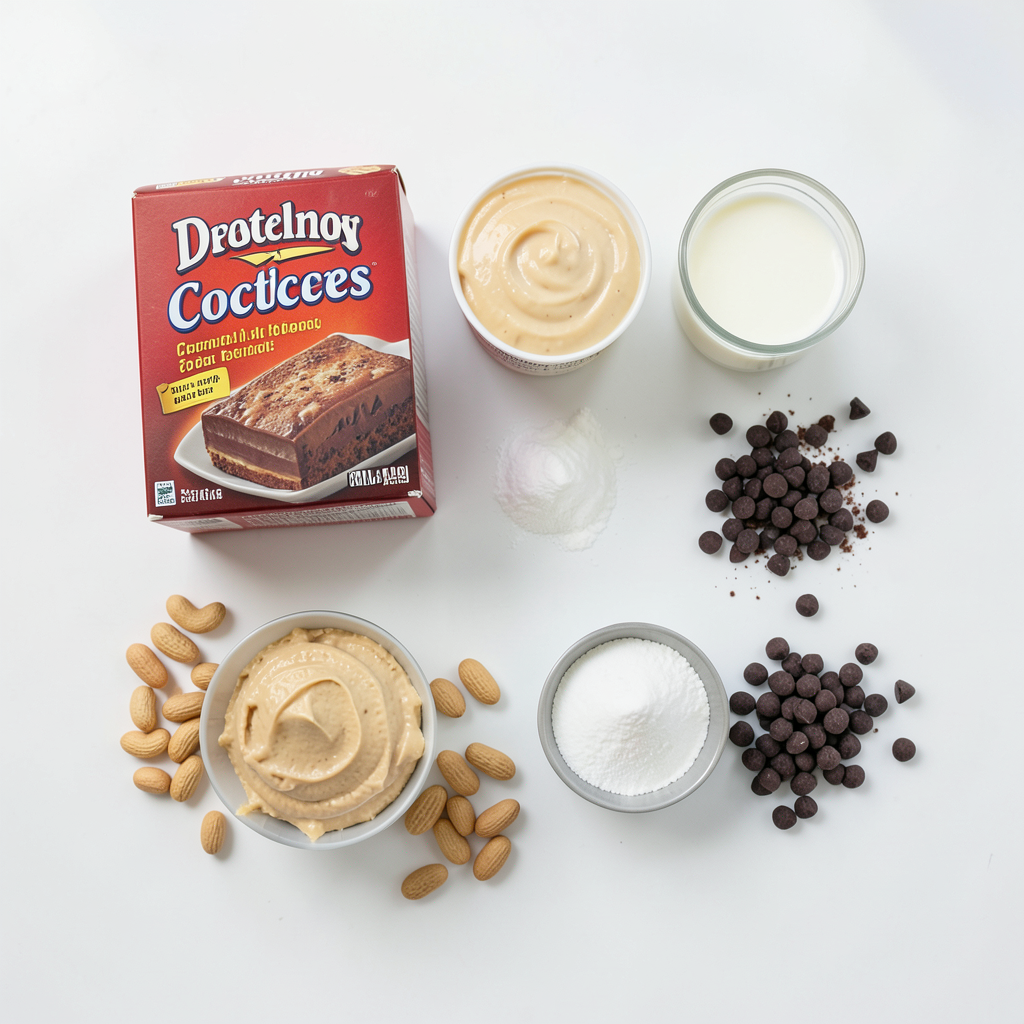
- 1 box chocolate cake mix
- 1 cup creamy peanut butter
- 1 cup milk
- 1 cup sugar
- 1 cup chocolate chips
- 1/2 cup unsalted butter, melted
- 1 cup crushed peanuts (or walnuts)
Optional Ingredients for Serving
- Whipped cream for serving
Equipment Needed
- 9x13 inch baking dish
- Mixing bowls
- Whisk or spoon
- Measuring cups
- Cooking spray or butter for greasing
To make this Peanut Butter Cup Dump Cake, you need simple ingredients. The chocolate cake mix gives it a rich base. Creamy peanut butter adds a nutty flavor. Milk makes the mix smooth and tasty. Sugar brings sweetness. Chocolate chips add extra chocolate joy. Melted butter helps bind it all together. Crushed peanuts or walnuts give a nice crunch. For serving, whipped cream adds a creamy finish.
Gather all your tools. You’ll need a baking dish, mixing bowls, and measuring cups. Grease the dish to prevent sticking. This cake is easy and fun to make!
Step-by-Step Instructions
Prepping the Oven and Dish
First, set your oven to 350°F (175°C). This gives it time to heat up. Grease a 9x13 inch baking dish with cooking spray or butter. This helps the cake come out easily.
Mixing the Dry Ingredients
In a large bowl, add the chocolate cake mix and sugar. Stir them well together. This mix forms the base of our cake. Make sure there are no lumps.
Preparing the Peanut Butter Layer
In another bowl, combine the creamy peanut butter, milk, and melted butter. Mix until it is smooth. This layer adds a rich taste to your cake. It makes it extra special.
Layering the Ingredients
Pour the dry cake mix evenly into the greased dish. Then, pour the peanut butter mixture over it. Do not mix them. This keeps the layers separate. Now, sprinkle chocolate chips on top. Finish by adding crushed peanuts or walnuts. This adds a nice crunch.
Baking the Cake
Place the dish in the oven and bake for 30-35 minutes. Check if it’s done by inserting a toothpick in the center. It should come out clean. The edges will be golden and slightly pull away from the sides. Let it cool for 10 minutes before cutting into squares. Enjoy the delicious treat!
Tips & Tricks
How to Achieve the Perfect Texture
To get the best texture, keep the layers separate. This keeps the cake moist and rich. When you pour the peanut butter mix over the cake mix, don’t stir it. Let it sit. The top will bake up soft, while the bottom stays gooey. Bake it until the edges are golden brown. If a toothpick comes out clean, your cake is ready.
Serving Suggestions
Serve your dump cake warm. It tastes best this way! Drizzle extra melted peanut butter on top for added flavor. Add a dollop of whipped cream for creaminess. You can also serve it with vanilla ice cream. The cold ice cream contrasts well with the warm cake.
Modifications for Dietary Preferences
If you need a gluten-free option, use gluten-free chocolate cake mix. Swap out regular milk for almond or oat milk. For a nut-free version, leave out the crushed peanuts. You can also use sunflower seed butter instead of peanut butter. These swaps make the dessert fit different diets while keeping it tasty.
Pro Tips
- Layer Wisely: Make sure to pour the peanut butter mixture over the dry cake mix without stirring to maintain the distinct layers that make a dump cake unique.
- Chocolate Chips Choice: Use semi-sweet or dark chocolate chips for a richer flavor that complements the sweetness of the peanut butter.
- Nut Options: Experiment with different nuts such as pecans or almonds for varied texture and flavor that enhances the overall experience.
- Serve Warm: This cake is best enjoyed warm. Consider adding a scoop of vanilla ice cream for a delightful contrast to the warm chocolate and peanut butter.
Variations
Different Cake Mix Options
You can change up the cake mix for fun. Use a vanilla cake mix for a lighter taste. A red velvet mix adds color and a unique twist. If you want a richer flavor, try a devil's food cake mix. Each choice gives the cake a new feel while keeping that peanut butter goodness.
Flavor Add-ins
Add-ins make this cake even more fun. Try mixing in a teaspoon of vanilla extract for extra flavor. You can also add a pinch of sea salt to boost the taste. For a fruity twist, fold in some chopped bananas or apples. This keeps the cake moist and adds a nice contrast to the chocolate.
Topping Alternatives
Toppings can change your dump cake game. Instead of whipped cream, try a scoop of ice cream for a cool treat. Drizzle with chocolate syrup or caramel for extra sweetness. Crushed cookies or candies on top can add crunch and fun. Mix and match these toppings to make each serving special.
Storage Info
How to Store Leftovers
To keep your peanut butter cup dump cake fresh, let it cool first. Once cool, cover it tightly with plastic wrap or aluminum foil. You can also place it in an airtight container. Store it in the fridge for up to five days. This helps keep the cake moist and tasty.
Freezing Instructions
You can freeze this dump cake if you want to save some for later. First, let it cool completely. Then, cut it into squares for easy serving. Wrap each square tightly in plastic wrap, then place them in a freezer-safe bag. You can freeze it for up to three months. When you are ready to enjoy it, you can thaw it in the fridge overnight.
Reheating Tips
Reheating is simple. Take a piece of cake from the fridge or freezer. If it is frozen, let it thaw first. Place the cake on a microwave-safe plate. Heat it in the microwave for about 20-30 seconds, or until warm. You can also warm it in the oven at 350°F (175°C) for about 10 minutes. Serve it with a dollop of whipped cream or extra melted peanut butter for a tasty treat.
FAQs
Can I make this recipe gluten-free?
Yes, you can. Use a gluten-free chocolate cake mix instead of regular cake mix. Many brands offer great options that work well. Just check the label to ensure it’s truly gluten-free. Your cake will still be tasty and rich.
How do I know when the cake is done?
To check if the cake is done, insert a toothpick into the center. If it comes out clean, the cake is ready. The edges should look golden and slightly pull away from the pan. Keep an eye on it after 30 minutes.
Can I use crunchy peanut butter instead of creamy?
Absolutely! Crunchy peanut butter adds a nice texture to the cake. It will still mix well with the other ingredients. Just remember, the cake will have a bit more crunch with this swap. Enjoy that extra peanut flavor!
We explored a simple cake recipe, covering all steps from ingredients to baking. You learned how to prep your oven, mix dry ingredients, and layer flavors. I shared tips for texture, serving ideas, and dietary tweaks. With variations and storage tips, you can customize and enjoy this cake longer. Remember, baking is fun; don’t hesitate to experiment. Embrace your creativity and share this treat with others!