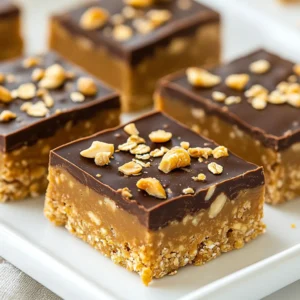
No-Bake Peanut Butter Oat Bars
Delicious and healthy no-bake bars made with peanut butter, oats, and chocolate.
Ingredients
- 1 cup rolled oats
- 1 cup natural peanut butter (smooth or crunchy)
- 1 2 honey or maple syrup
- 1 2 vanilla protein powder (optional)
- 1 2 dark chocolate chips
- 1 4 chopped nuts (e.g., almonds, walnuts, or peanuts)
- a pinch salt
Instructions
- In a medium saucepan over low heat, combine the peanut butter and honey (or maple syrup). Stir continuously until the mixture is smooth and well combined. Remove from heat.
- In a large mixing bowl, combine the rolled oats, protein powder (if using), and a pinch of salt.
- Pour the warm peanut butter mixture over the oat mixture and stir until everything is well combined.
- Fold in the dark chocolate chips and chopped nuts, ensuring they are evenly distributed throughout the mixture.
- Line an 8x8 inch (or similar size) baking dish with parchment paper, leaving some overhang to make removal easier.
- Pour the mixture into the prepared baking dish and press it down firmly with the back of a spatula or your hands until it's packed tightly.
- Refrigerate for at least 2 hours or until set. Once firm, lift the bars out using the parchment paper and cut into squares or rectangles.
Notes
Enjoy these bars as a quick breakfast option or snack on the go. You can also drizzle some extra melted chocolate on top for an indulgent touch!