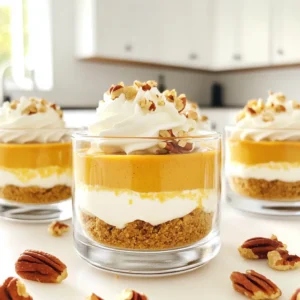
No-Bake Pumpkin Cheesecake Cups
Indulge in the flavors of fall with these delightful no-bake pumpkin cheesecake cups! Perfect for any gathering, this easy recipe combines creamy pumpkin goodness with a crunchy graham cracker crust. With just a few simple ingredients, you can whip up a dessert that will impress your guests. Ready to treat yourself? Click to discover the full recipe and enjoy a sweet autumn treat! #PumpkinCheesecake #NoBakeDesserts #FallRecipes #SweetTreats